
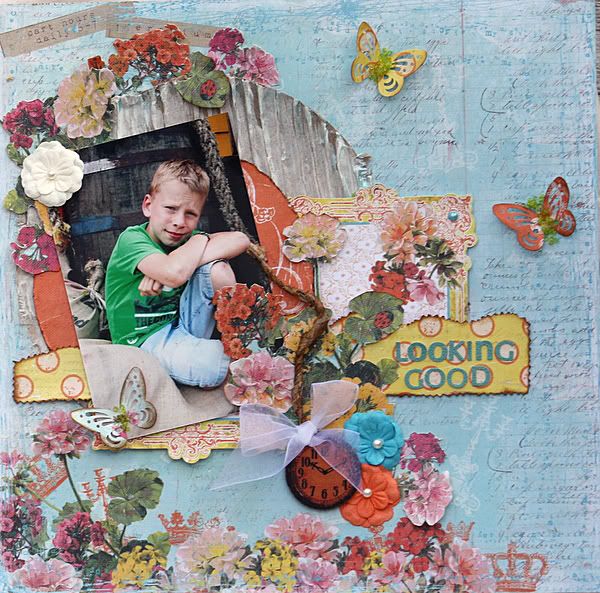
Here's Carla...
What I have done with this page to make it cool:
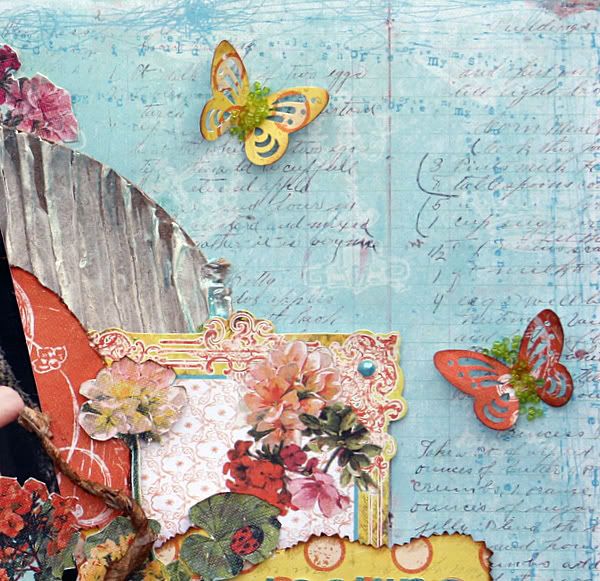
here is the close up
For the circle under the layers I had used a cardboard from a box. I used a plate to trace around with a pencil, then cut around it and painted it with gesso.
And for the cute butterfly I used a punch. In the middle of the butterfly I applied glue and then sprinkled beads on it. Then shook the rest of the excess beads and sprinkled them on again until they were stuck to the glue.
What I have done with this page:
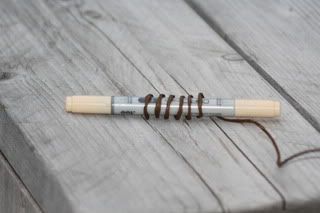
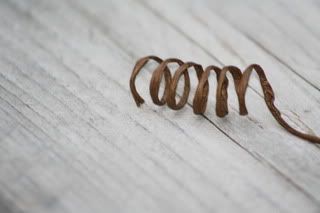
What is done with the wire rope is very simple, but super nice result, I would like to tell this.
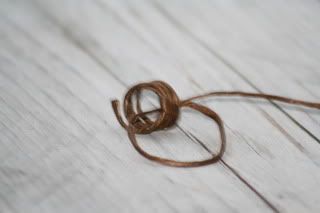
You use a stylus or pen or whatever you want to use. I had used a copic marker, and turned the wire rope around it several times so that you get a spiral. The ends of the rope you are doing through the eye of a rope and then making a knot in the rope, see pictures:
Pic 1
Pic 2
Pic 3
Pic 4

What I have also done with this page is this:
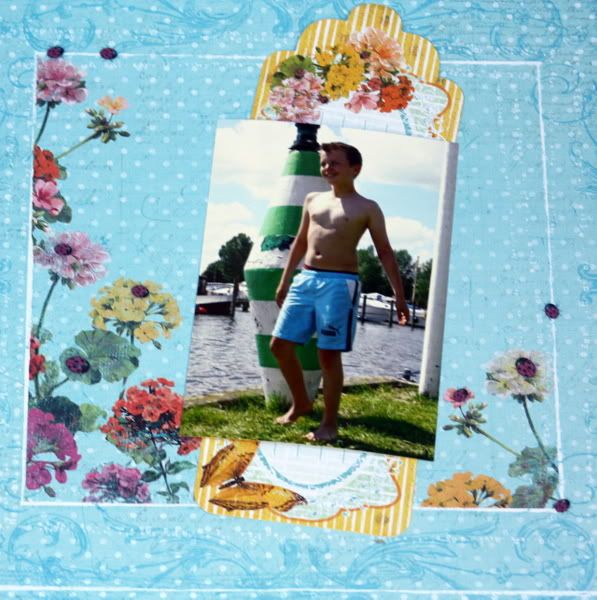
The tags that are in the main kit... I would like it to stick out above the photo, but the tag is very long so I have cut it, very easy and fun.
Step 1

Step 2
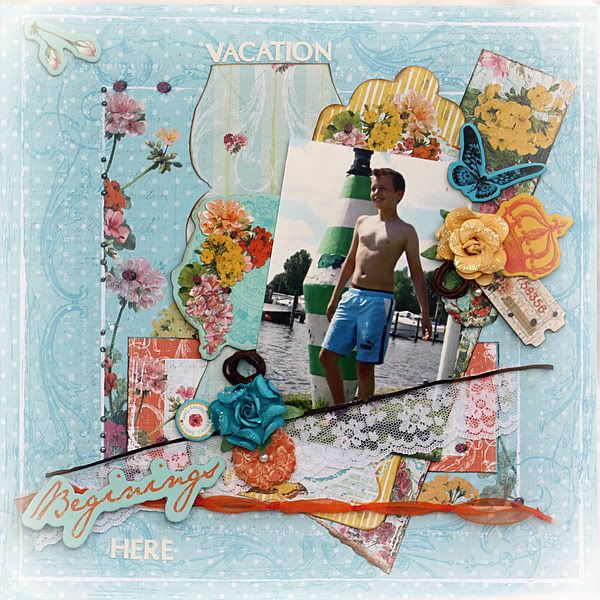
What I did with the first layer on this layout:
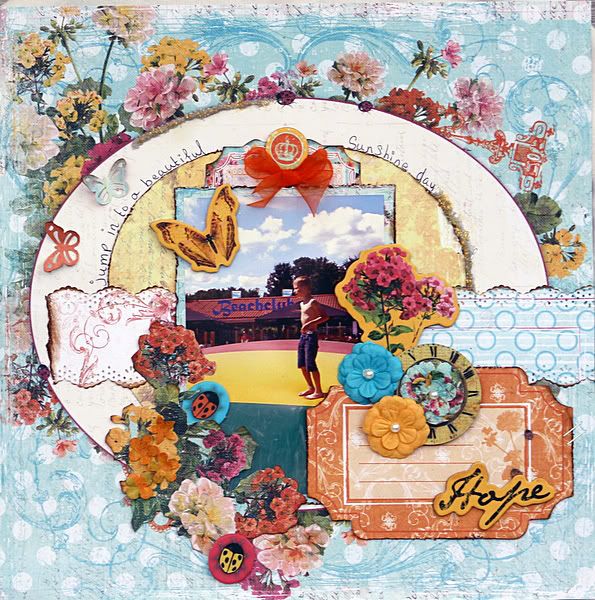
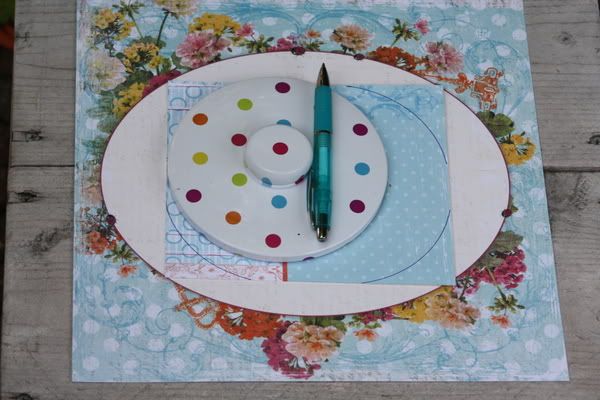
This design paper I wanted to create the first layer also as an oval curves. How I did it was quite simple. I traced around a round object a quarter of the way then I moved the round object over a little bit and traced a quarter way around the other side. This created an oval shape that I cut out for my layer. See picture.
No comments:
Post a Comment