Tuesday, January 26, 2021
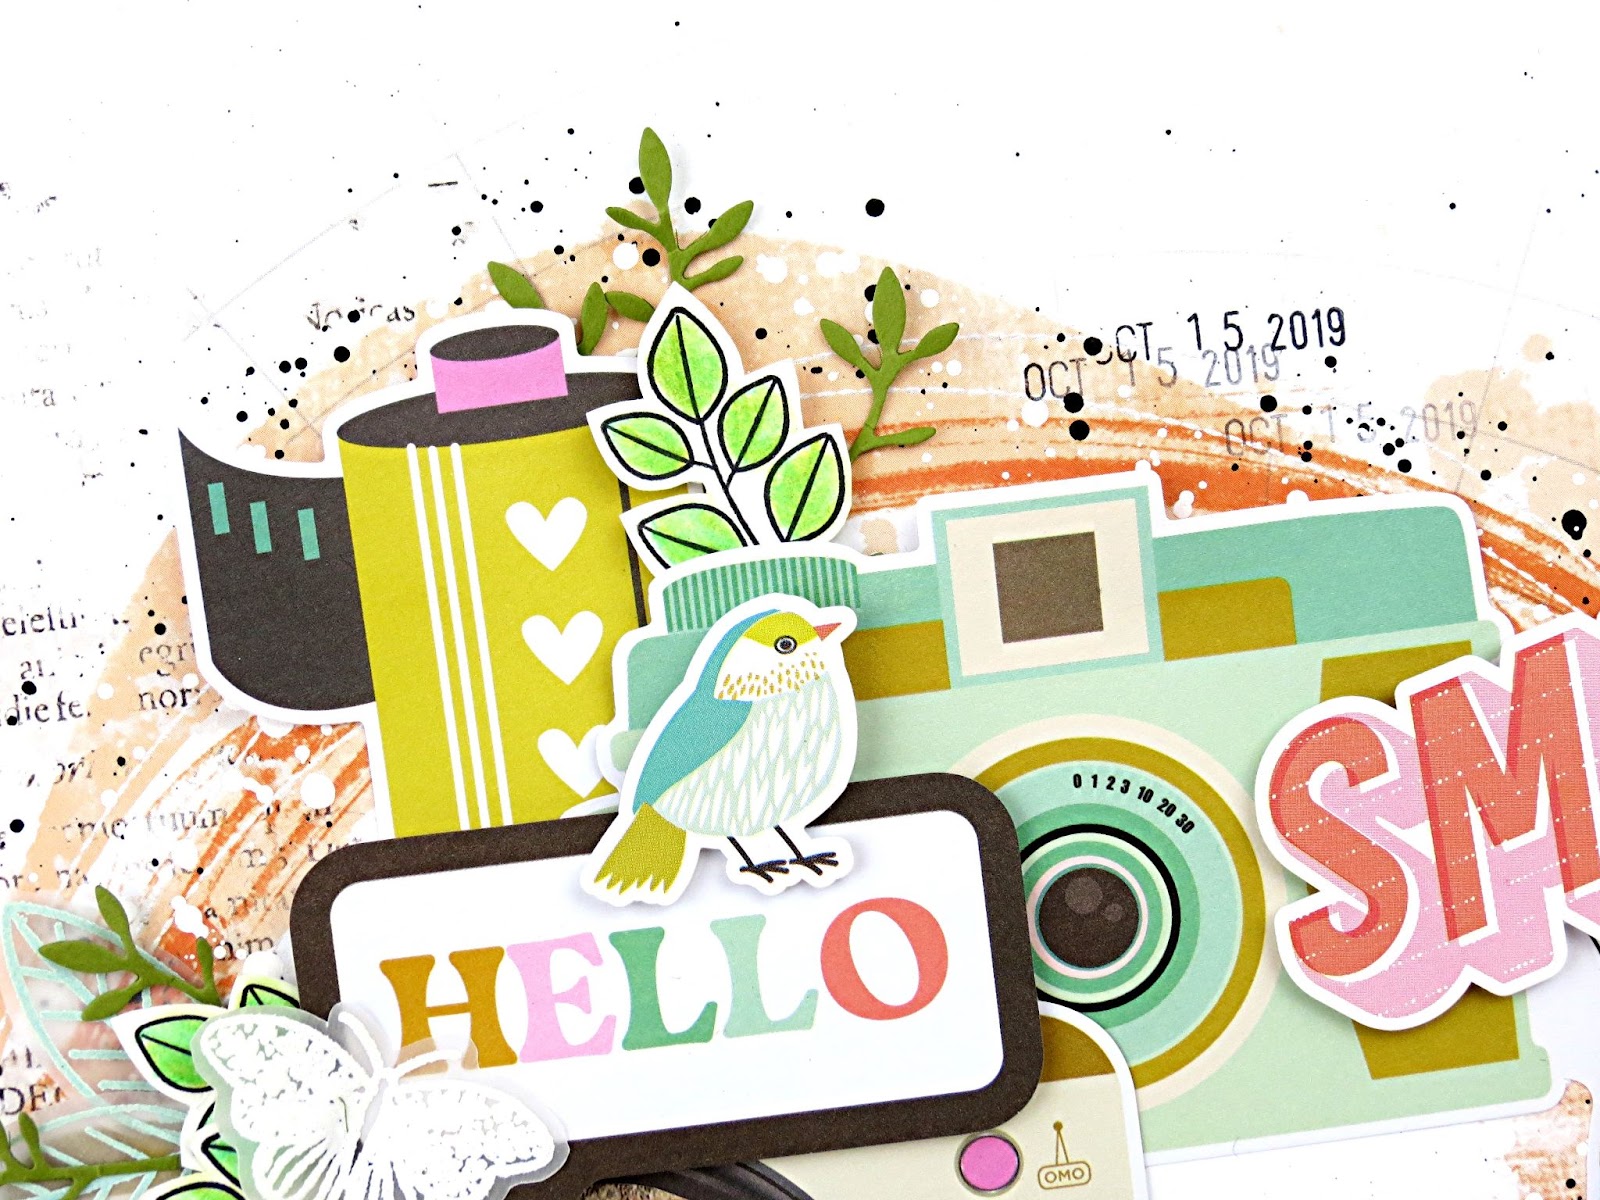
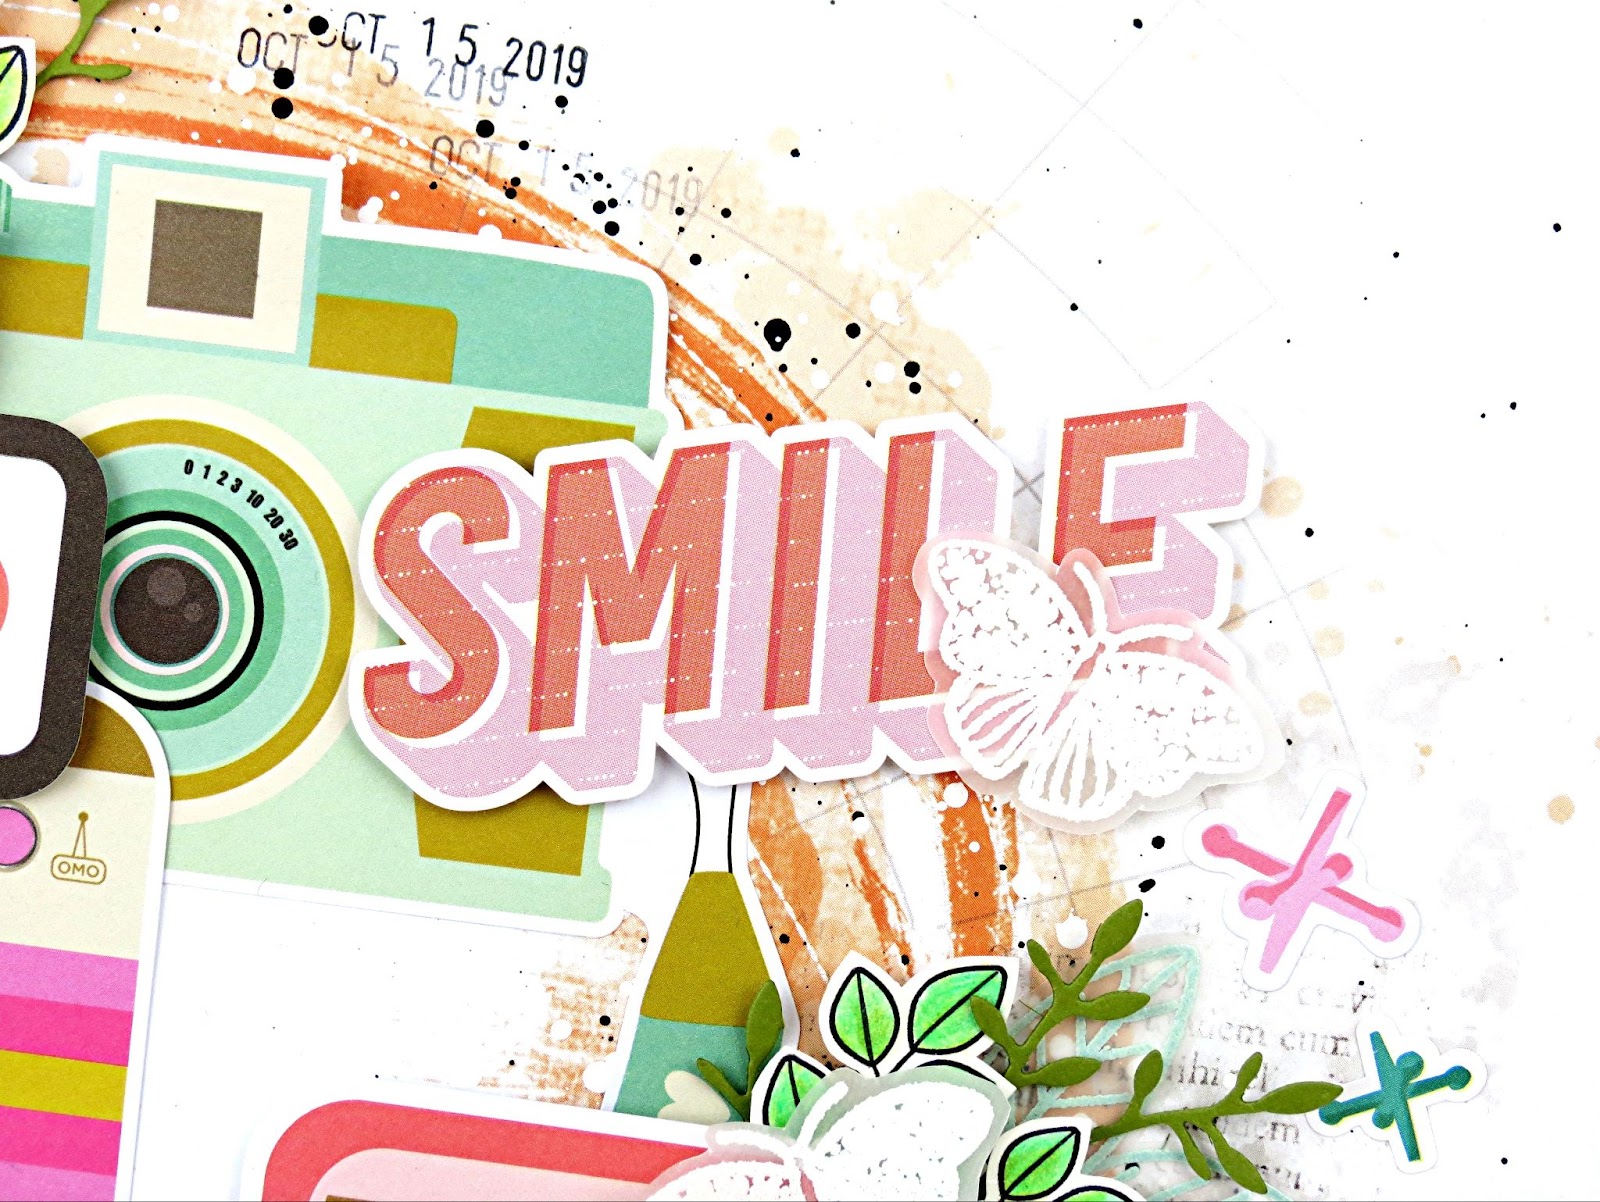
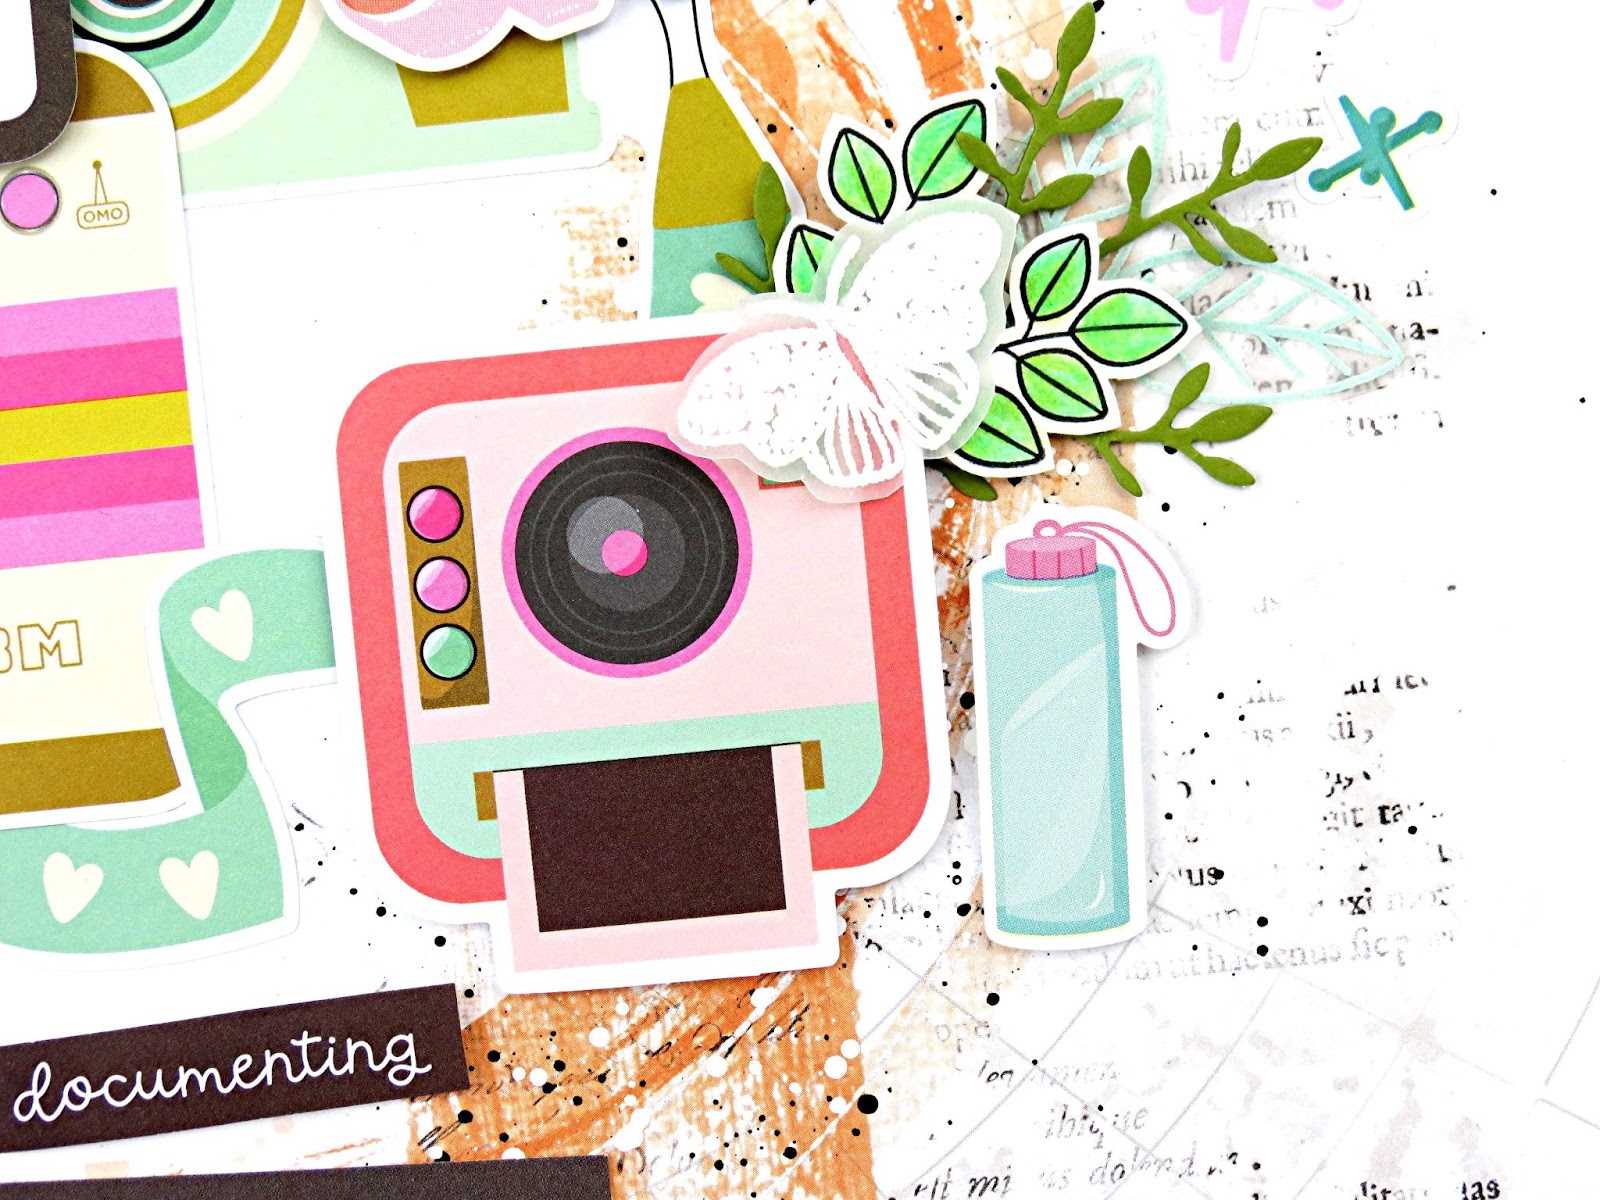
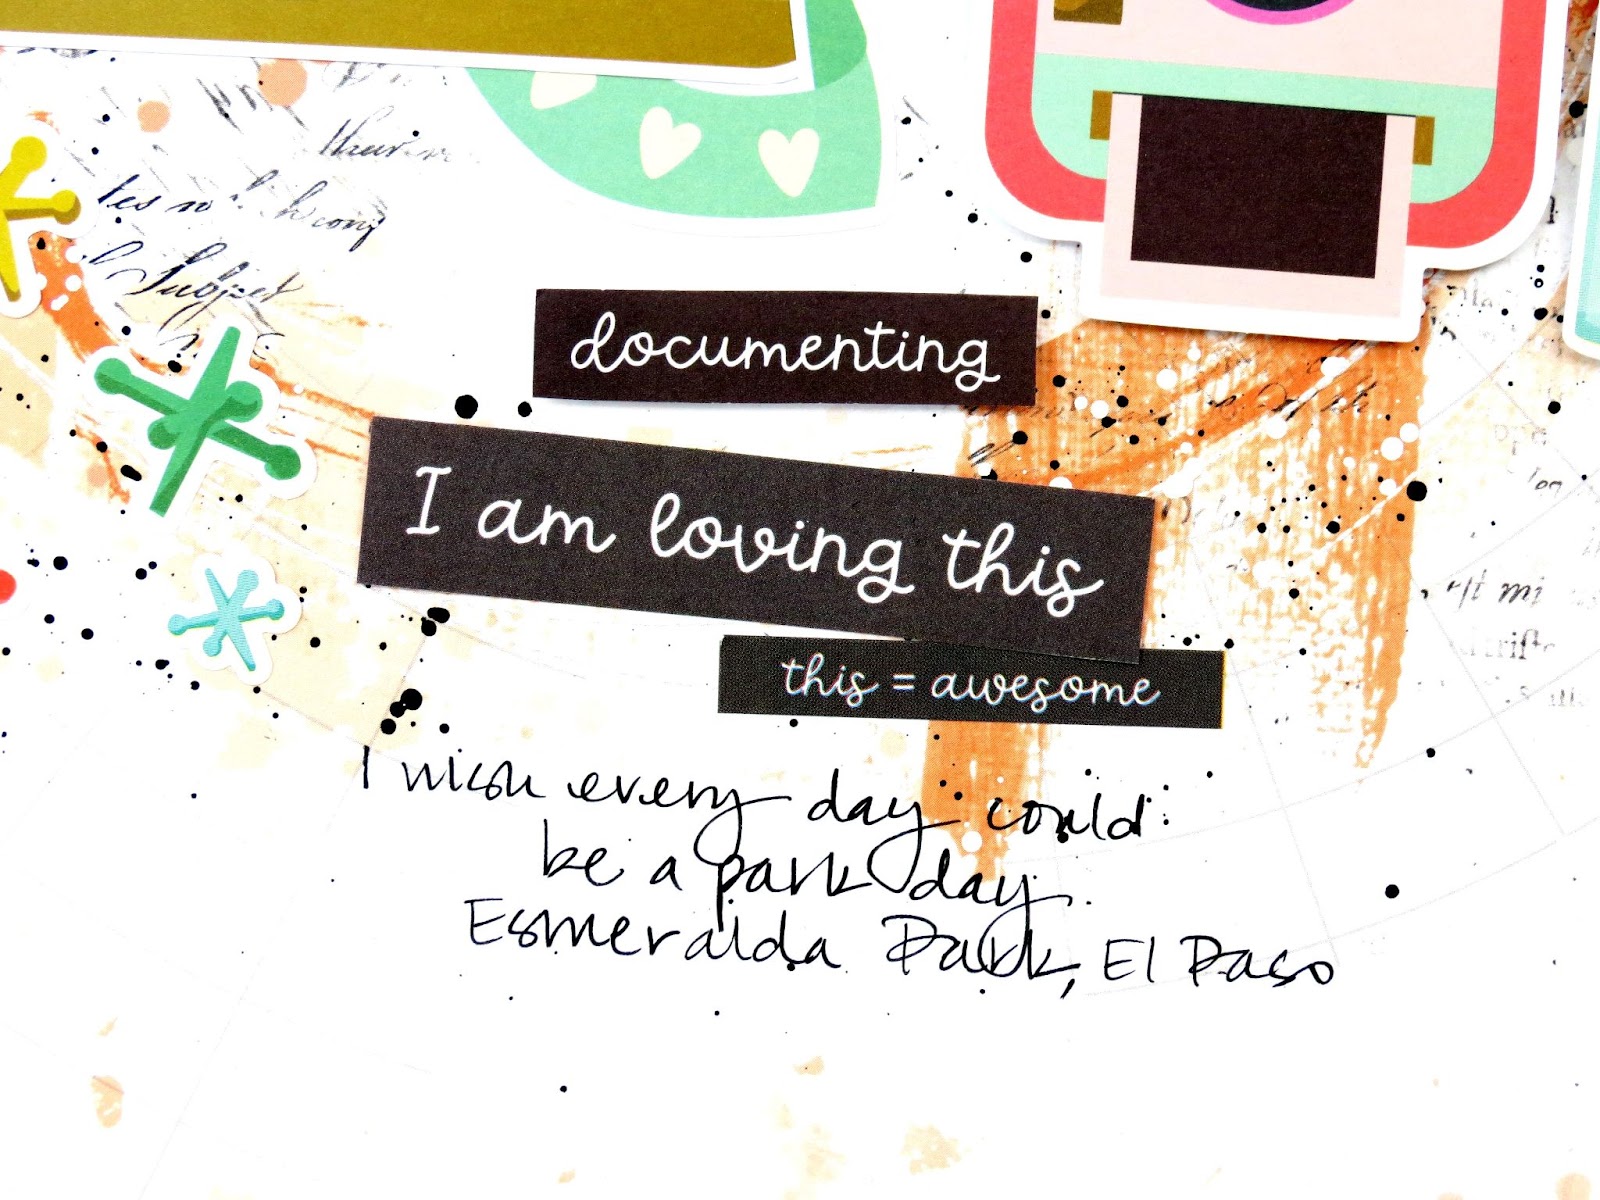
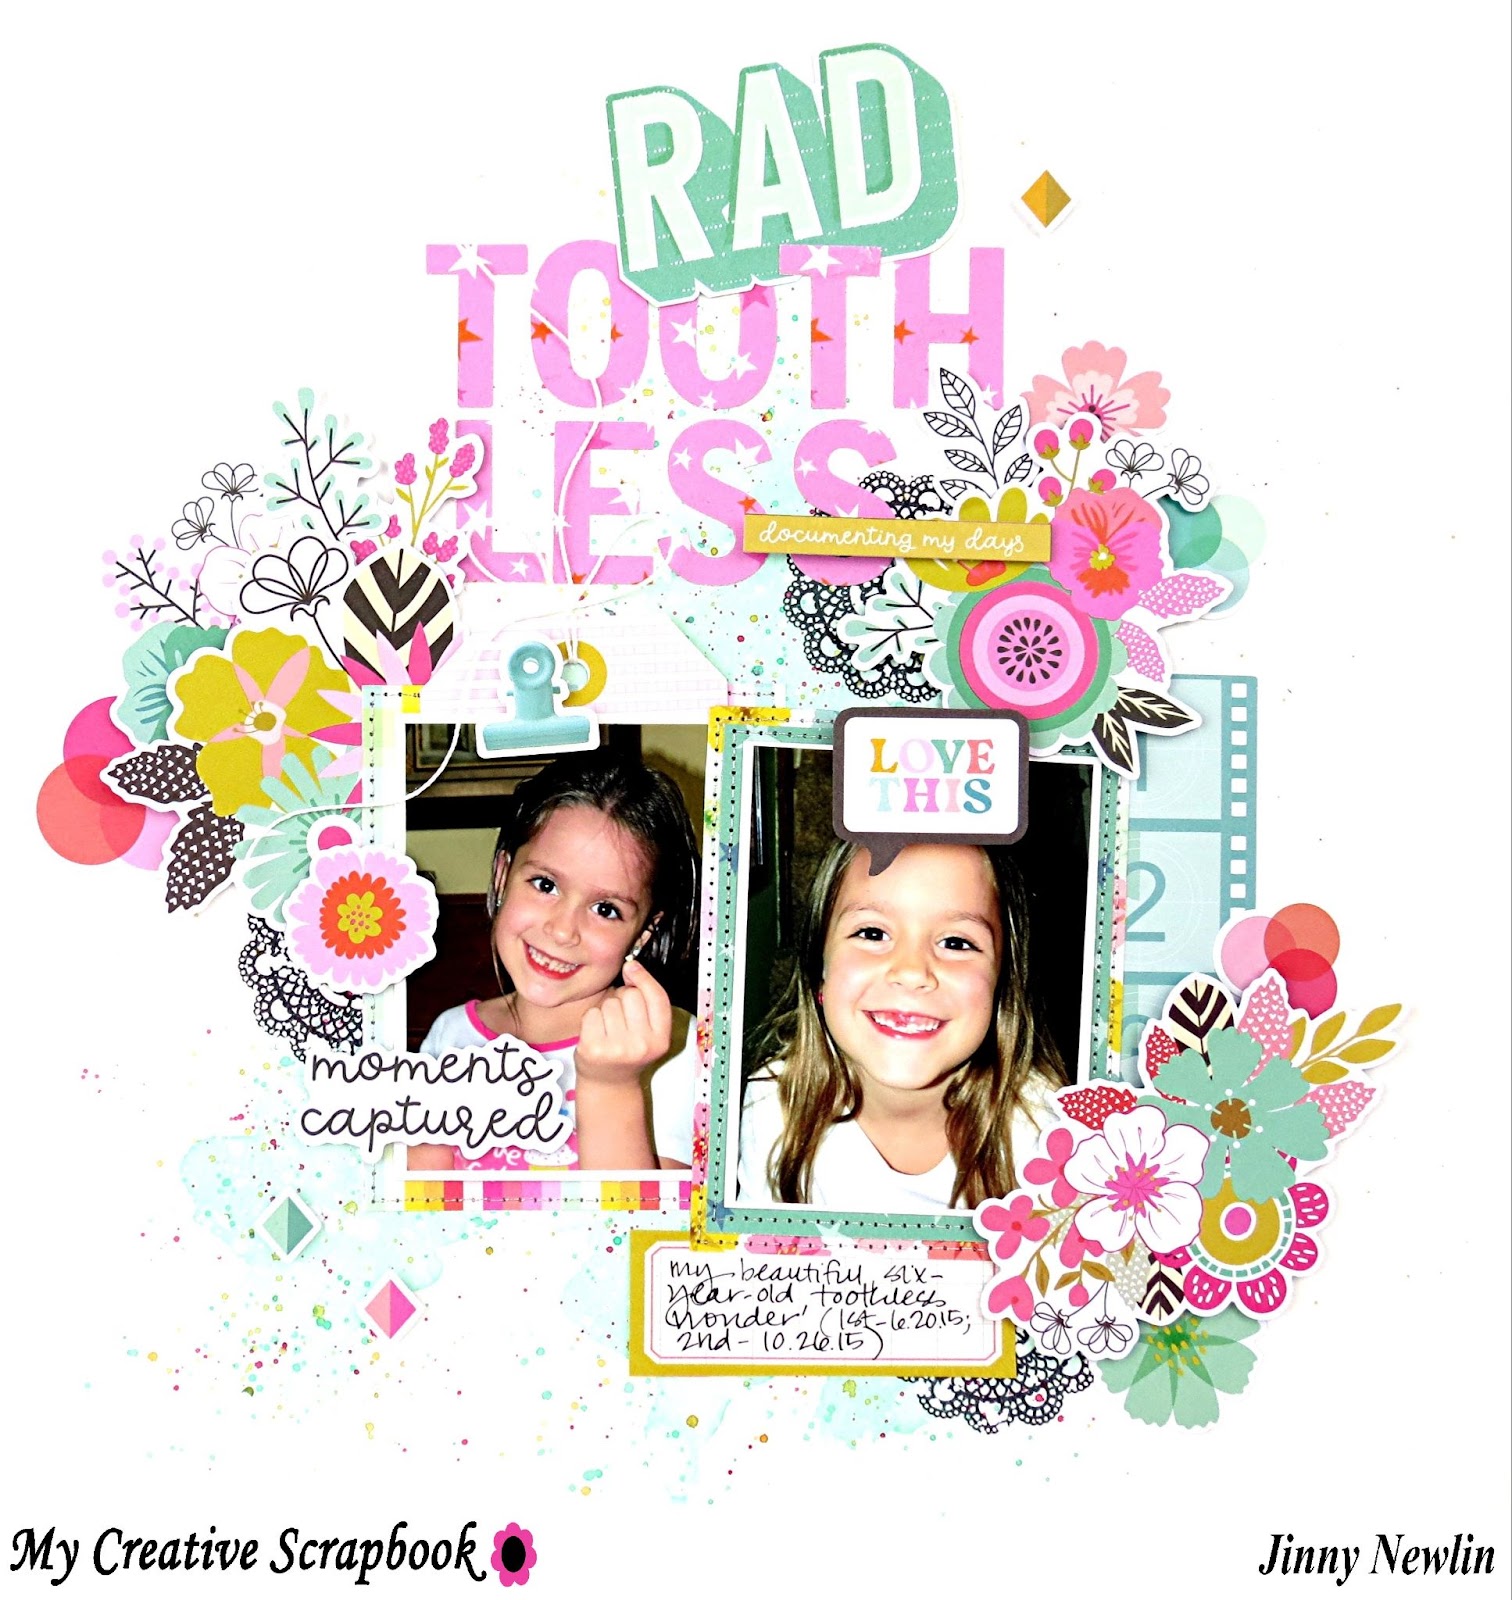
Picture Perfect with Marcia!
Monday, January 25, 2021
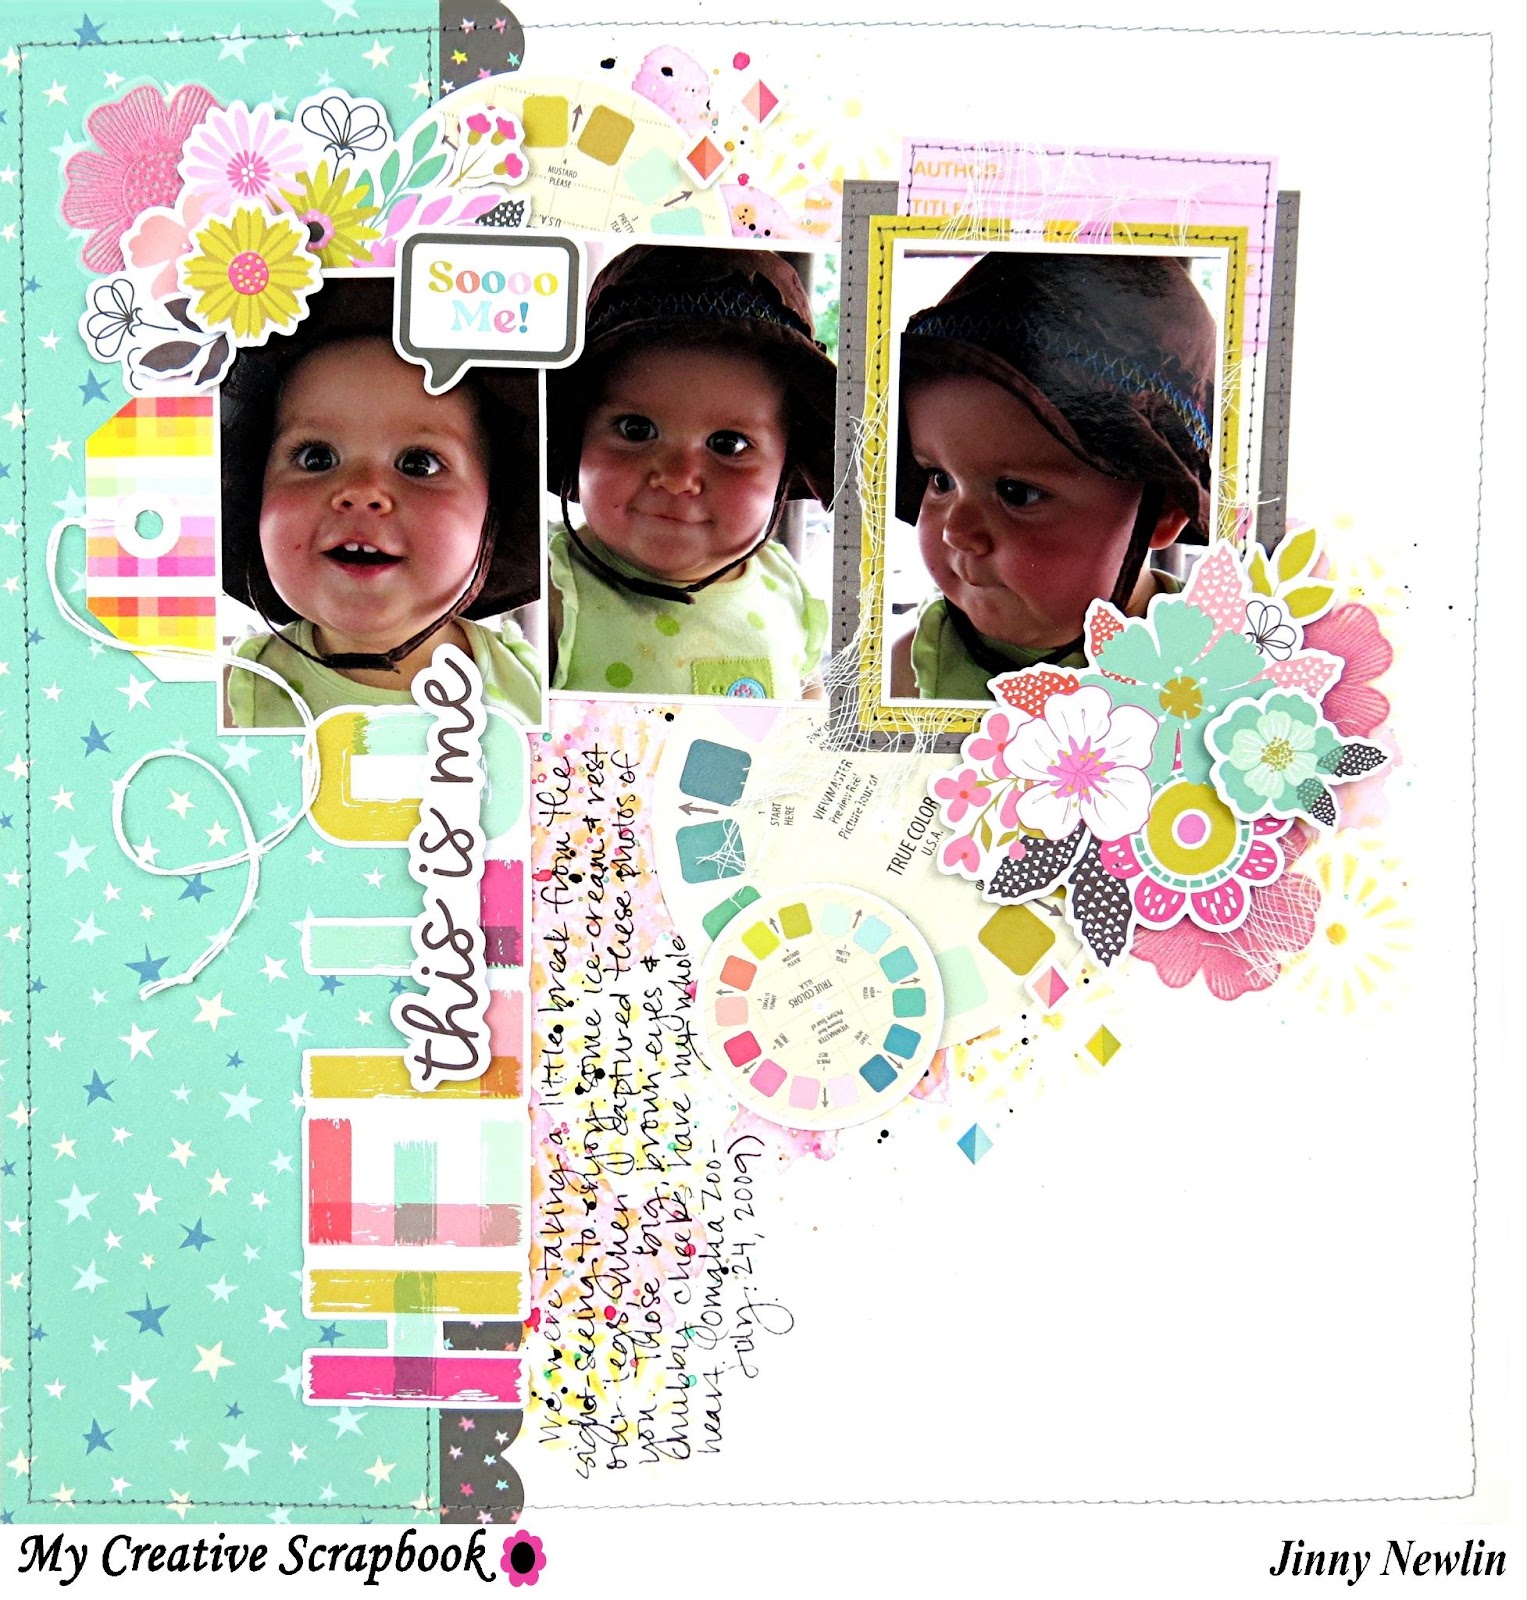
Love the Most by Elena!
Sunday, January 24, 2021
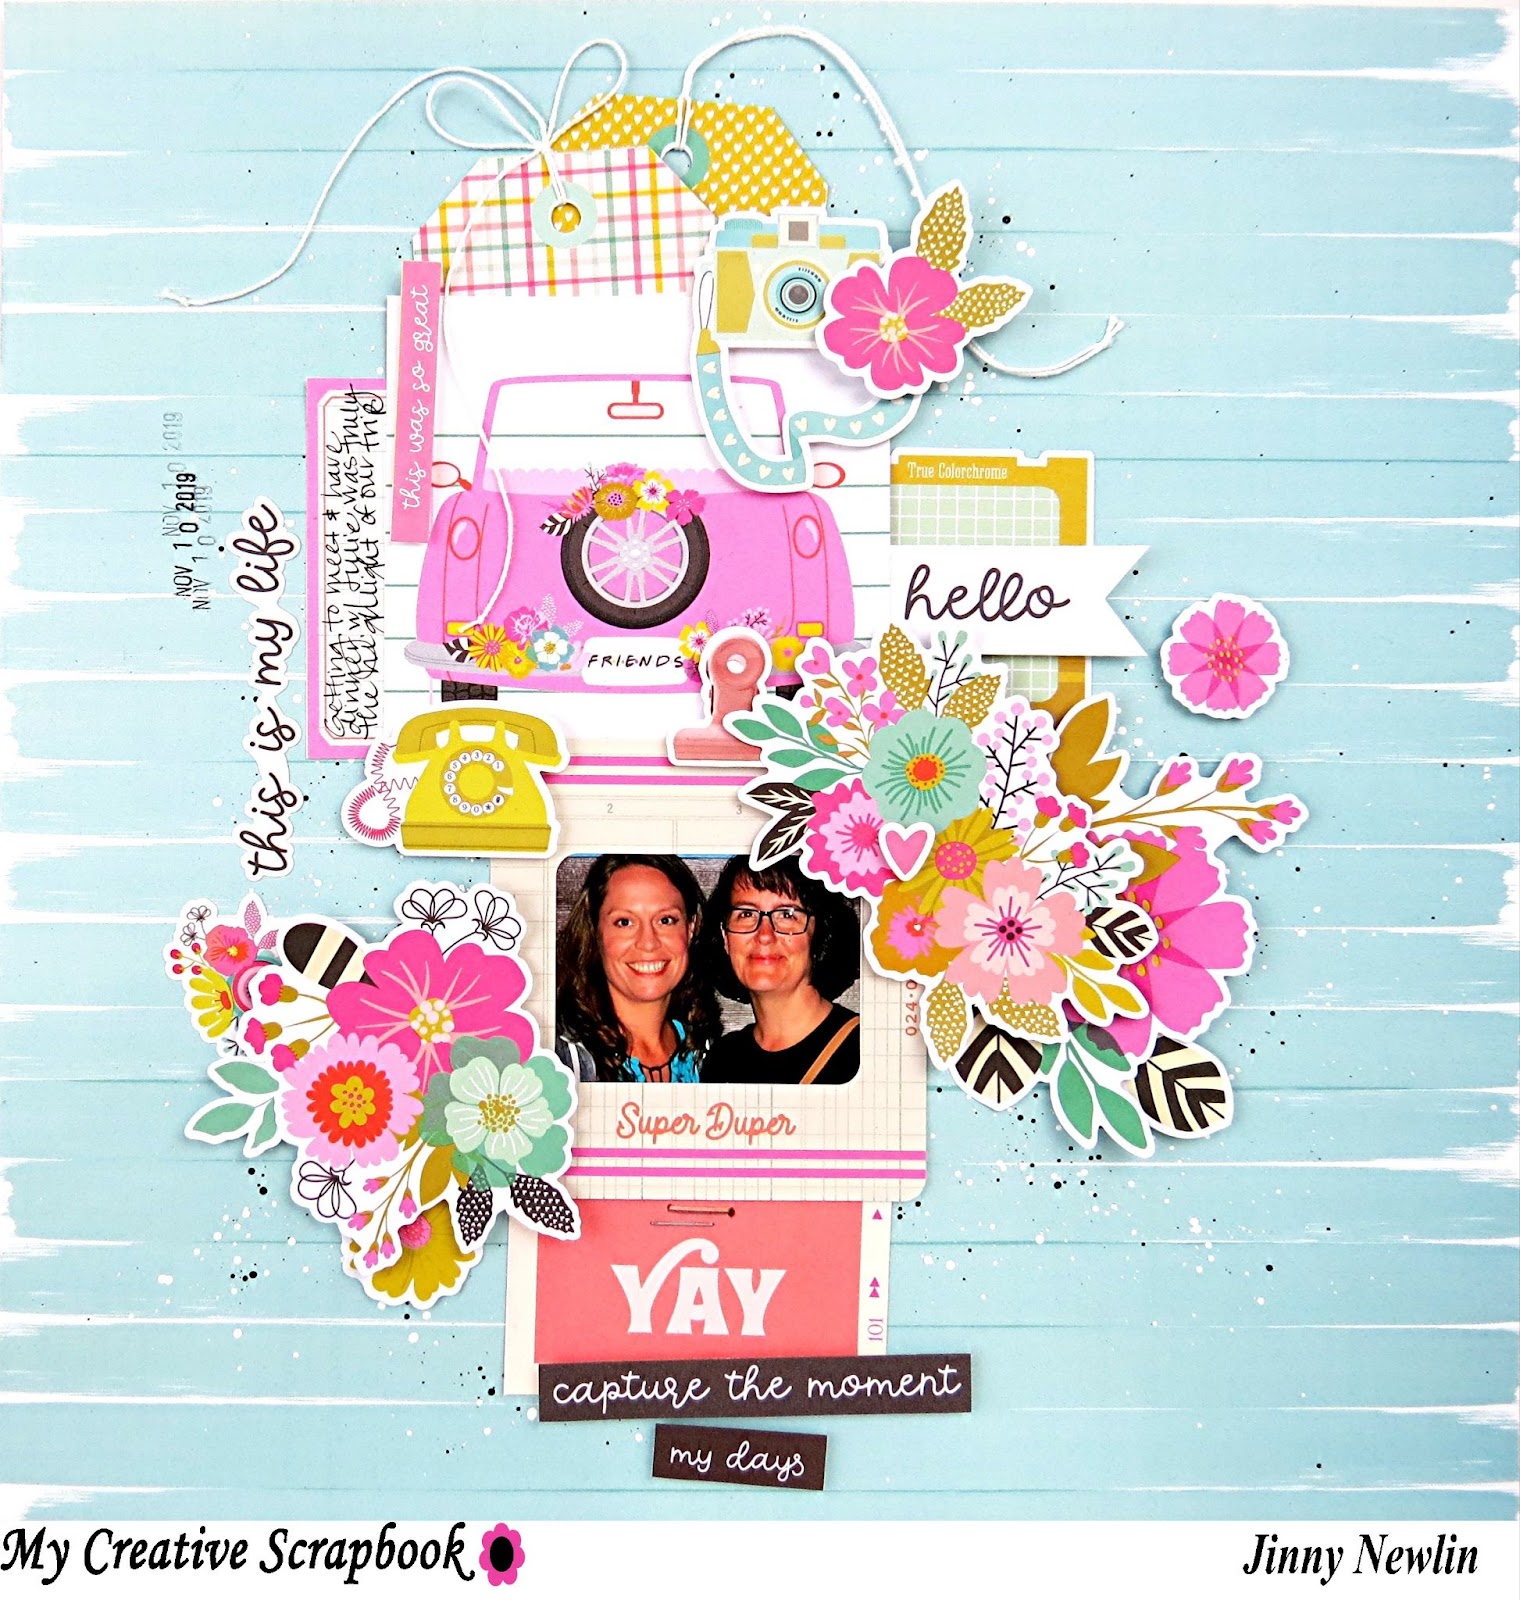
Baby its cold outside by Marcia!
Saturday, January 23, 2021
Magic with Michelle!
Hi, I'm Michelle and I'll show you today in my tutorial how to easily create a colorful Layout. This Layout is based on the amazing January scrapbooking kit from my creative Scrapbook.
You will need:
My creative Scrapbook Kit January
Photo
Scissors
Glue
Bakers Twine
1 piece of white card stock (I work here in 8 "x12", you can also do the layout in 12"12")
Foam pads (optional) with it you achieve a better three-dimensional optics
Step 1 - Design background
Take your stencil and spray and create a base for your layout. You can put the stencil on it, spray the paint on - or you can also use the leftover paint on the stencil like a stamp to get different patterns.
Step 2 – make it colorful J
Then cut out strips of different widths from the many colorful papers included in the scrapbooking kit. If you like, you can also fold and / or glue individual strips on top of each other to get more three-dimensionality. I have done so with the blue strip. You can also wrap the paper strip around a pen or your little finger to make it curl. I did this on the left outside with a paper strip. Glue all your strips with some space between each strip.
Step 3 - Photo cluster
In case of very colorful and contrasty backgrounds, I usually create the photo cluster separately. Take the photo in your hand and glue it on a colorful background. Then take different embellishments or paper scraps, tags, cards and glue them step-by-step under the photo. I used a card with a saying cut out of the papers included in the scrapbooking kit, then used it with a tag (also included in the kit) and a butterfly cut out of the papers. After that, I added an embellishment in the shape of a backpack in front of the photo, which I also cut out of a paper. If you want you can still attach a piece of Twine to the tag.
Step 4 - Title
Stick your desired title on the layout. I used an embellishment from the scrapbooking kit. Then combined with a cut out design from a paper.
Step 5 - Build a bridge between photo and title
Now glue on your photo cluster. Fill the gap between the title and the photo with embellishments. I cut out my embellishments from the papers included in the scrapbooking kit. Then add more embellishments until you like your layout.
I wish you a lot of fun while redesigning my layout. If you have any questions, I'll be there for you and I'm always happy to receive your feedback.
Michelle
Friday, January 22, 2021
Happy Day with Marcia!
Thursday, January 21, 2021
Card Process with Terri!
Wednesday, January 20, 2021
Rainbow Days with Marcia!
Tuesday, January 19, 2021
Sisters by Laura!
Monday, January 18, 2021
January 2021 Sketch Reveal
It’s time to unveil January 2021's fabulous Sketch. Everyone is welcome to play along.
Here are some samples created with the January Sketch that our talented design team have created.
Alicia Giess
Thanks for stopping by!
Tuesday, January 5, 2021
January 2021 Kit Reaveal!
Sunday, January 3, 2021
January Sneak Peeks!
We are so very excited to bring you these fabulous Sneak Peeks of what our talented design team members have been creating with December's beautiful kits.
Saturday, December 26, 2020
The Perfect Holiday Gift!
Ladies your Husband or Boyfriend not sure what to get you? Show them this ad and have them get you a prepaid Membership to My Creative Scrapbook! Latest and Greatest delivered right at your door!
Wednesday, December 23, 2020
Merry Merry by Laura!
Tuesday, December 22, 2020
Festive Layout with Michelle!
Hi, I'm Michelle and I'll show you today in my tutorial how to easily create this festive Layout.
1 preparation:
This Layout is based on the gorgeous scrapbooking kit from my creative Scrapbook.
You will need:
My creative Scrapbook Kit December
Stencil from my creative Scrapbook Kit November
Distress Crayon (or Watercolors, Sprays, Ink Pads..) and Dauber or Brush
Photo
Scissors
Glue
Bakers Twine
1 piece of white cardstock (I work here in 8 "x12", you can also do the layout in 12"12")
Foampads (optional) with it you achieve a better three-dimensional optics
Optional: Breads or Enamel Dots
First of all I designed an envelope. This is very easy - cut a paper strip in 9 "x3" format.
Fold it outside on both long edges at
0.5" and then fold again across the width at
4" and 8
For the 1" high flap, cut away the side parts.
Fold the long side parts in and glue them together.
Now you have a nice envelope in which you can also put a note. If you punch/cut two
circles with a circle punch (or by hand), you can stick them slightly raised with a 3D adhesive pad on the envelope and on the flap (outside - not visible in the picture). You can close the envelope with a piece of twine. But on the layout I glued it open.
It looks nice if you put an Enamel Dot or a Brad on the closure as decoration.
Now I use the stencil from the last kit again. I find it so fantastic and it fits perfectly not only for autumn but also for Christmas. With a Distress Crayon, a Dauber and the stencil I now design the background. Alternatively you can use
watercolors, sprays or other colors.
Step 3 Start creating:
Now glue the envelope to the paper. After that your photos will follow. Glue them only in the middle and partly raised for a
three-dimensional look.
Step 4 photo and title cluster
Think about the title and glue it on. I simply chose the small envelope with "Dear Santa" and stuck it behind a photo. This title fits perfectly with the story my layout wants to tell. My kids are in the process of
creating their wish list for Santa in the photos.
Step 5
The layout now makes a somewhat empty impression. The whole photo cluster will now be completed with paper scraps that I put under the
photos and stickers that I stick next to and over the photos.
Step 6
The central element is now finished. Now I cut paper strips to size, which I stick on the top and bottom of the photo. To give it a more playful look I tear the strips by
hand.
Now I take my stickers and embellishments again and complete the whole layout with
them.
The rosettes are simply made with a zigzag folded paper strip. I have completed them with a brad.
I hope you enjoyed this tutorial. Please leave me your questions and remarks as
comments I am looking forward to your feedback. Have fun with your creative work.
Monday, December 21, 2020
Ho Ho ho with Marcia!
Hi, My Creative Scrapbook fans! Design Team member Marcia Dehn-Nix is treating us to a fabulous process video today using our December Main kit!