
My Creative Scrapbook design team member Jodi Baune is up today with a tutorial featuring our November Main Kit!
Here's Jodi:
The kits at My Creative Scrapbook are always full of an assortment of incredible embellishments. The November Main Kit has some fabulous wood pieces from Dear Lizzy. Today I am sharing how I altered a few of those pieces!
*reminder* just click on the photo to enlarge!
The first one I chose is the word "love." I started by applying ink directly to the wood. Although I will be adding glitter, I don't want white showing through.

Next, I applied a generous coat of Ranger Glossy Accents.

While the Glossy Accents was still wet, I covered the piece in copper glitter. Set aside to dry. I love the shimmery glitter affect but we all know how glitter seems to go on and on now matter how much we clean. My solution....once the glitter had dried I applied another coat of glossy accents. Not only does it keep the glitter in place, it adds a fun glassy look!

For my second piece, I grabbed the heart. I started by applying a quick coat of gesso.

Once dry, I brushed Vintage Photo Distress ink to the edges using a dauber. When wet, the ink will bleed, contributing to the aged, distressed look I am hoping to achieve.

Next, I applied regular embossing ink directly to the wood, and then a generous coat of UTEE Embossing powder. (Ultra Thick Embossing Enamel)

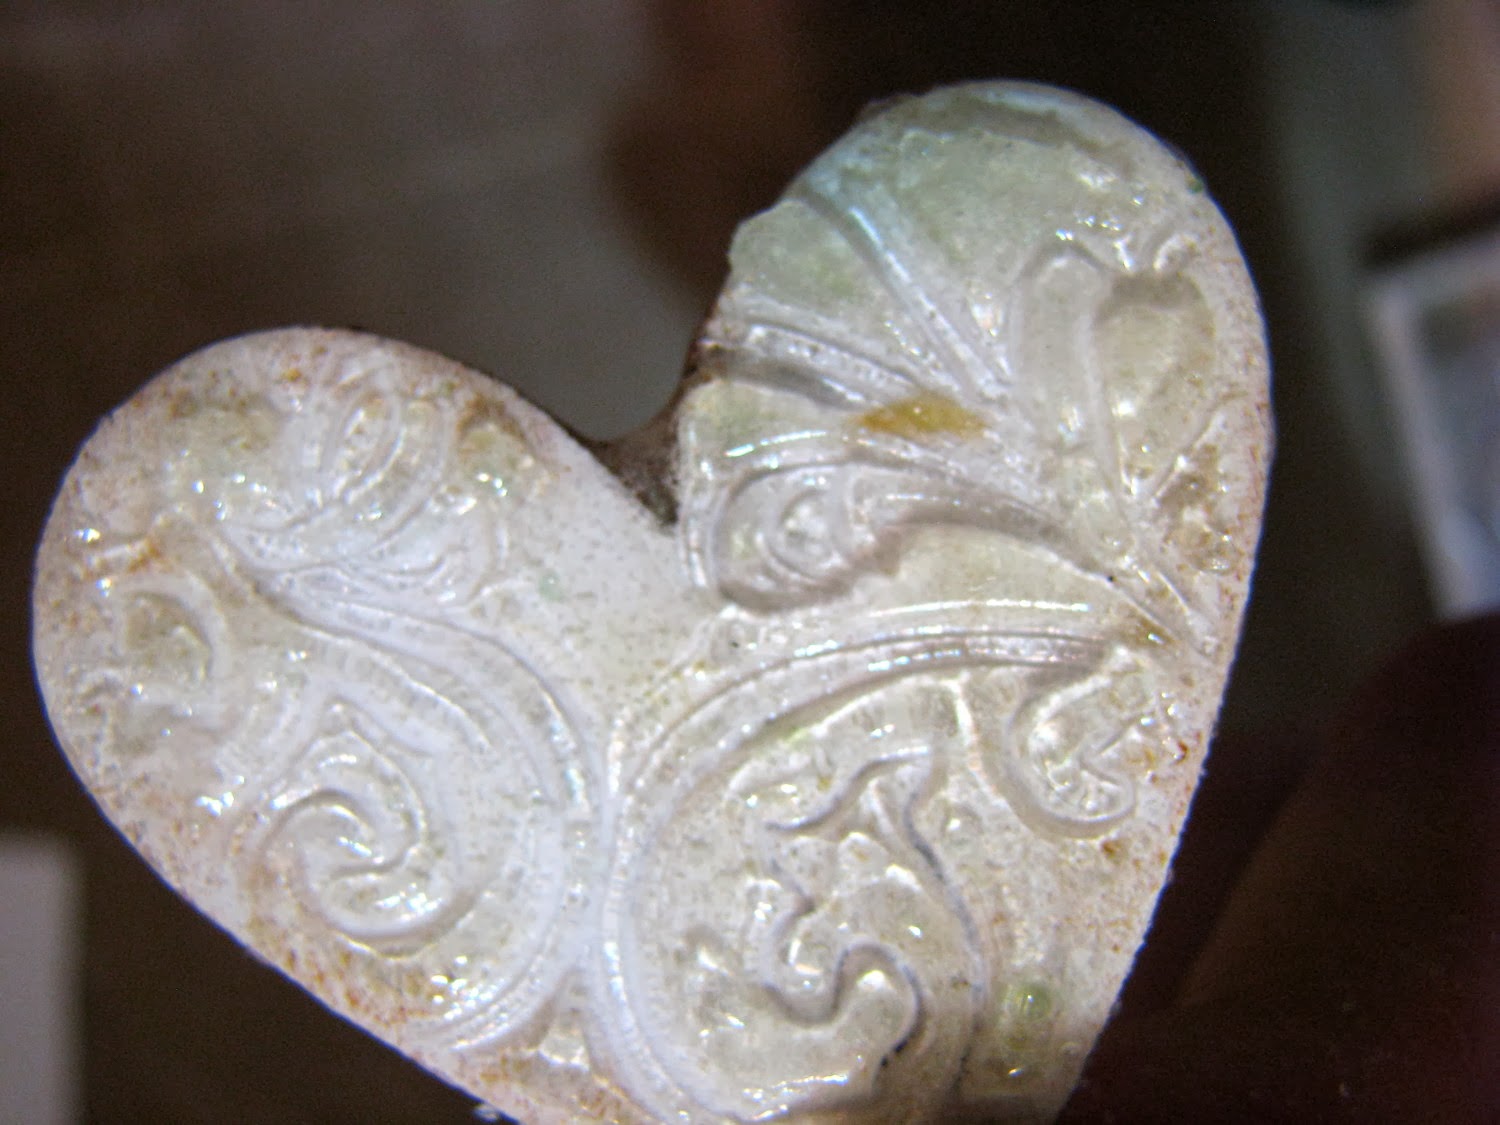
Heat embossing powder. I repeated the embossing ink and UTEE process 3 times. ( By adding three layers, it created a thick coat in which I could create a good impression with a stamp.) After heating the last layer of embossing powder immediately press your stamp into the UTEE while it is still warm. I did not to add ink to my stamp as it was the flourish impression I was after.

Here is the impression! I used a Prima stamp from a previous My Creative Scrapbook kit.
To distress my image, I covered it entirely with black paint, making sure to get into all the crevices.

Before the paint dries, wipe the paint back off. The paint will remain in the impression creating a distressed look, and enhancing the details.

Here you can see both the sentiment and heart being used on my layout

Lastly, I chose an arrow. I started by adding gray and Vintage Photo Distress Ink around the edges and filling in sporadically. By using Distress Ink, the inks will bleed when wet, adding to the distressed look.

Next, I lightly dry brushed gesso here and there.

I applied embossing ink directly to the wood on the edges and in random area. While still wet, I added Ranger Distress Embossing Powder. Heat.

Adding to the rustic look, I added a generous coat of Ranger Crackle Accents. Once completely dry, I rubbed ink into the cracked crevices. The Accents also enhanced the colors of the inks and embossing powder!

I love how this one turned out! It is the perfect touch for my masculine page!

For more information on the kits available and inspiration from the design team, head to My Creative Scrapbook. More how-to tips and tricks can be found daily at My Creative Scrapbook blog!
Thanks for stopping!

We invite you to join us and experience the possibilities that our coordinated monthly kits offer. To purchase a kit, please visit our website, here.
No comments:
Post a Comment