Nicole Doiron is featuring our March Main Kit today with a step by step shadowbox tutorial!
--------------------
--------------------
Please visit our Design Team Gallery to view more of Nicole’s beautiful work.
Here's the March Main Kit:
For full descriptions of our kits, subscription information, and more, visit our website at MyCreativeScrapbook.com
--------------------
For my tutorial this month, I've decided to show you a step by step tutorial
on how I created my I Am shadowbox frame using the March Main kit.
The frame was a plastic one that I bought at my local Dollar store
from which I removed the glass, the total frame opening measuring 9 1/2" x 7 1/2".
I kept the white "passe-partout" as my base.
I cut my background paper 9" x 7" and distressed the edges.
I then stuck the paper on to the 'passe-partout'.
I made a tag out of some different pattern paper by simple using
a tag I already had in my stash as a template.
I added in a golden eyelet to go along with the I Am... collection.
Then, I cut out the designs that I wanted to include in the frame,
rounding the corners with my corner punch.
I used 3D foam dots on the back of these pieces in order to create a layered effect in my frame.
I overlayed and centered them onto my base.
I added a bow on the tag with the beautiful coral-colored ribbon included in the kit.
Now time to decorate my project and add on some embellishments,
starting with some flowers!
I then decided to fussy cut this butterfly off the patterned paper.
I added the butterfly and some doily punched borders.
I then add fun with some leftover chipboard pieces (flags, circles),
painted them metallic black and added them on.
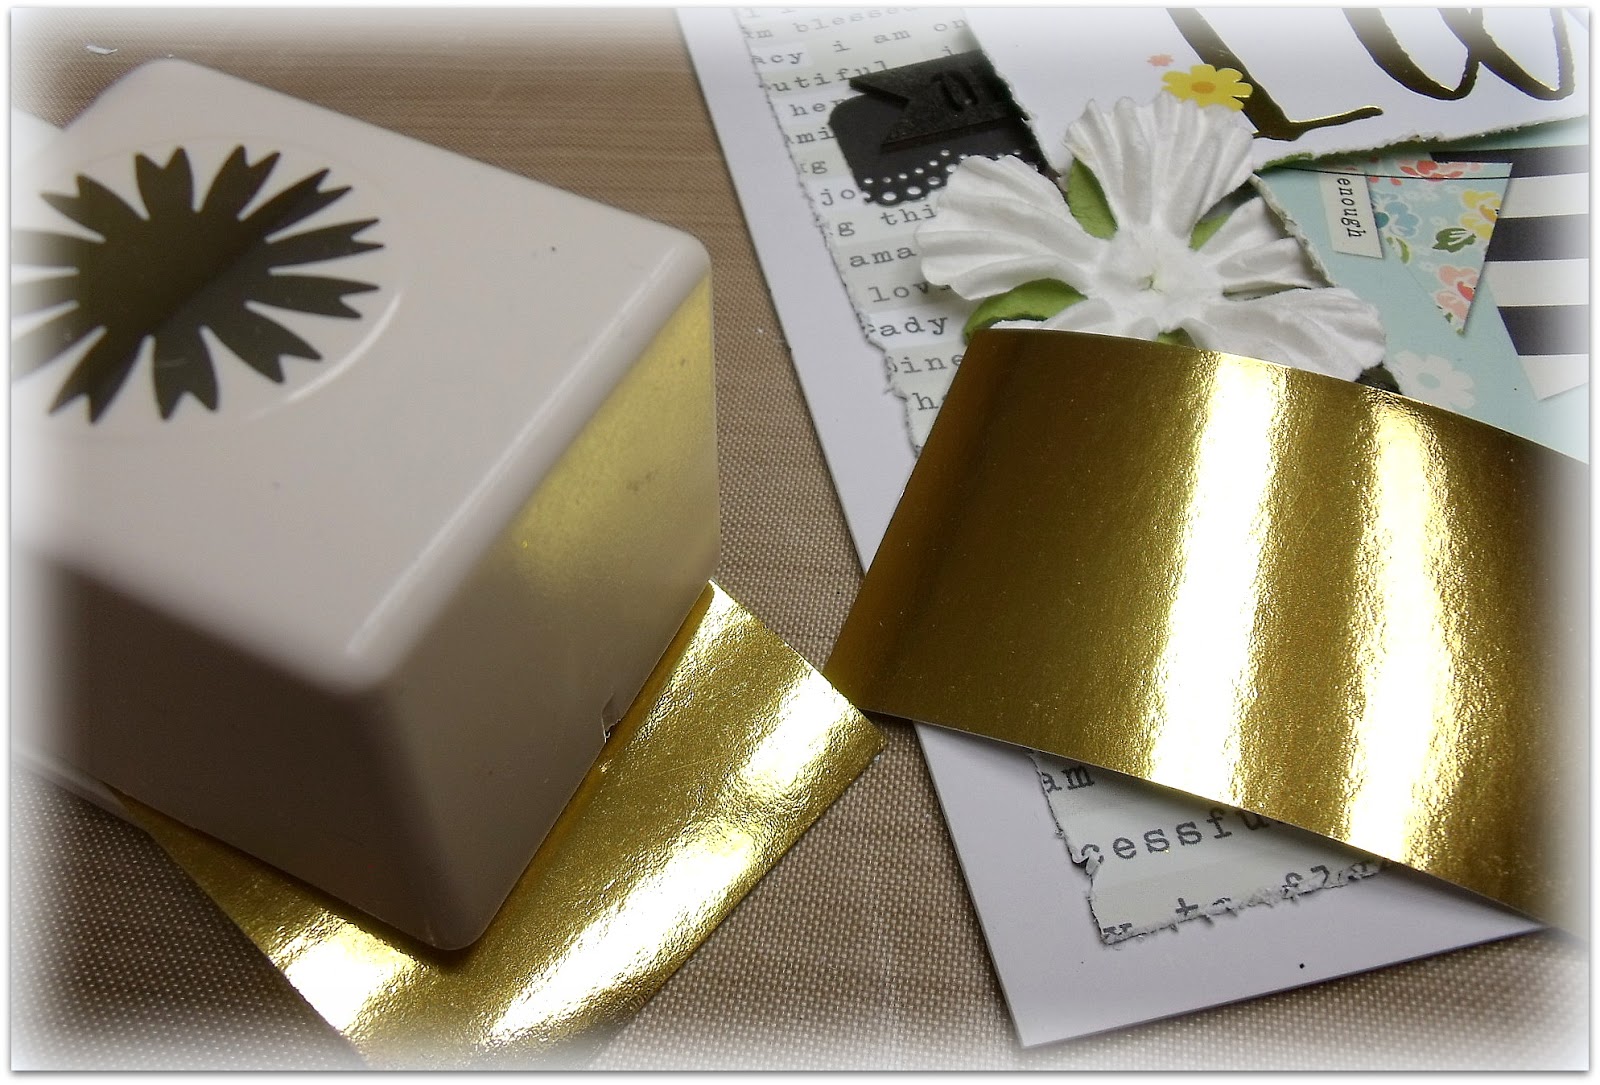
Next, I wanted to add a nice center on each flower so I punched some daisy shapes out of shiny gold paper from my stash to match with the papers.
I added some brads also from my stash.
My frame base was almost finished.
The only thing left to do was to dab on some white acrylic paint
in order to soften it up a little, as I normally do on most of my projects.
It was then ready to go back into the frame.
And there you have it...
I hope you enjoyed my tutorial this month!
--------------------
Please visit our Design Team Gallery to view more of Nicole’s beautiful work.
Here's the March Main Kit:
For full descriptions of our kits, subscription information, and more, visit our website at MyCreativeScrapbook.com


.JPG)

No comments:
Post a Comment