Here's Nicole...
Tutorial #1 - Paper Daisies
Although MCS kits are always full of beautiful blooms, sometimes if you're an embellishment addict like me, you just can't ever get enough and you need a little more to make your project complete. It's quite simple to make your own.
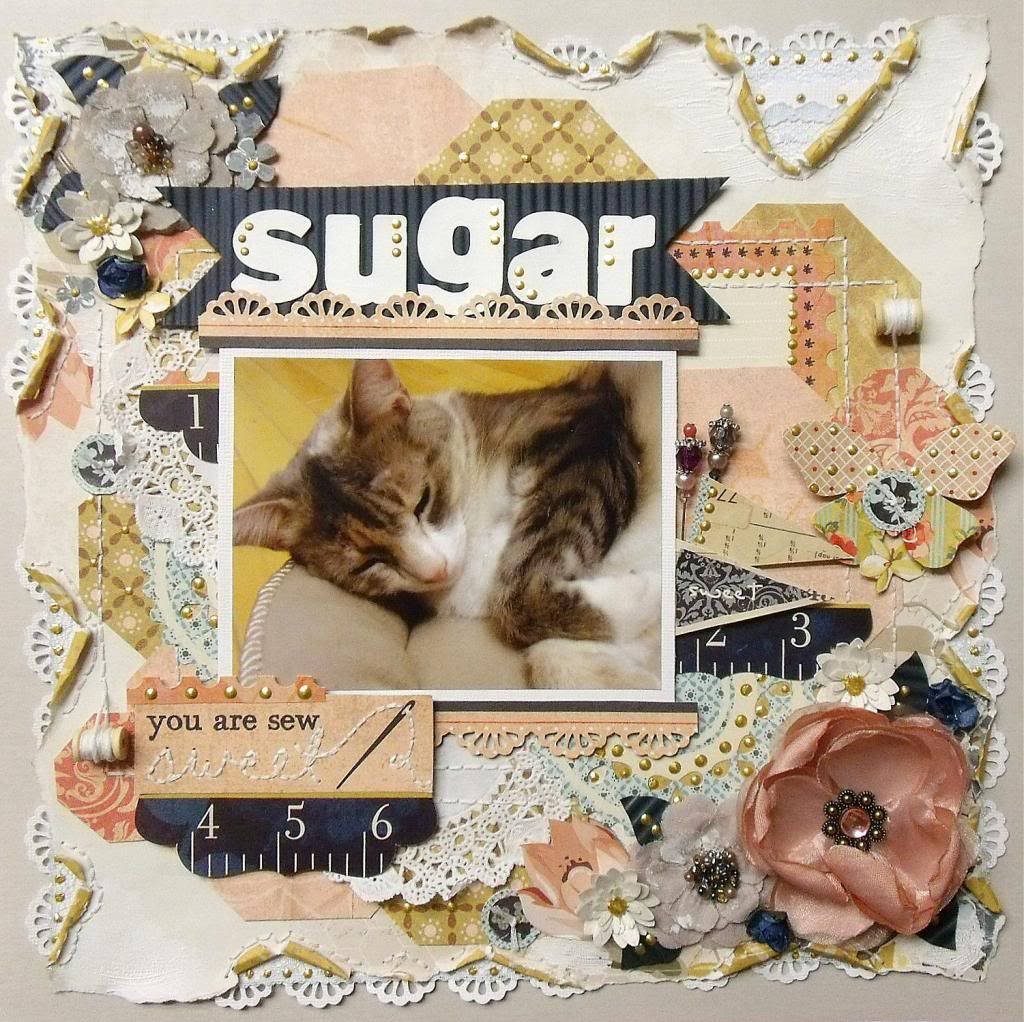
In my Sew Easy layout, I made some paper daisies using part of the packaging material that came with my kit.
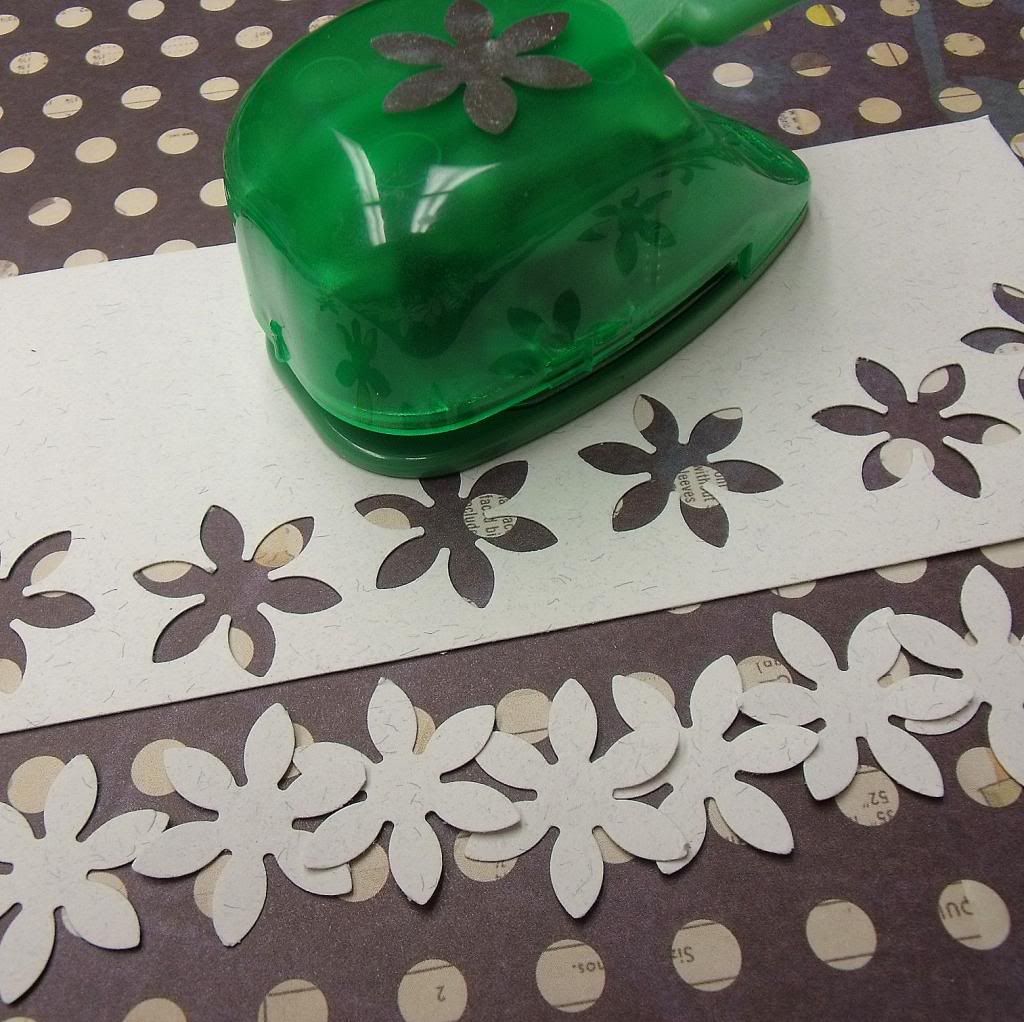
I used 2 different flower punches, big and small and punched out some flowers out of the cardstock.
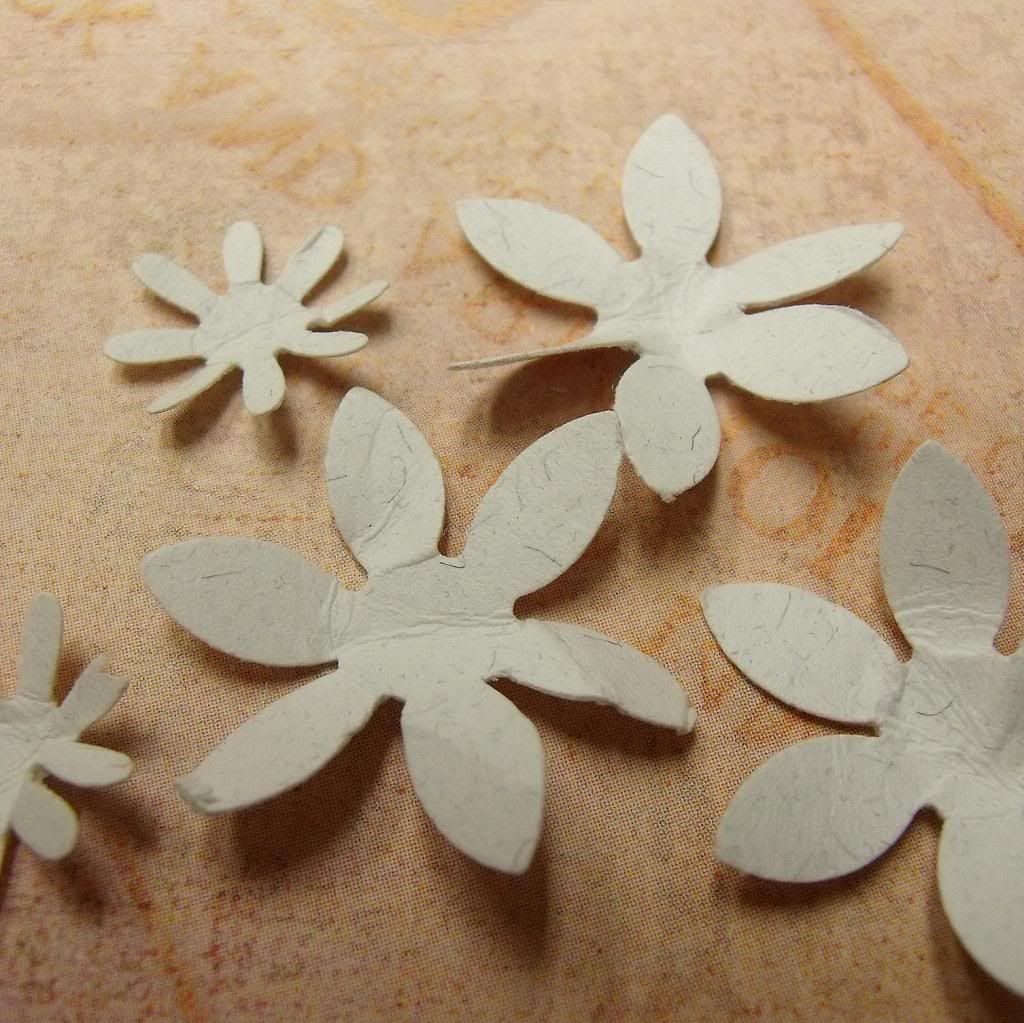
For each daisy, I used 3 large flowers and 2 smaller ones.
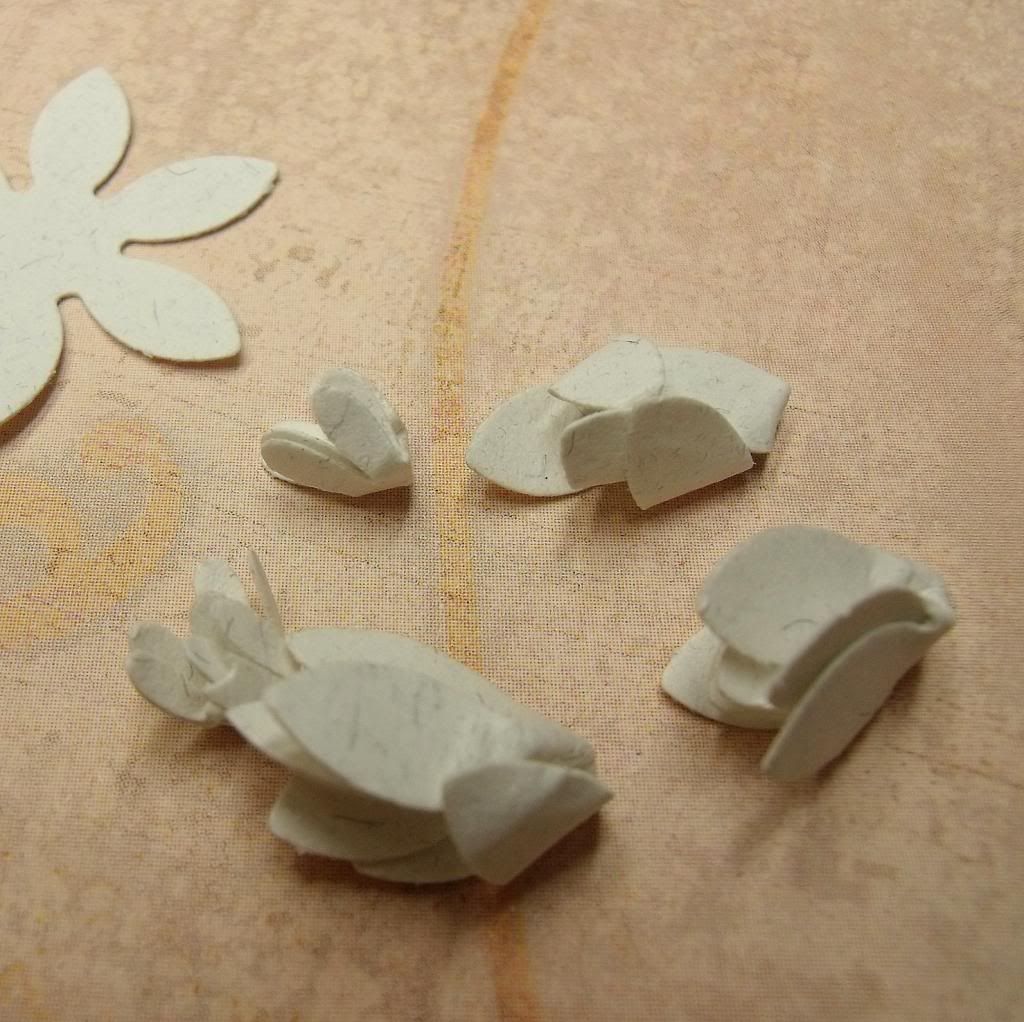
I crunched up each flower between my fingers, making sure to crinkle them completely to make the paper more malleable and then straightened them out again.
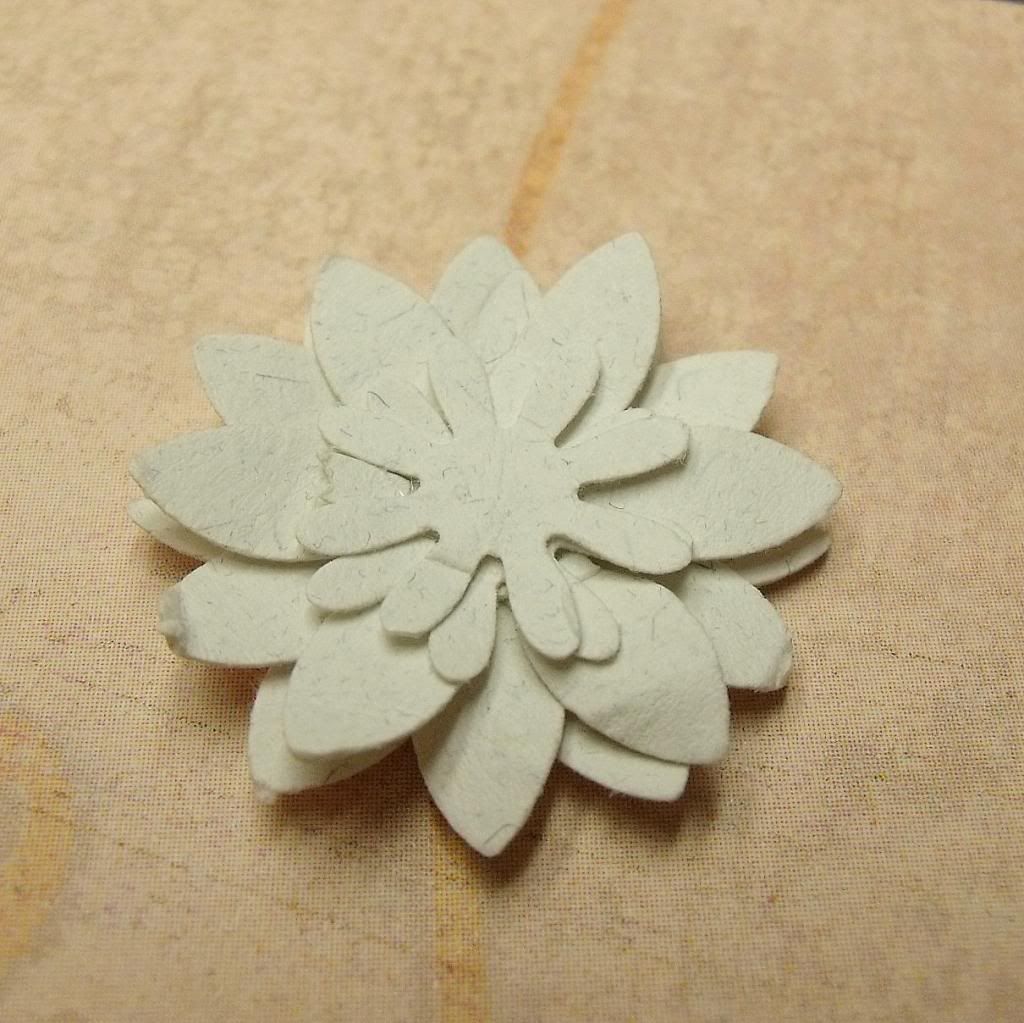
Using GlueDots, I attached the flowers together, 3 big ones on the bottom and the 2 smaller ones on top.
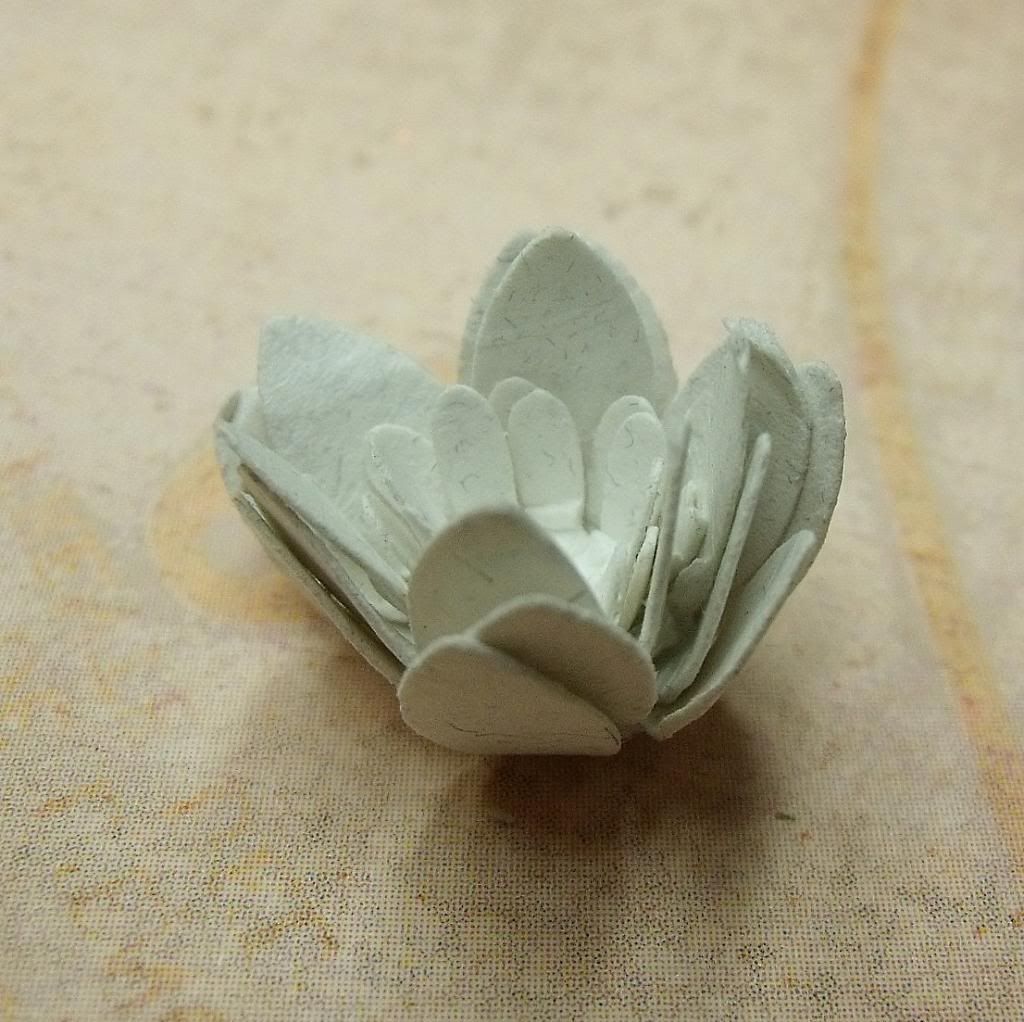
I crunched up the flower again in between my fingers folding the petals upward to give the flower more dimension and then opening each petal.
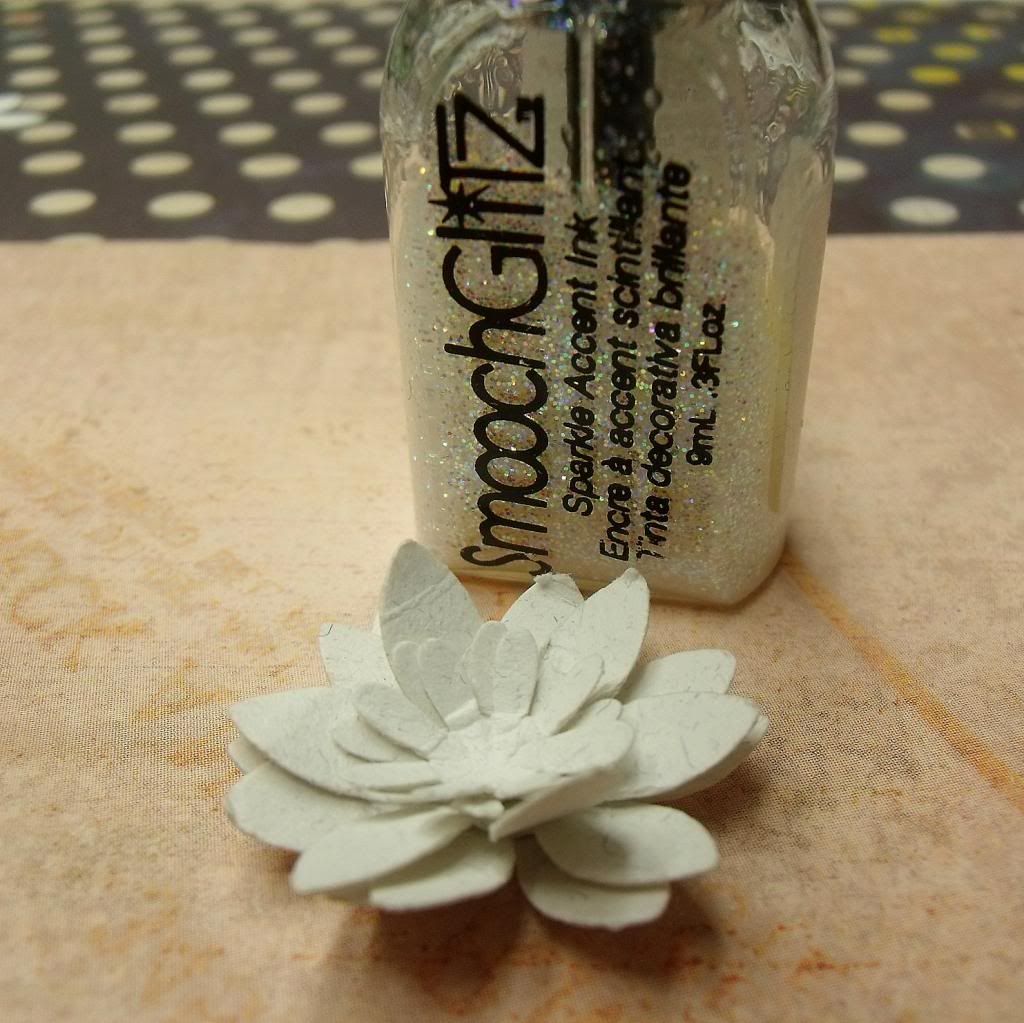
I then covered the flower with SmoochGlitz. You can use any type of glitter, mist or ink you want.
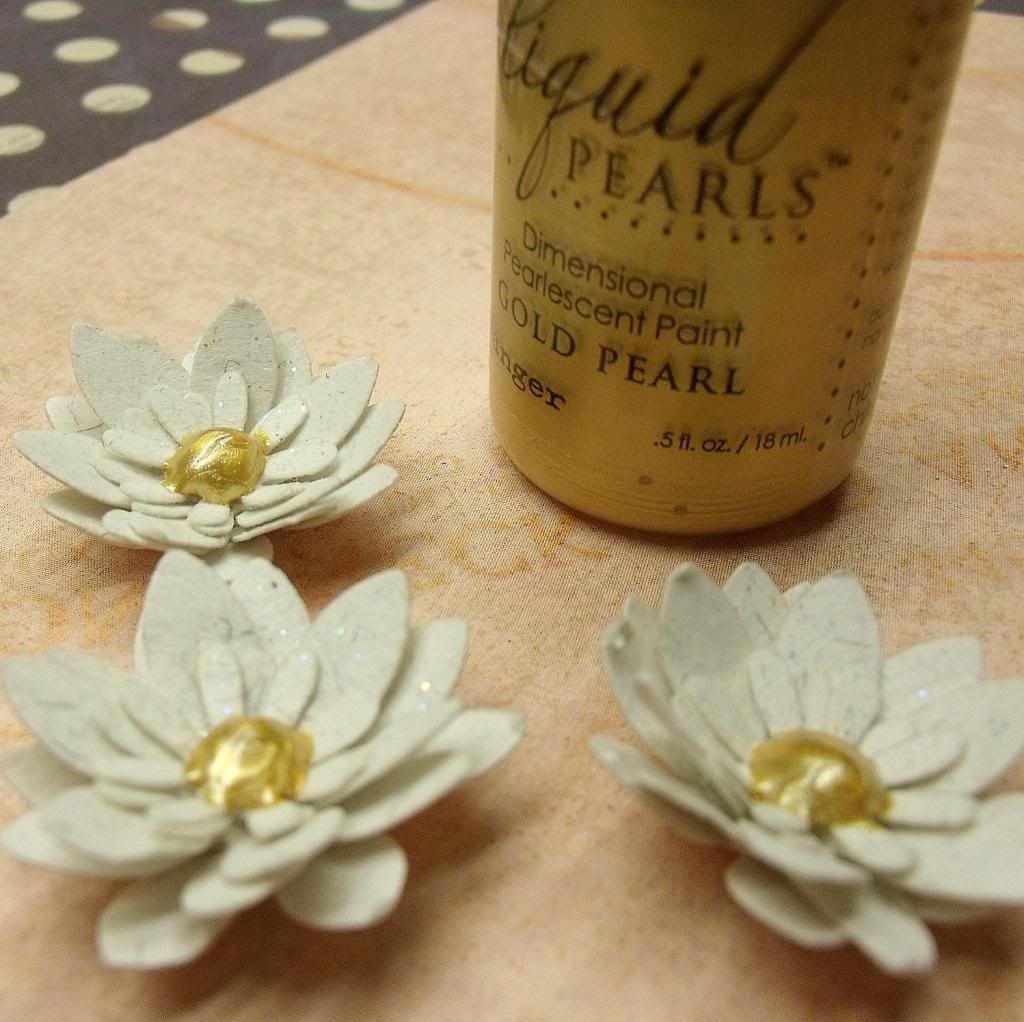
After the glitter on each flower was dry, I added a large dot of gold Liquid Pearl in the center.
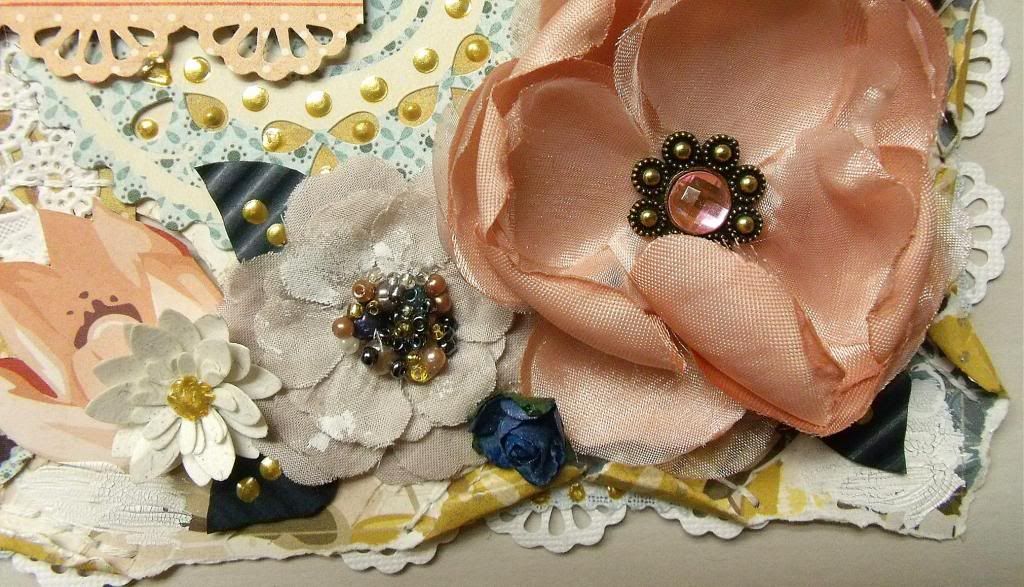
And there you go! An easy peasy paper daisy!!!
------------------------------
Tutorial #2 - Lace Ribbon Flower
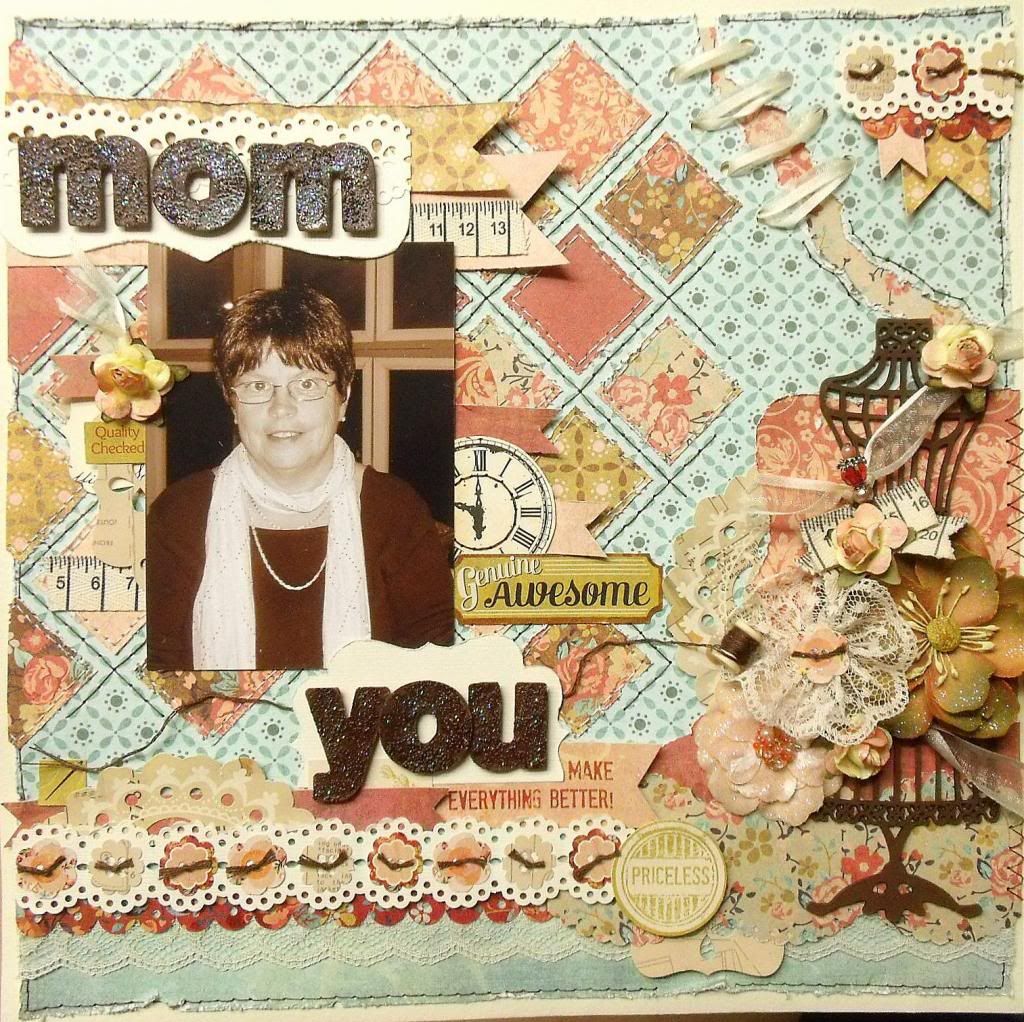
It's also quite easy to create a very delicate and fancy flower using any type of lace ribbon, as I did for my 'Mom' layout.

I used a piece of ribbon approx. 8" long, some thread and a needle.
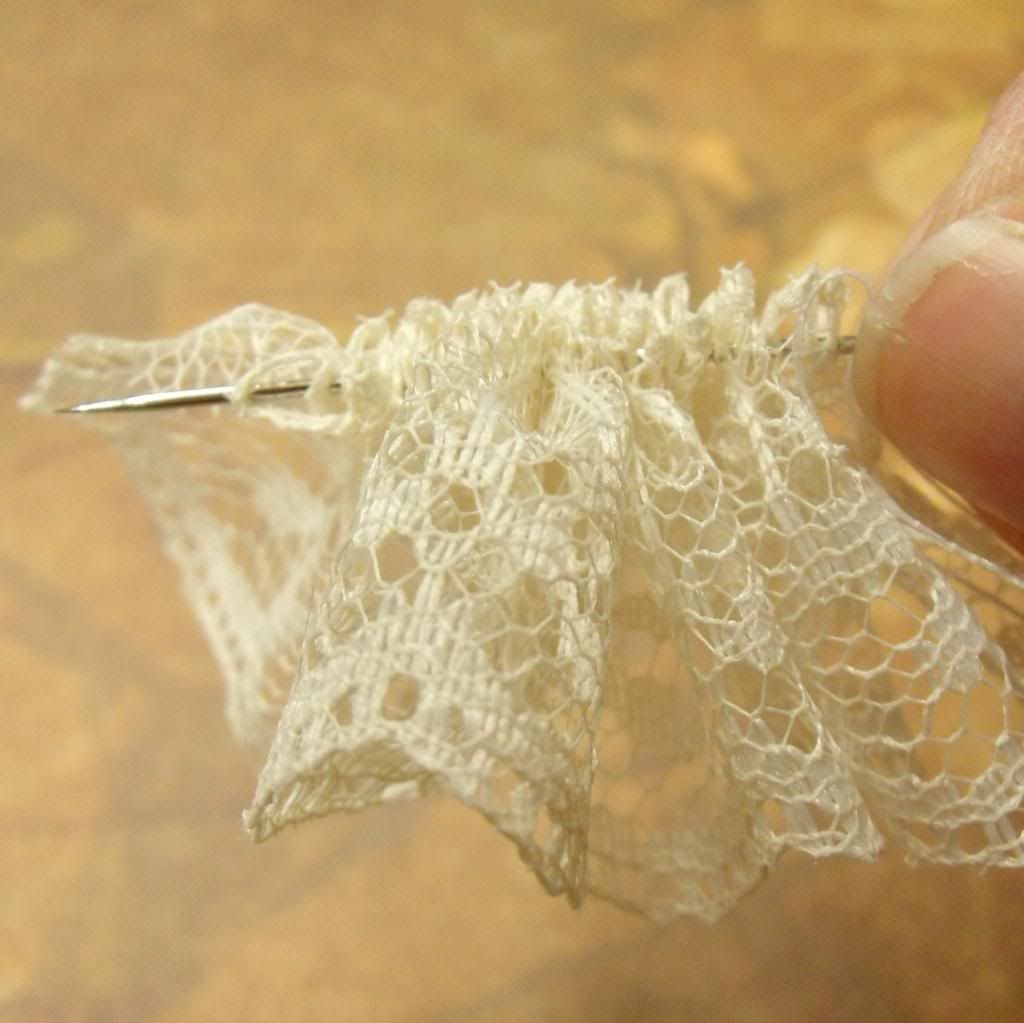
I then used the gathering stitch technique. The gathering stitch consists basically of making many stitches, at about every 1/4 inch, along the edge of the ribbon, leaving at least a 6-inch length of thread at the beginning and at the end.
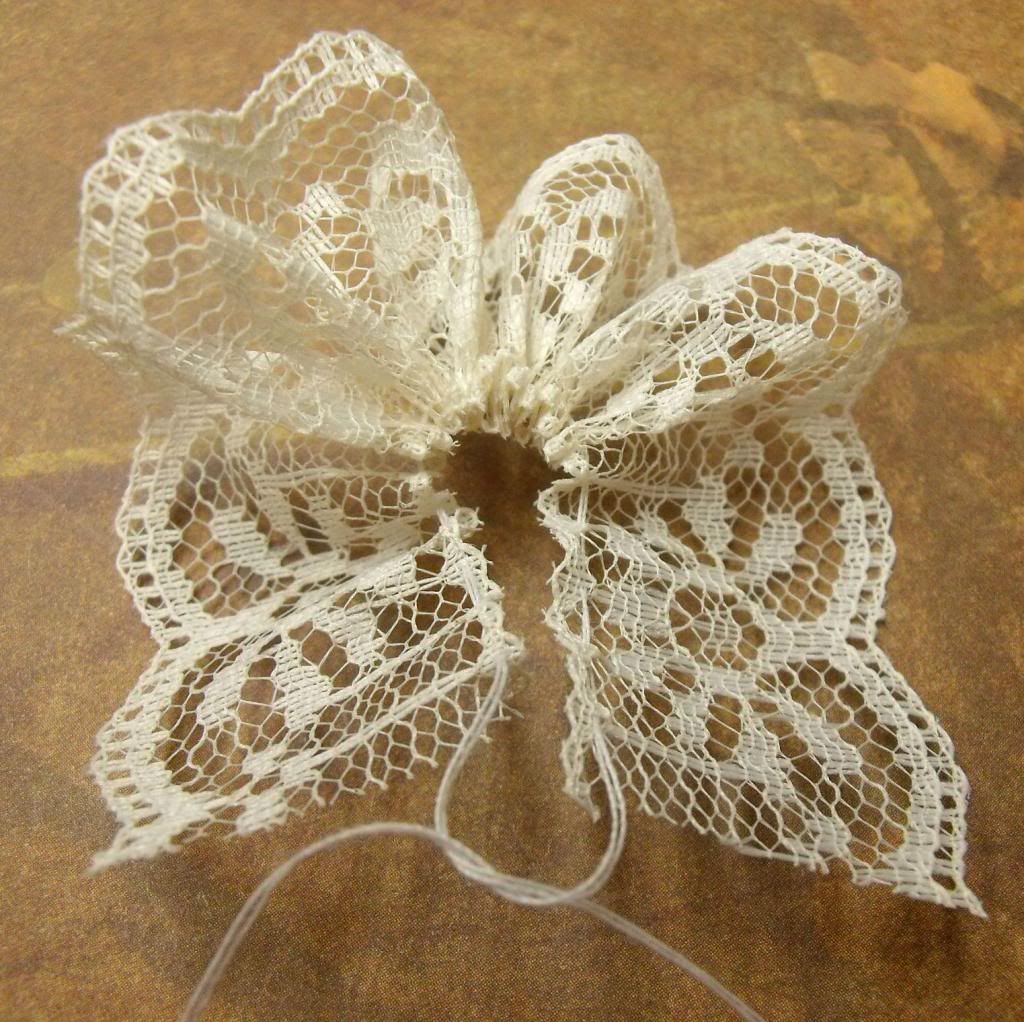
After I was done stitching all along the edge of the ribbon, I took the two strands of fabric at each end and tugged on them gently to fold the piece of ribbon in a circle.
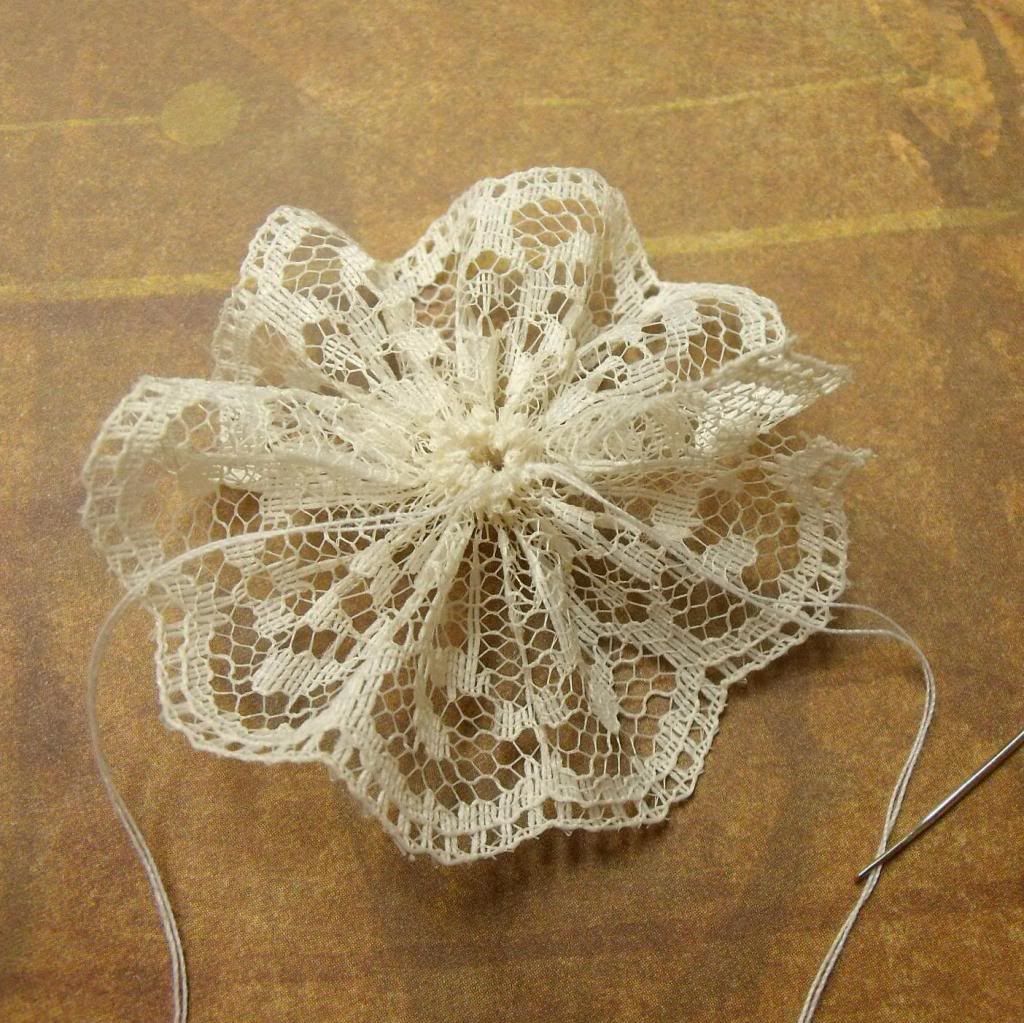
I then carefully tied a tight knot to close the circle.
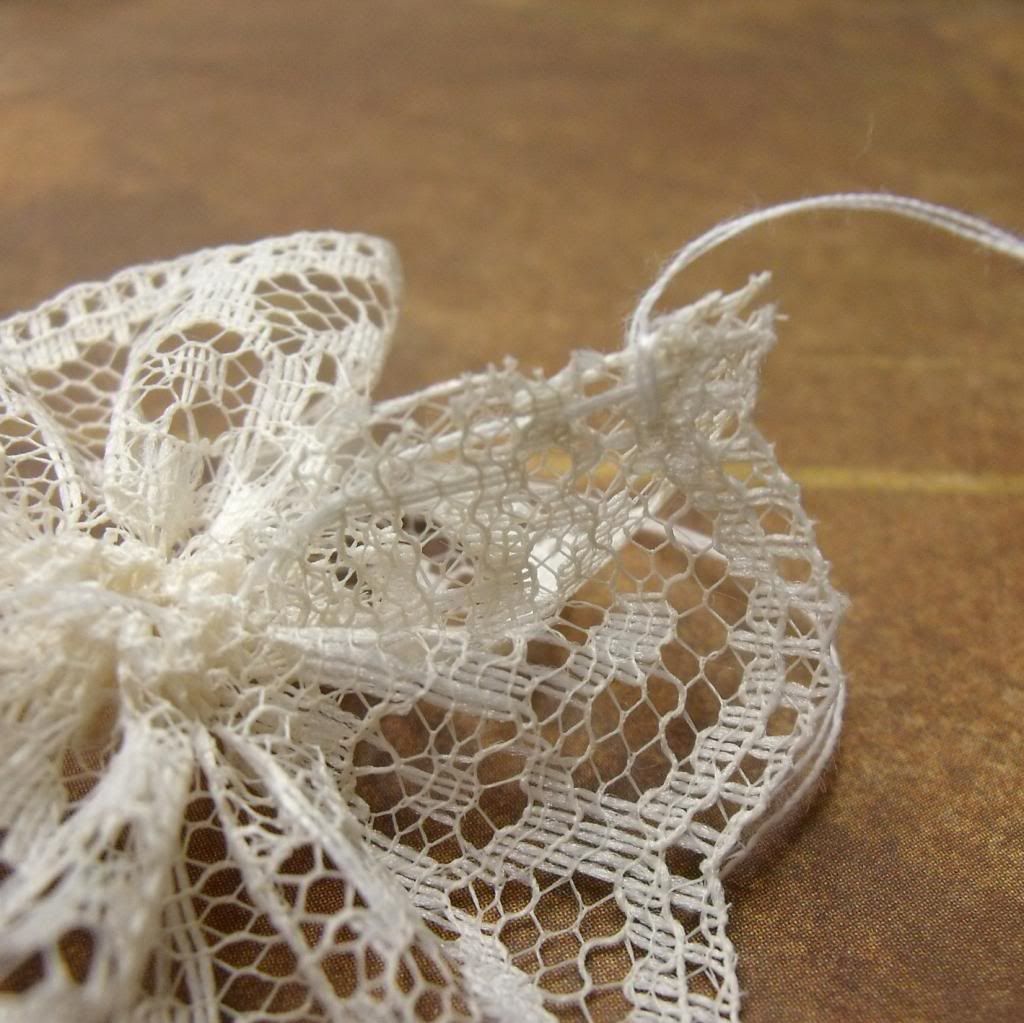
I then proceeded to stitch along the edges of both ends of the ribbon to attach them together. Depending on the ribbon that you are using, you might not need to do this if you are already satisfied with the look of your flower.
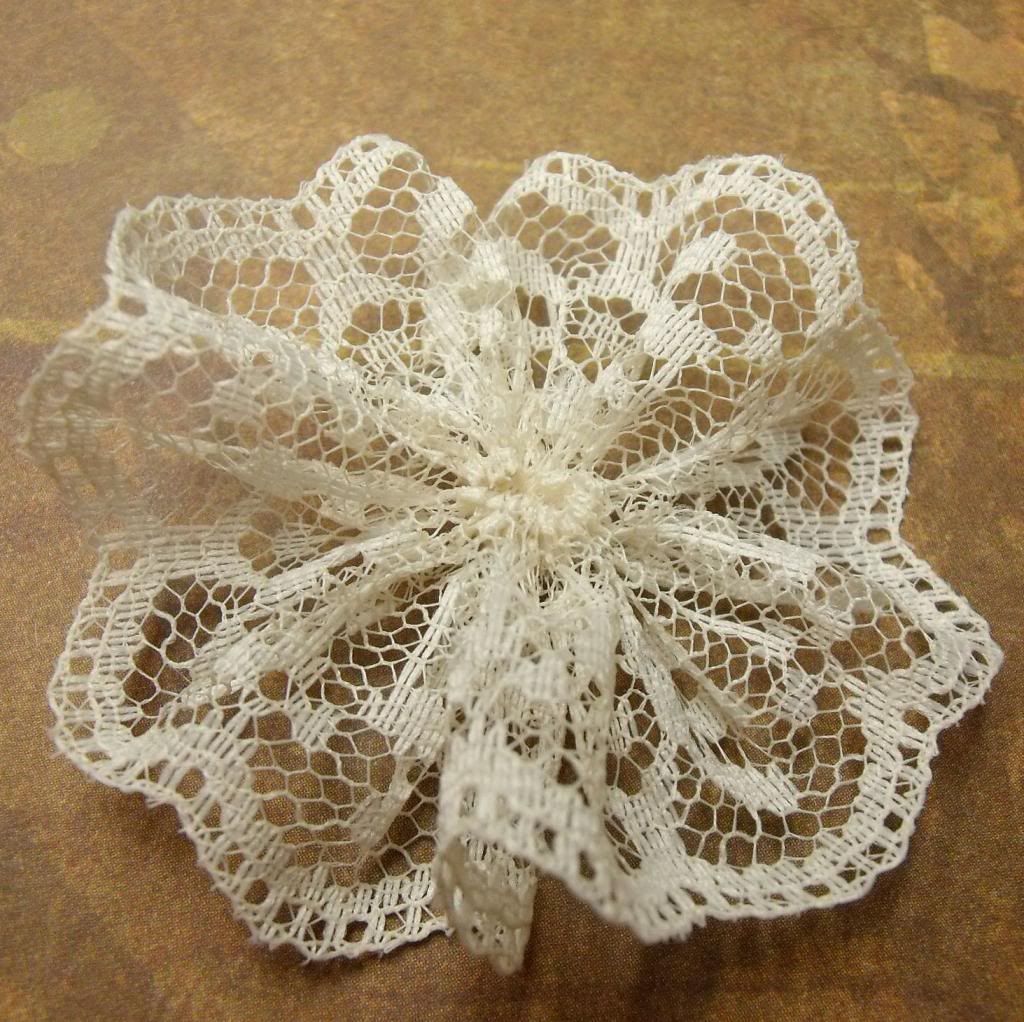
I then used up the rest of the thread making a few backstitches to make sure that the flower was attached tightly.
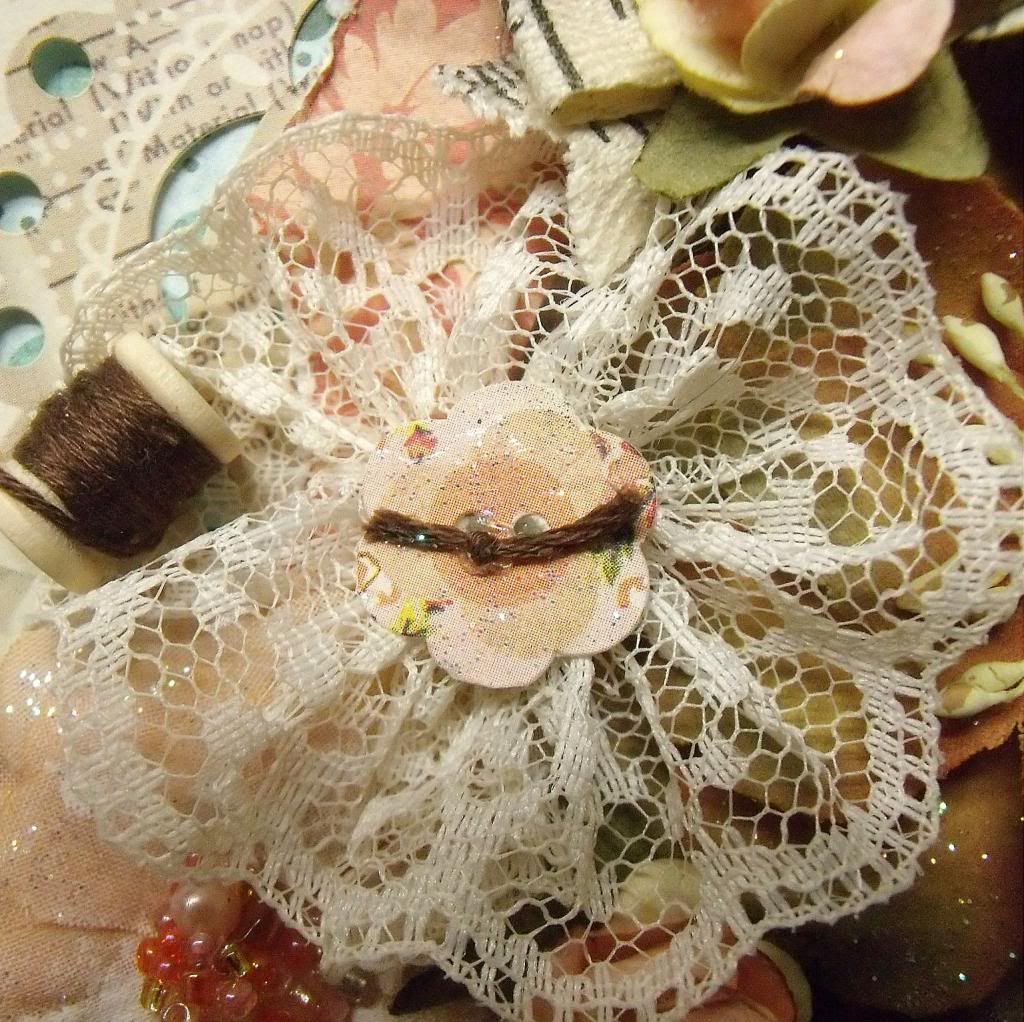
I then decorated the center of the flower with a cut-up button sticker from the kit and a little embroidery floss. You can use a brad, a gem or even a real button for the center too.
After you begin to make your own lacy flowers, I guarantee you, you will never look at a piece of lace ribbon the same ever again! Oh, the creative possibilities!!!
------------------------------
My Creative Scrapbook Guest Designer
------------------------------
Stop by again tomorrow for more tips and techniques from Nicole using our January Limited Edition kit. In the meantime, have a look at our Design Team Gallery for even more layouts, cards, and projects from our designers!
We invite you to join us and experience all of the fun and excitement that we have planned for 2013. Click here to find the My Creative Scrapbook kits.


2 comments:
wow beautiful love the details greetings janneke
How stunning Nicole - fabulous work!!
Post a Comment