
We have so many exciting things planned here at My Creative Scrapbook for 2013 that we can't wait to share with you. We hope you'll join us for another amazing year!
But first, we're wrapping up 2012 with a wonderful flower tutorial by My Creative Scrapbook Guest Design Team member Nicole Doiron using the December Limited Edition kit.
Here's Nicole...
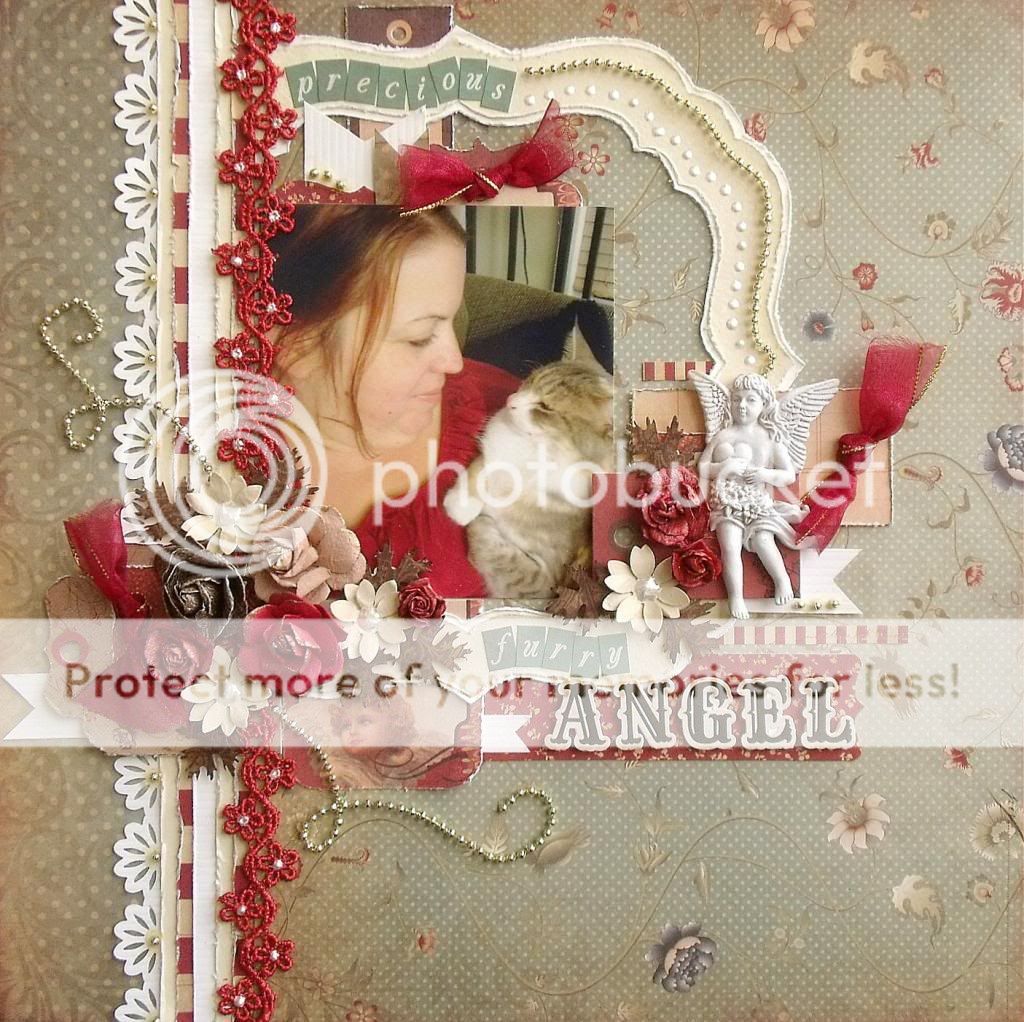
In this little tutorial, i will show you how to create your very own roses like the ones (3 to be exact) i used on my Furry Angel layout.

Step 1:
You can use a flower punch to do this, but if you're like me and you don't own one, take different size chipboard flowers and trace them on whatever paper you want to use. You can play around with any shape flowers. You can use any light-colored piece of scrap paper as you will later color your flowers with ink. In this case, i used the bigger chipboard flower and traced it 5 times on my paper.


Step 2:
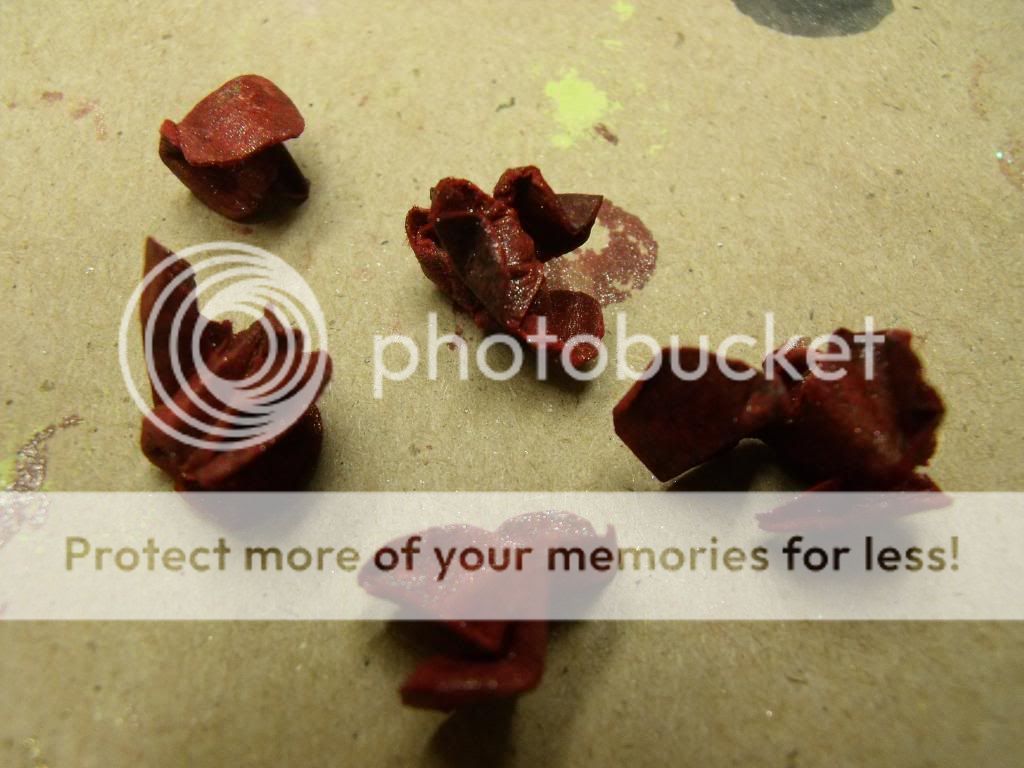
Then, cut out all your flowers. Cut out a petal out of 1 of the flowers, and cut out 2 petals out of 2 of the flowers. You are then left with 2 5-petal flowers, 1 4-petal flower and 2 3-petal flowers. Make sure to cut slits between each petal for easier folding.
Step 3:
Using whatever inks, mists and stains you want, Make sure to fully coat every flower so that they're completely wet.

Step 4:
While the flowers are all wet with ink, you smooch them up between your fingers, being careful not to rip them apart. (You might want to wear gloves for this! hehehe)
Step 5:
Open the flowers and lay them flat to dry a little.

Step 6:
Once they have dried a little, line up your flowers on a piece of styrofoam, in order of size, the 5-petals ones on the bottom. Pierce a hole through the center of each flower and then attach together using the smallest brad you own!

Step 7:
At this point, you can moist the rose again with water to be able to better mold the petals around the brad. Work each petal into position so that it begins to look like a rose. Make sure to smooch the small flowers on top around the brad, hiding it completely, so that they become the rose bud. The bigger flowers at the bottom will look more like open petals.


Nicole Doiron
My Creative Scrapbook Guest Design Team member
Click here to find the My Creative Scrapbook December kits.
We'd love for you to join us!
We'd love for you to join us!
5 comments:
Gorgeous little flowers, thanks for sharing.
Great job on these flowers - love how you finished them off - I'll be trying this technique for sure myself!! Thanks for sharing!
Lorena
www.ScrappingCorner.ca
Beautiful Nichole! Thanks for sharing!
Nicole, this is such a lovely flower/rose...gorgeous layout too.
curry shoes
jordan outlet
hermes outlet
cheap jordans
kd shoes
kd 14
kd 12
palm angels hoodie
fear of god essentials
Post a Comment