Here's Anna...
Hello Ladies, Anna here!
I have a step-by-step tutorial for a card which I created using the beautiful LE kit, full of Prima goodies.
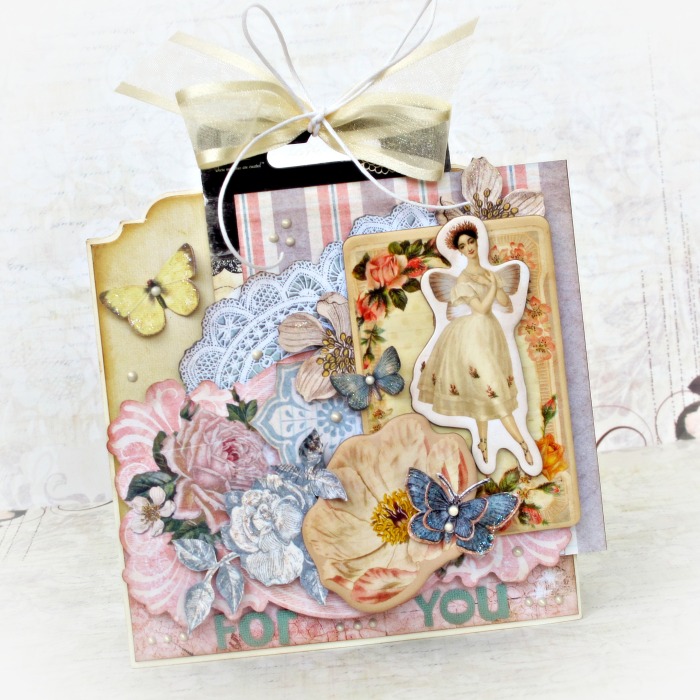
Want to learn how to create your own simple card using layers? In just a few steps I'll show you how to do it. Just look at below
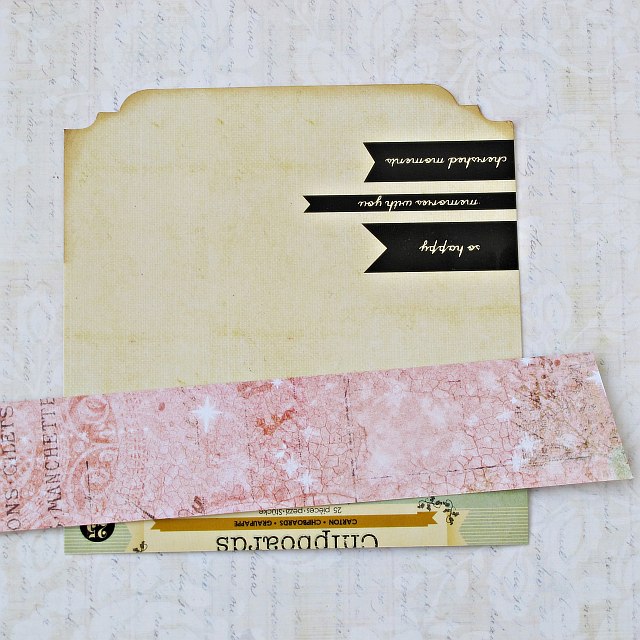
In addition to the beautiful embellishments that you can find in the LE kit, I'm using pieces of packaging of an interesting shape.
My base today is a package that was on Prima paper roses
First, you cut a paper strip to cover those parts that are to be hidden. Just stick it on.
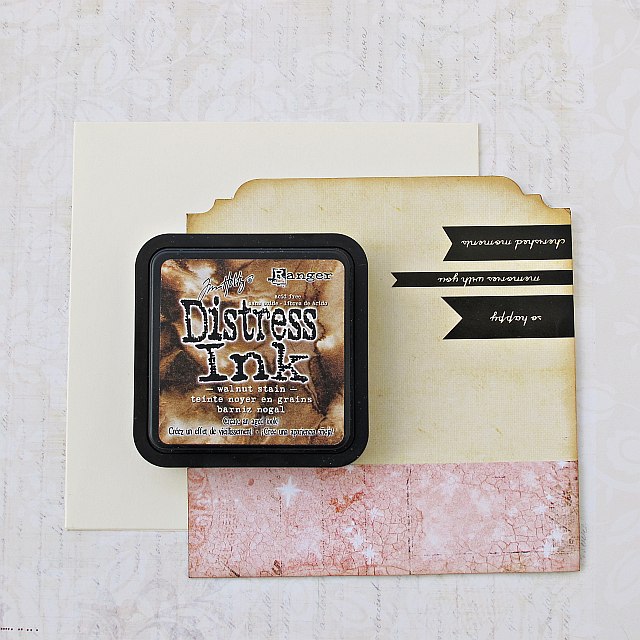
Then you distress it and stick to the neutral cardstock.
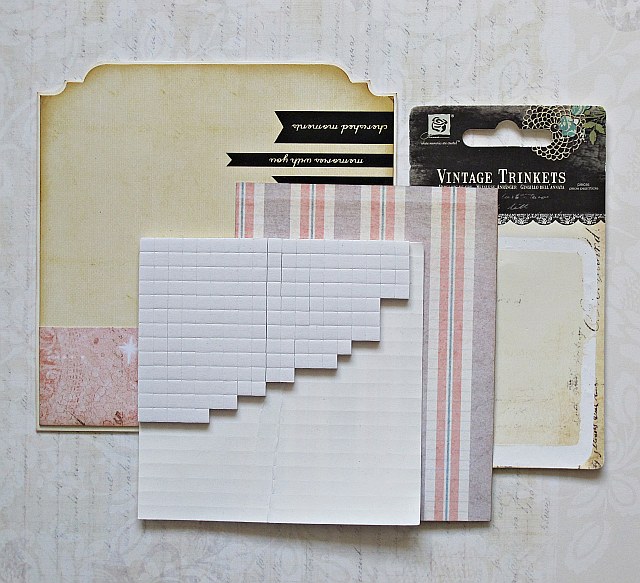
My card is layered, most of the elements I adhered with foam tape, so everything is very dimensional. You just stick the next layers, one by one:
a package that was on "Vintage Trinkets", piece of paper into strips...
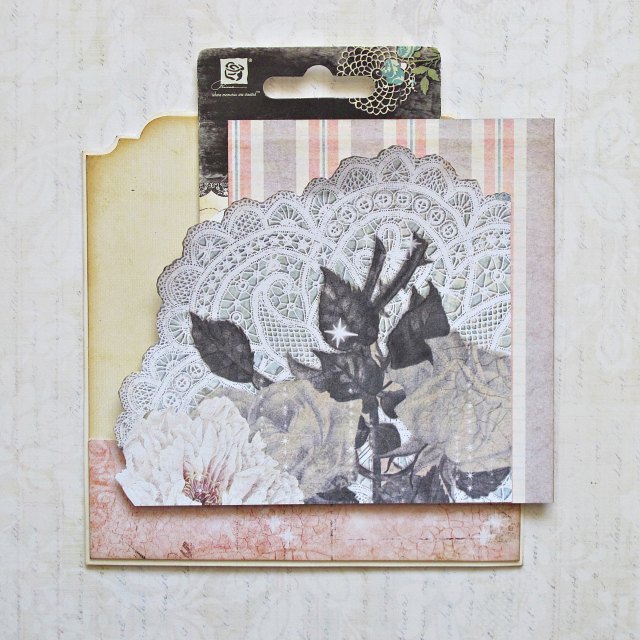
a cut piece of paper with doilies pattern, one journaling note card...

chipboards...

and a few cut paper flowers...

the fairy chipboard and cut butterflies.

Finally, you stick a sentiment and tie a ribbon. You can use a little stickles and liquid pearls. That's all - you did it!

------------------------------------------------------------------------------
I thought I'd share with you a few tips in my Dream LO 
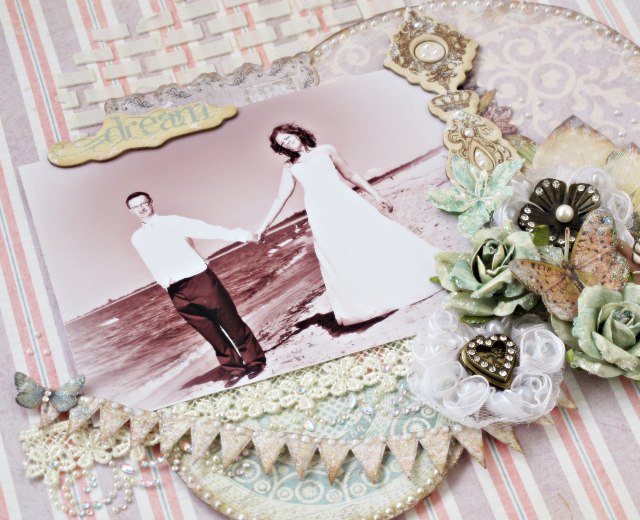
1. More flowers? Yes, of course!
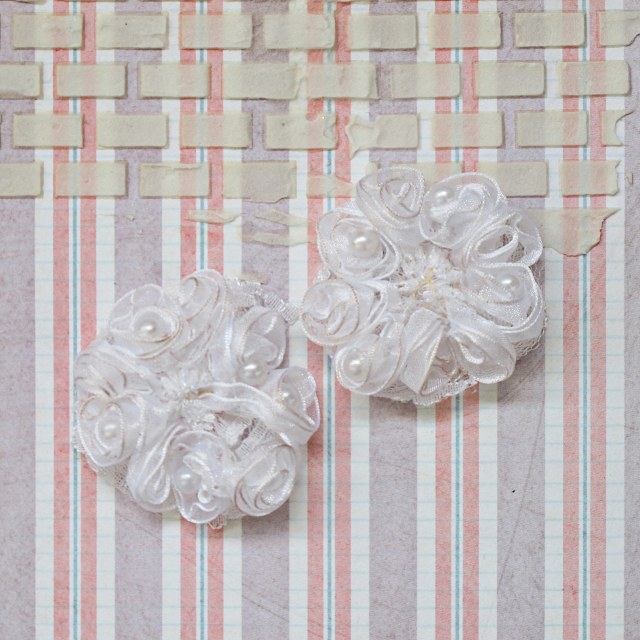
I made these organza flowers, using gorgeous Jamie's course. You can find it here.
Then, I put into the flowers, fantastic Prima embellishments.
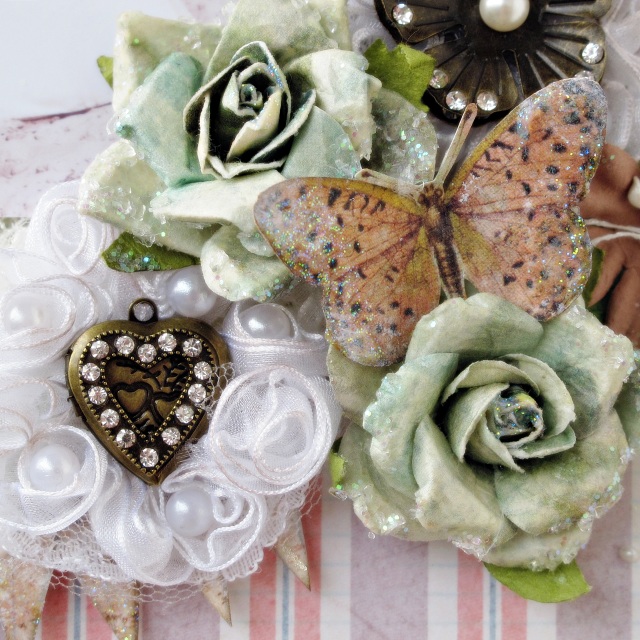
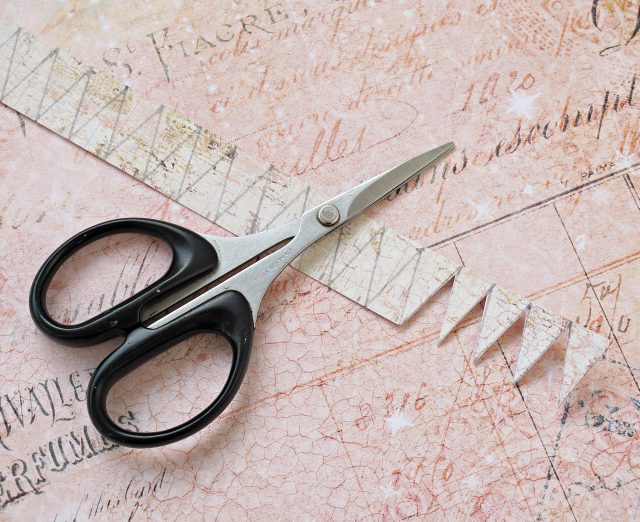
2. Next, I will share a simple way to make paper garland. Just cut out the paper strip...
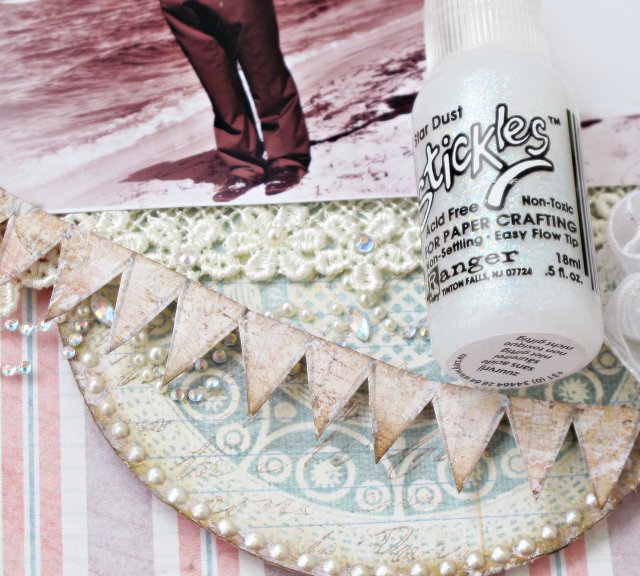
Glue it and add a little shine with stickles.
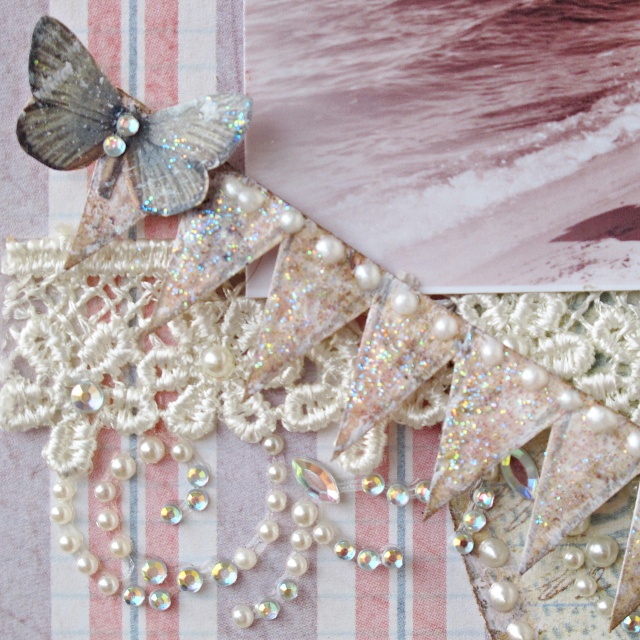
And.... that's all

1. More flowers? Yes, of course!

I made these organza flowers, using gorgeous Jamie's course. You can find it here.
Then, I put into the flowers, fantastic Prima embellishments.

2. Next, I will share a simple way to make paper garland. Just cut out the paper strip...

Glue it and add a little shine with stickles.

And.... that's all


No comments:
Post a Comment