
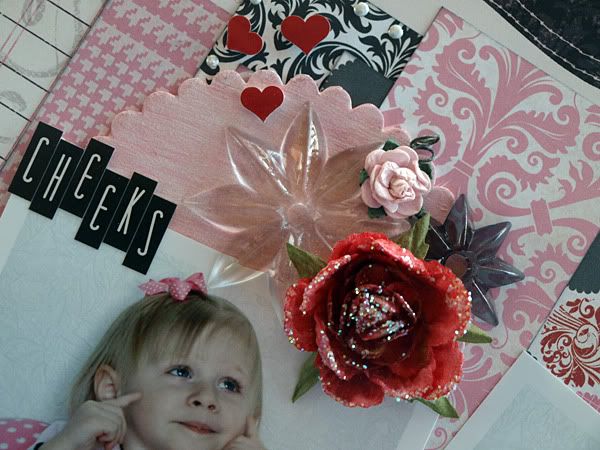
How to alter the mistable flowers by Delaina
I used these paints to create some sprays for the mistable flowers in the kit...I simply filled the bottle 3/4 of the way to the top and added a few drops of paint. I then spayed the flowers letting them dry between coats so there weren't saturated and distorted. It's a great way and inexpensive way to make you own mists....


I used these paints to create some sprays for the mistable flowers in the kit...I simply filled the bottle 3/4 of the way to the top and added a few drops of paint. I then spayed the flowers letting them dry between coats so there weren't saturated and distorted. It's a great way and inexpensive way to make you own mists....
Delaina
Kirstine has this to share about her work on the Feb. album kit:
The album kit comes with some wonderful raw chipboard shapes!
Kirstine has this to share about her work on the Feb. album kit:
The album kit comes with some wonderful raw chipboard shapes!
Here's how I altered the scalloped chipboard pieces in the above layout.
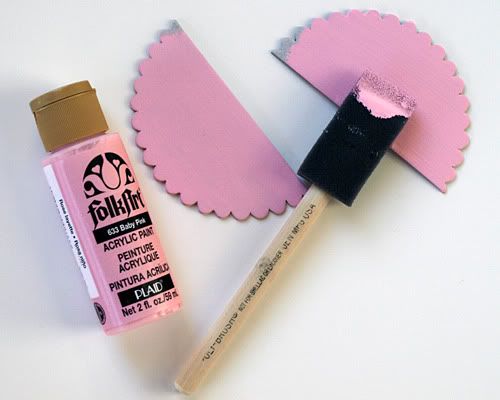
First I applied two coats of baby pink acrylic paint and let them dry.

Next I painted a very light coat of white acrylic paint on top of the pink and let them dry.
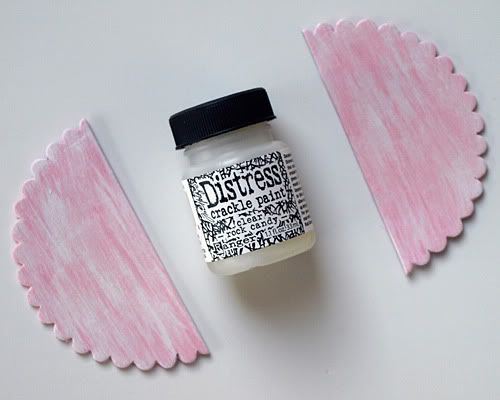
Then I added a light layer of clear rock candy distress crackle paint and let dry.
I didn't want the crackles to be too obvious on these so I only used a little bit of the paint.
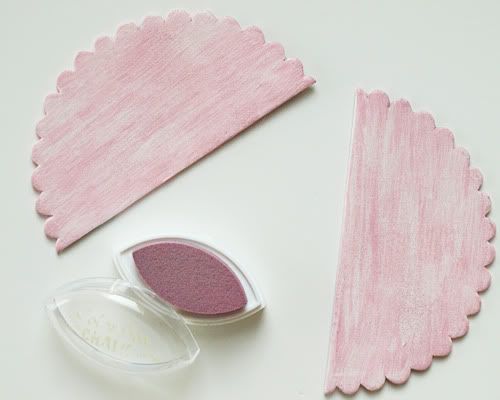
To help blend it all together and soften everything up, I rubbed pink chalk ink all over the painted surfaces.
That's it!
give this a try
Kristine
1 comment:
Great tutorials Delaina and Kris!!!
Post a Comment