I often get asked how I create my scalloped edge circles. Many people inquire if I use a die cutting machine but I actually just mat my patterned paper circles on a piece of cardstock and cut around it with my scalloped edge circles. It's super easy and I love how it makes my circles look a little more fancy. I decided to share a super easy tutorial on how to create these circles, and also how to turn them into a fun gift tag to attach to a birthday gift.
Supplies needed for this technique:
Patterned paper circle
Cardstock
Scalloped edge decorative scissors

Start by cutting a circle out of a piece of patterned paper.
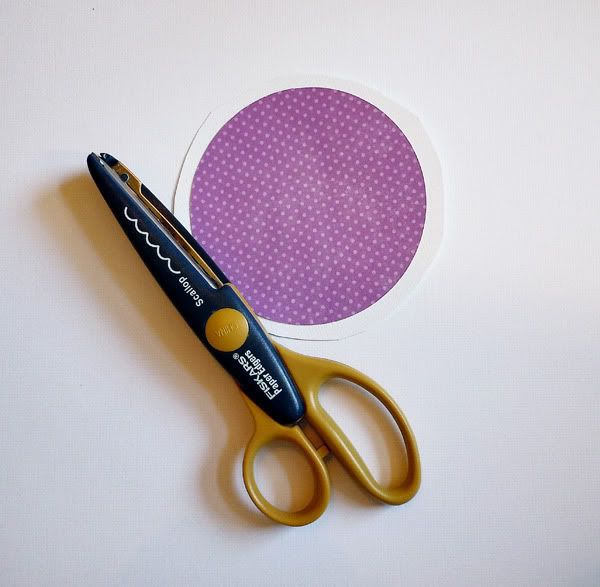
Mat on a piece of cardstock and then it's time to get out your scalloped edge decorative scissors! I bought my fiskars ones at my local scrapbook store for just a few dollars. They were a GREAT investment!
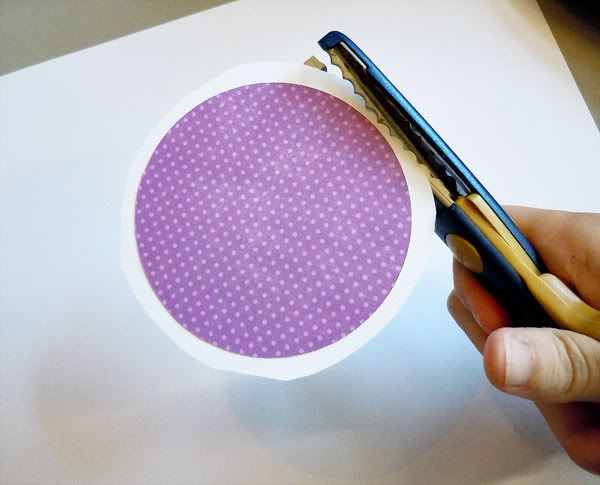

Cut around your circle with your scalloped scissors.
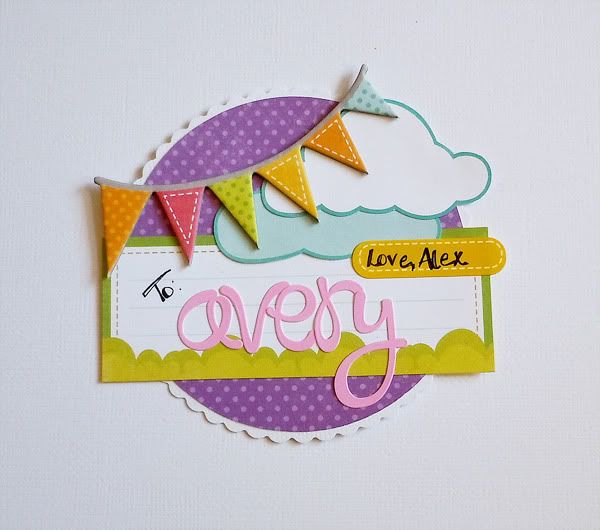
Simply decorate your circle any way that you want in order to create a gift tag. I added a die cut, two fussy cut clouds, a small chipboard banner and some letter stickers. Quick and easy!
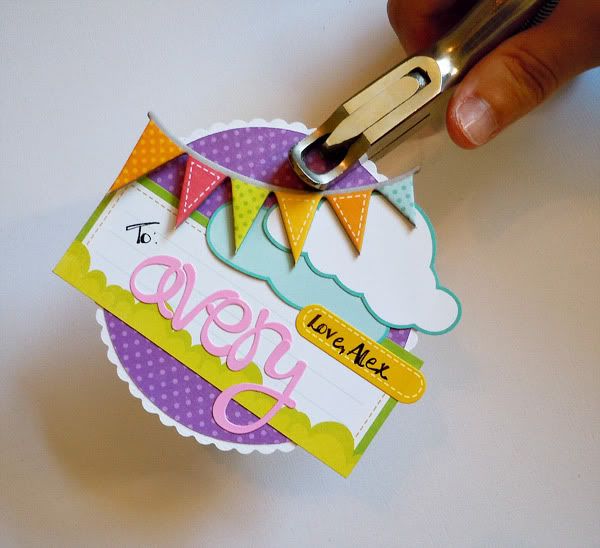
Use a hole punch to punch a hole into the top of the circle.
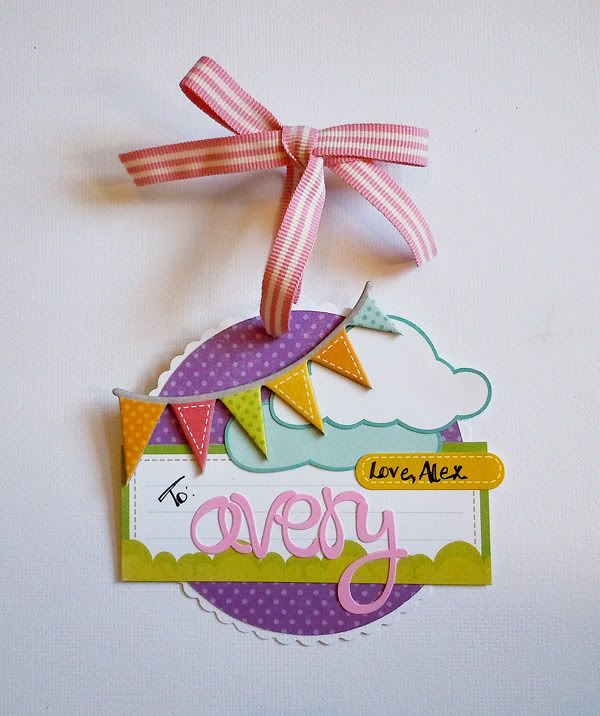
String a piece of ribbon through the hole and fasten with a bow.
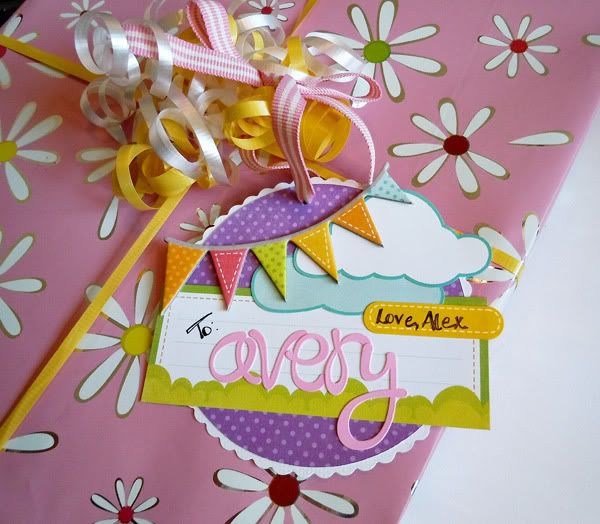
Now just tie the gift tag to your present and your birthday girl shall enjoy!

1 comment:
so easy and so pretty!! why didn't I think of that! lol! thanks so much for sharing! I'm getting my scalloped scissors out for sure! ;)
Post a Comment