
Claire Hawkins: May 2024 Main Kit
Today is a special blog post as I have 2 layouts share with you, made from just one design idea. For this, I’ll be using the May 2024 Main Kits.
For my first layout, I used this month's free subscriber Cut file – it’s a beautiful film strip which I cut multiple times out of different patterned papers from the kit (Orange, Green and Yellow). I cut 3 strips at roughly 7” tall and 3 strips in the same color roughly 5” tall.
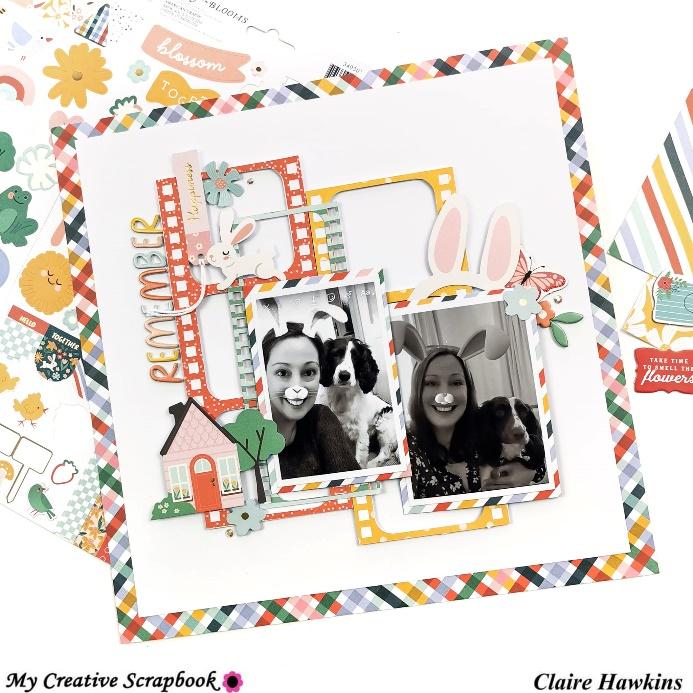
When I came to use them, I realised I only wanted two of the larger strips and one of the smaller strips. I turned off the contours on my Cricut machine and cut just the outlines again in white cardstock so that I could make the strips a little sturdier, raise them on foam and layer them to create a central anchor for my page.

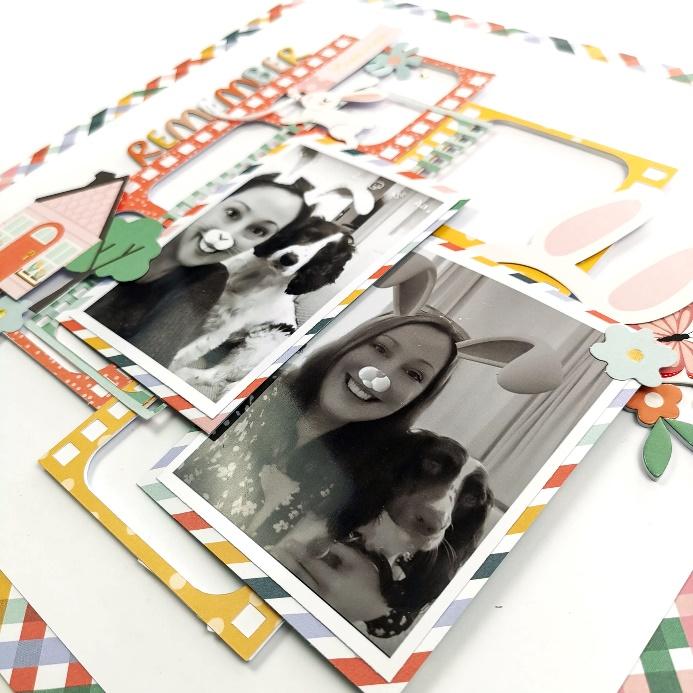
Once the film strips were adhered to the centre of the page, I took 2 photos mounting them on the colourful striped paper. I love this paper as it brings together all of the colours in the kit. Because there are so many cheerful colours, I opted to print my photos black and white so as not to overload the page.
I offset the photos and stuck these on to the cluster of film strips, raising them only slightly on very thin foam.
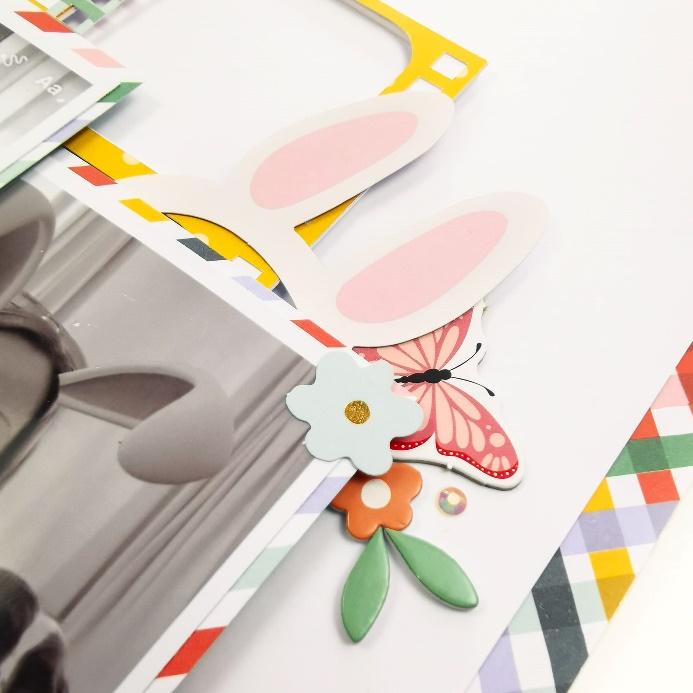
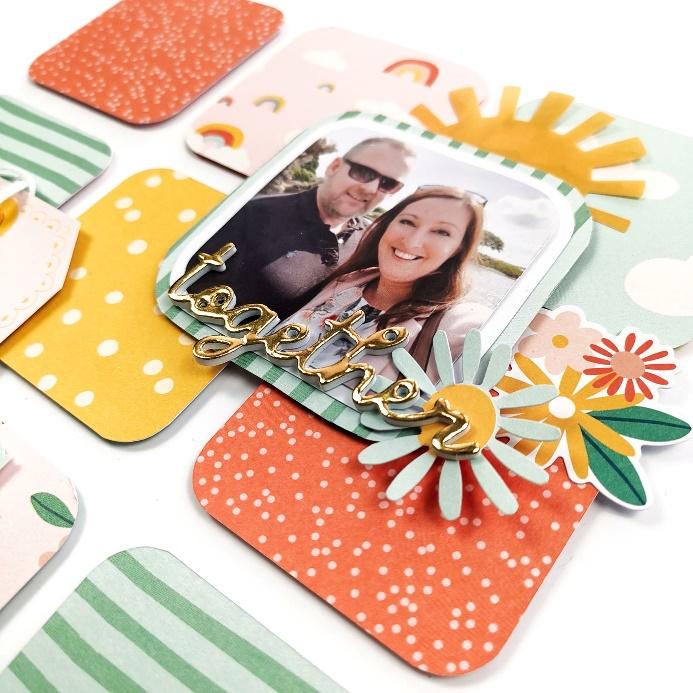
Then came the fun part – the embellishing! I used a combination of cardstock ephemera, chipboard, and puffy stickers to build three main clusters.
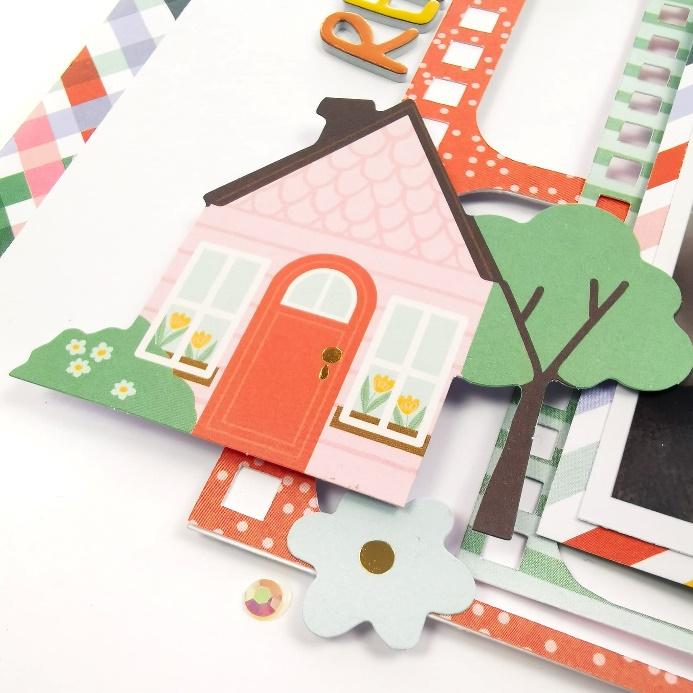
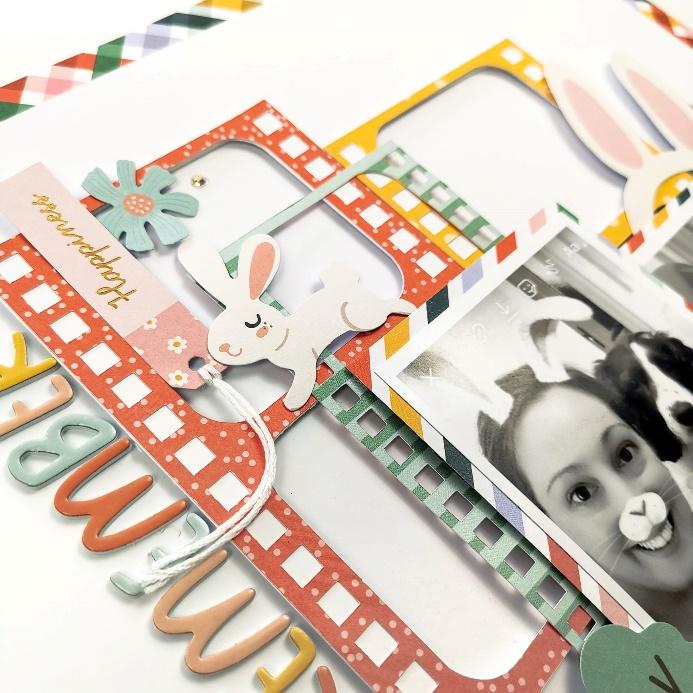
To keep the flow of the design, I placed my title down the left side of the film strip in amongst the cluster, using one of the phrases from the puffy phrases included in the kit.
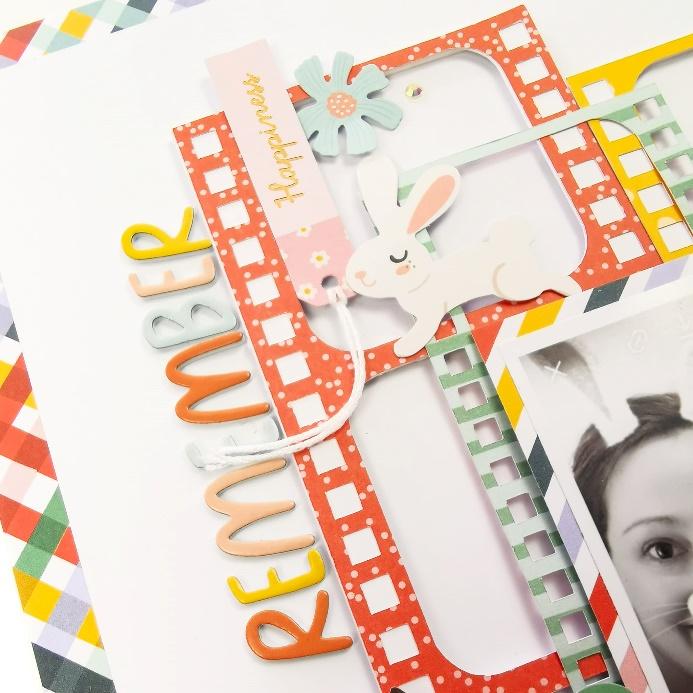
As a final touch, I trimmed the white cardstock down to 11”x11” and added a patterned paper border. I chose one of the bold patterned papers that contains all the main colours. It helped pull the layout together and add a splash of extra colour to the page.
And now….on to Layout 2!!
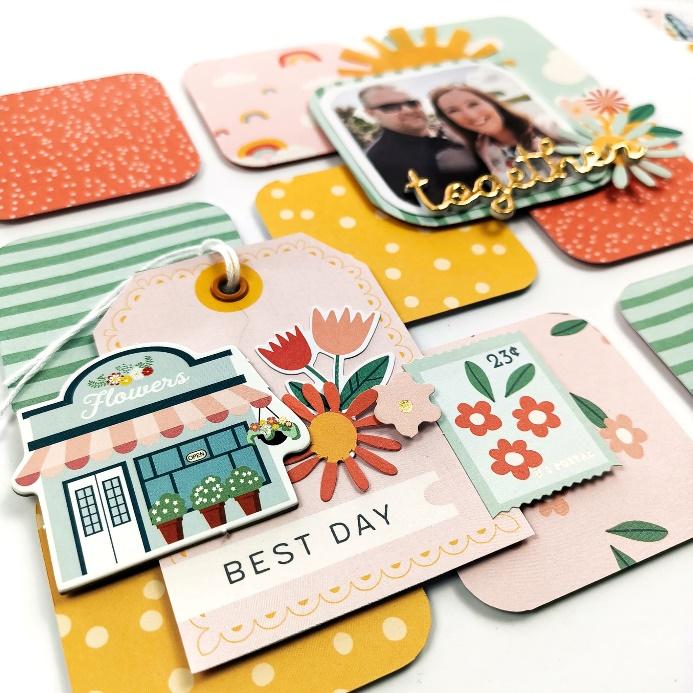
After completing the first layout, I was left with some rounded edged squares that had been left over form the cutfiles. They were just too good not to use, so rather than throw them away, I created a simple grid layout and I just love how it turned out….and it came together in minutes!!
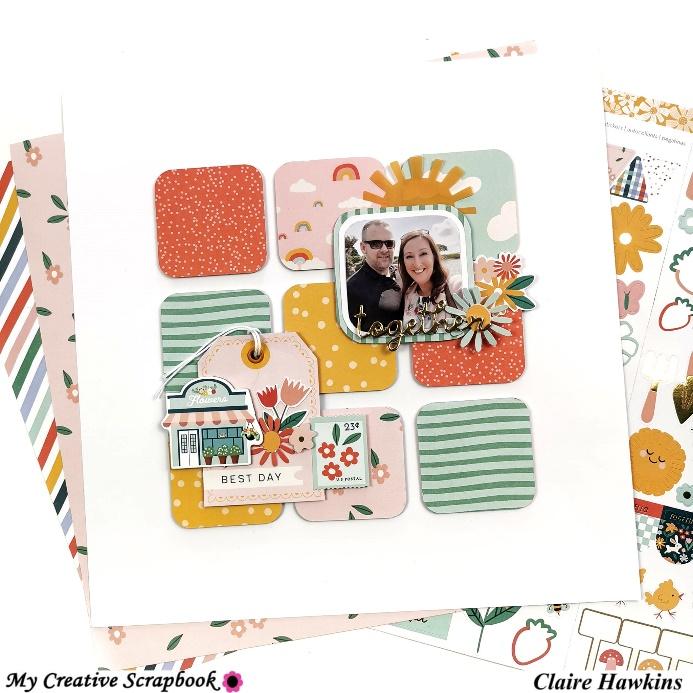
I alternated the patterns and colours, using both the ‘a’ and ‘b’ sides of the paper to create extra interest.
I placed the grid design centrally on the page and raised each square on foam for definition.
I used a corner rounder to round off the edges of my photo to keep to the design and backed it with a square of patterned paper, again rounding the edges for consistency.
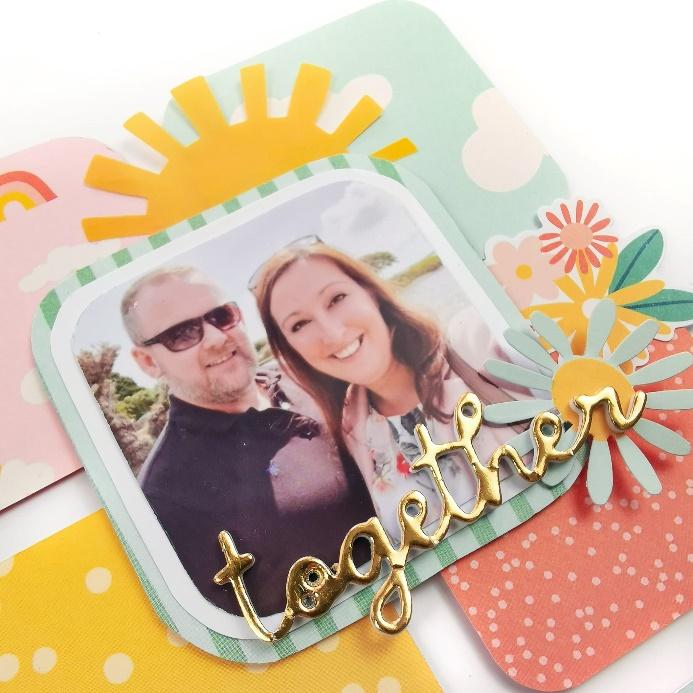
I embellished this with a beautiful gold puffy phrase as my title, layering it on top of some florals from the ephemera pack and sticker sheet.
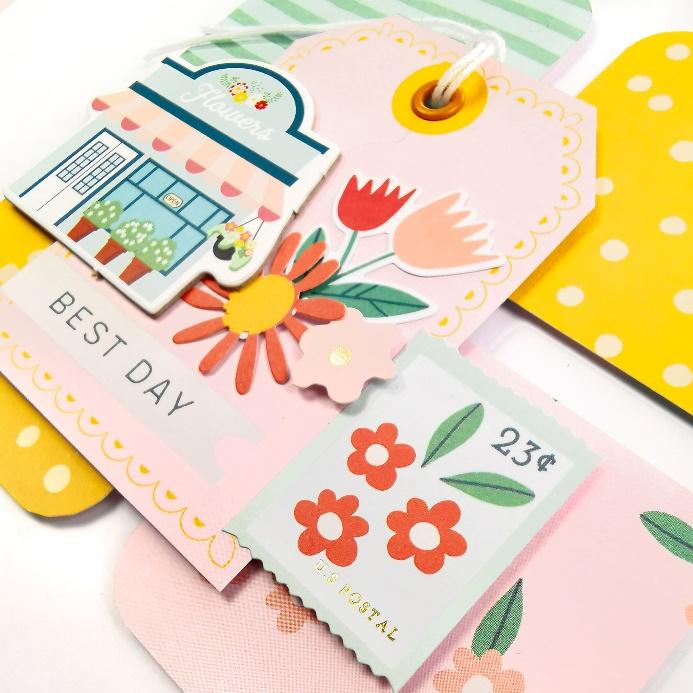
In the opposite corner, I built a large cluster using a tag as my base. I added extra ephemera, chipboard and stickers to build the cluster and tied some white thread through the tag along with an eyelet from my stash.
By using different materials, sticking some flat and raising some on foam I was able to add extra interest, depth and dimension to the cluster. It’s a simple technique but very effective.
I love how quickly this layout came together – and all from leftovers from my original design! It’s a simple layout but the mixture of colour, pattern and texture really packs a punch. I hope it’s inspired you to examine your leftovers and paper scraps – if you try something similar, I’d love to hear how you got on. I’ve thoroughly enjoyed it and am so happy I could put my scraps to good use!
Until next month, happy scrapping!!
Claire xx
No comments:
Post a Comment