Hello My Creative Scrapbook fans! It's Monique here today sharing a step-by-step of one of the layouts I created with the January Main Kit. I was so happy when I saw this kit, with all it's bright and happy colors of the "Go The Scenic Route" collection from Paige Evans! I'm a huge fan of Paige's collections and so I couldn't wait to dig in!
Here's the layout for which I created the step-by-step:
I started my layout by preparing the watercolor background paper. Included in the kit was a fun stencil so I grabbed my watercolor paints and got started:
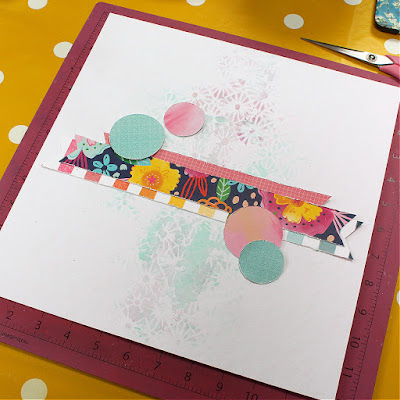
Next I cut three strips of paper and punched some circles and distressed the edges before I adhered everything in the middle of my paper:
I stamped a few of the words on my page:
The next step was to mat the photo (distress the edges) and add a few die-cuts to it:
This photo was placed in the middle of the layout and more die-cuts and chipboards were added to it:
Next I added some machine stitching:
Included in the kit was also a bottle of Prima fine shimmer spray (just add water). I added a few drops of this to my page:
And my page was done!!
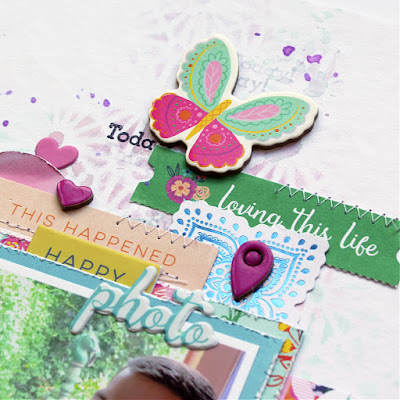
Hope you like it! Here are a few more detail photos:
For more information about this kit (and the other 3 kits of this month) please visit the My Creative Scrapbook website and if you want to see the photos of all projects created by the design team with the various kits, please visit the Design Team Gallery.
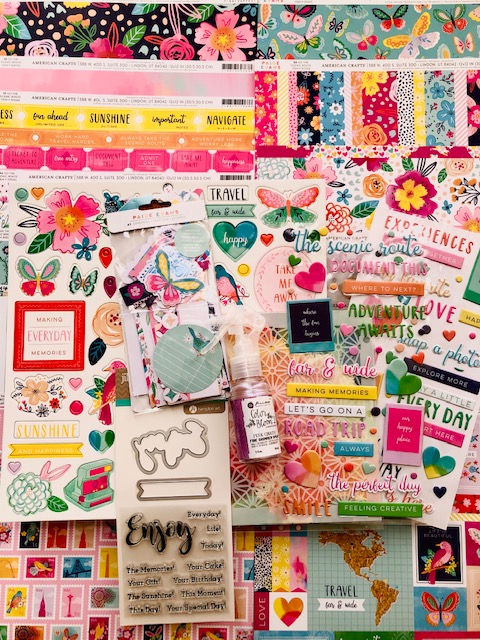
Here's a photo of the awesome January Main Kit:


No comments:
Post a Comment