Hello friends! It's Monique here today sharing a step-by-step of my "Back to school" layout which I made with the wonderful October Main Kit featuring the Fresh Bouquet collection from Crate Paper and one of the free subscriber cut files. I also used this month's sketch for this layout.
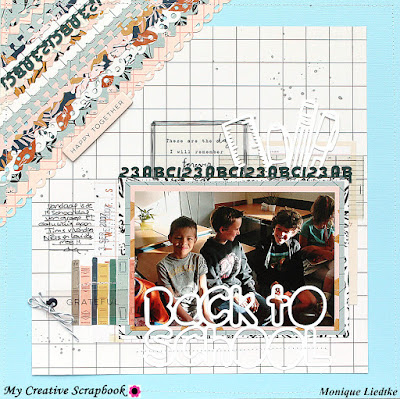
This is the layout I created, with a (not so recent) photo of my oldest son on his first day of school after the summer holidays.
And this is the October sketch I also used:
When I got started on my page I displayed everything I had left of the kit:
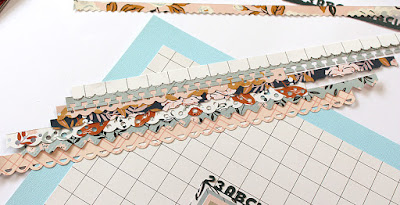
I punched about 15 borders of approx. 0.5 and 0.75 inch wide:
I also cut the "Back to school" cut file using my Silhouette Cameo:
Next I also cut three mats for my 4" x 6" photo and chose a blue sheet of cardstock from my stash for the background:
While deciding how I wanted to build my page I came to the conclusion I wanted to separate the "Back to school" cut file. So, using a pair of scissors I just cut them apart:
The photo was matted on three different pieces of paper and was placed in the bottom right corner of the layout:
I selected the die-cuts that had something to do with school, like the row of books, and placed these around the photo. I also added the two parts of the "Back to school" cut file; one on the photo and one behind it.
Next I got my sewing machine and stitched around my page:
I also stitched on other places of my layout, like here over the cut file:
And I stitched above the photo:
And here over one of the die-cuts:
I added a few lines of handwritten journaling and a few drops of silver colour mist and I was done!


No comments:
Post a Comment