
Design Team member Yvette Weber is sharing a step by step tutorial for this beautiful layout that she created with our November Main Kit!


I use some Chipboard Accents, Element Stickers from Echo Park (I love family) and A Perfect Autumn decorative brads from Carta Bella...
This kit is pick with so many beautiful embellishments and patterned paper ... I made four layouts and still had a ton of stuff leftover !
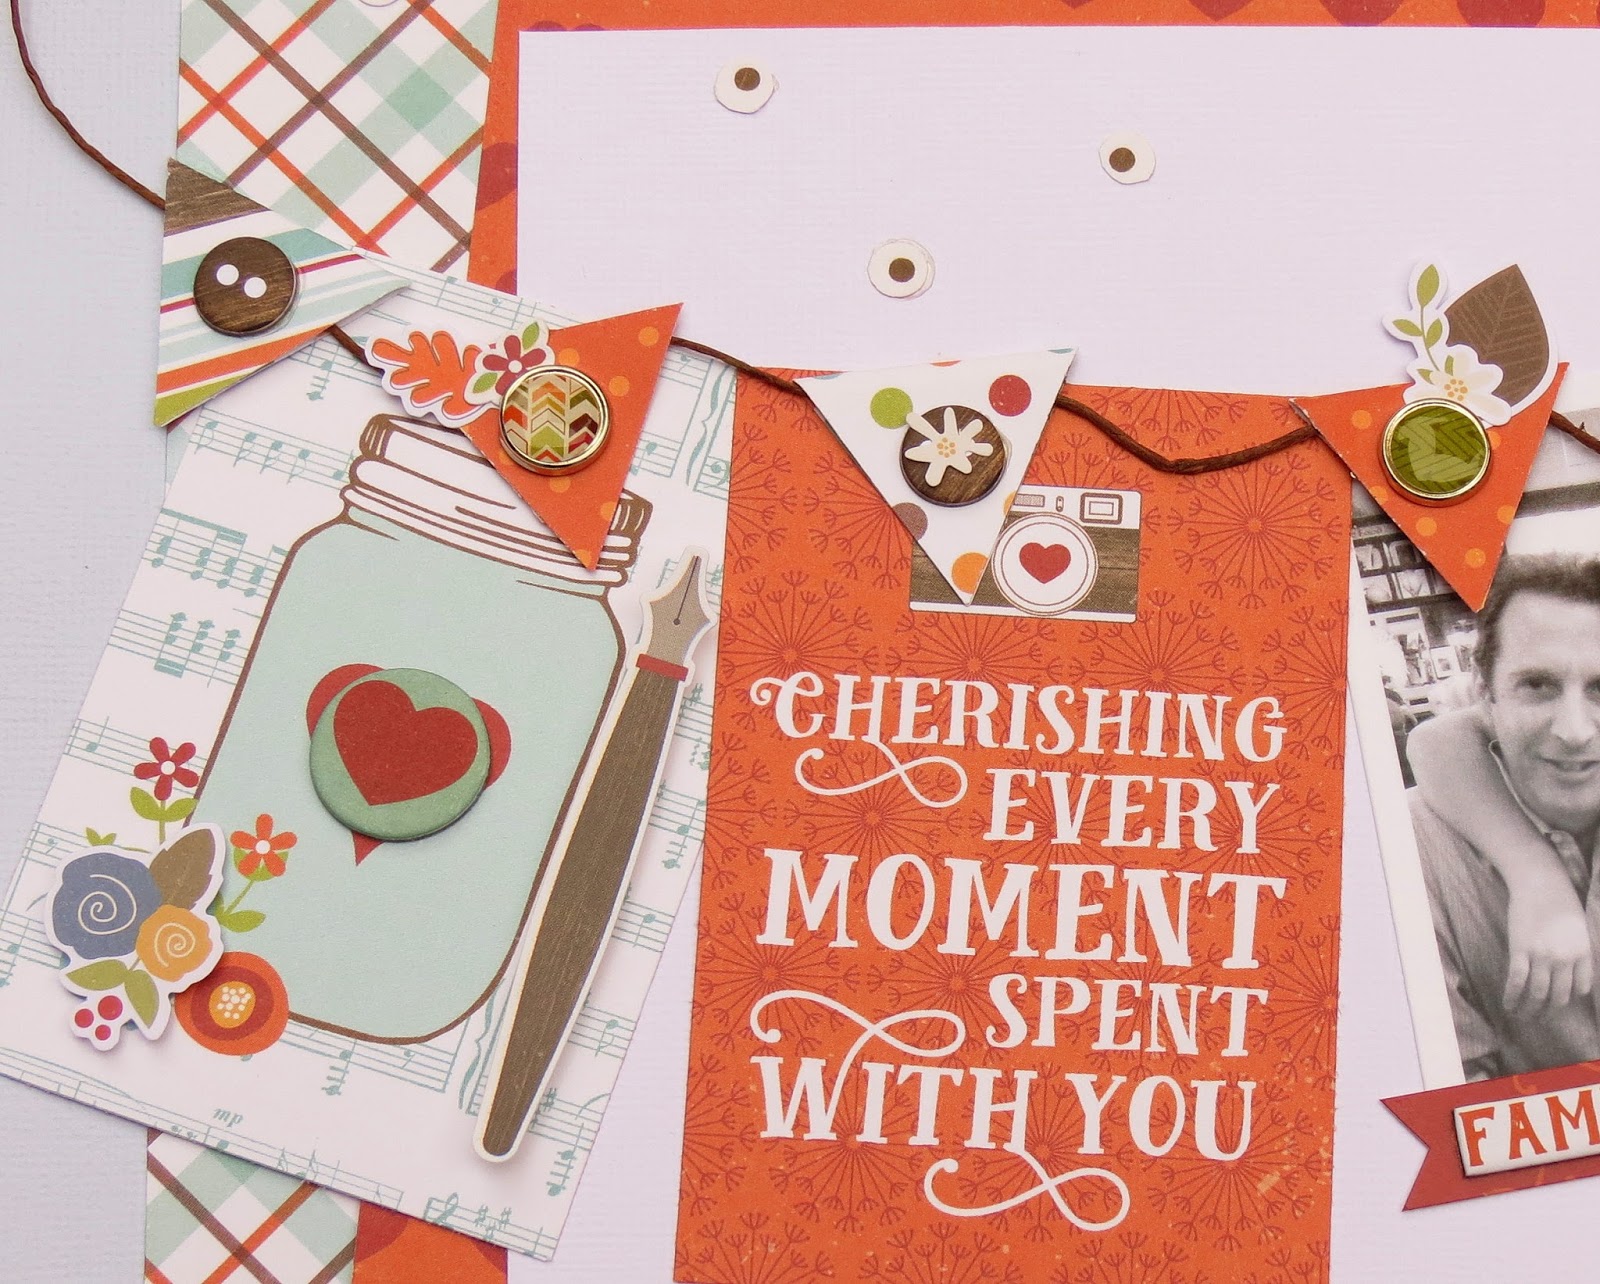
Here's a few close-ups for the banner!


At the bottom left you can see I created a small cluster of flowers, first I tucked the chipboard flower underneath my paper, added the flowers I fussy cut from the Fall is in the air patterned paper and finish with a couple of stickers.


Hi Scrapping Friends!
My son recently celebrated his 11th birthday! This photo was taking at one of his favorite restaurant...
Cherishing Every Moment Spent With You...

Here's the FABULOUS main kit I got to work with!
This kit contain the beautiful Echo Park-I Love Family collection (great for all your fall projects) mixed with some Simple Stories...So many awesome embellishments-chipboard-fall brads-stickers-die cut pieces...You're going to enjoy playing with this kit! :)

This kit contain the beautiful Echo Park-I Love Family collection (great for all your fall projects) mixed with some Simple Stories...So many awesome embellishments-chipboard-fall brads-stickers-die cut pieces...You're going to enjoy playing with this kit! :)

I started with a 12x12 light blue cardstock...

Added my first selection of patterned paper, cutting it to 11 1/2ins by 9 7/8ins...
Adhere to cardstock.

Add my second layer of paper, cutting it to the measurements shown below...
The paper was cut at an angle and adhere to the bottom patterned paper.

Next came white cardstock cut to 9 3/4 x 9 1/4 ins. To create this design, you can see from the photo below the white cardstock overlap onto the light blue cardstock.

For my next step, I started to assemble the banner...using the pocket-style page(3x4 Journaling cards). Select which journaling cards you want for your banner base and cut those out!
I used a paper punch to make my diamonds....I decided to use 7 on my banner.

I bend the diamonds in half to form a triangle...

The next step is to arrange my journaling cards on a slight curve....once I like the design, I adhere in place.

As shown below I use liquid glue to attach my diamonds, by folding them over the twine to form the triangles for the banner.

With my banner made, now it's time to add the embellishments to it....

I use some Chipboard Accents, Element Stickers from Echo Park (I love family) and A Perfect Autumn decorative brads from Carta Bella...
This kit is pick with so many beautiful embellishments and patterned paper ... I made four layouts and still had a ton of stuff leftover !
Here's a few close-ups for the banner!


At the bottom left you can see I created a small cluster of flowers, first I tucked the chipboard flower underneath my paper, added the flowers I fussy cut from the Fall is in the air patterned paper and finish with a couple of stickers.

I created another small layer of patterned paper to the lower bottom right by cutting different length of papers all at 1 inch width.....machines stitched across a select few and added some sticker journaling.

The last thing to do was to add my journaling and this layout was finish!!!
I hope I inspired you to create something beautiful ....
Thanks for stopping by :)
------------------------------
To see more beautiful creations made with the contents of this kit, please visit our inspiring Design Team Gallery
For more information about our kits, visit our website at MyCreativeScrapbook.com
1 comment:
Beautiful layout. Love the colors.
Post a Comment