Sandi Clarkson has prepared a step by step layout tutorial for you today featuring our May Limited Edition Kit!
--------------------
--------------------
Please visit our Design Team Gallery to view more of Sandi’s beautiful work.
Here's the May Limited Edition Kit:
For full descriptions of our kits, subscription information, and more, visit our website at MyCreativeScrapbook.com
--------------------
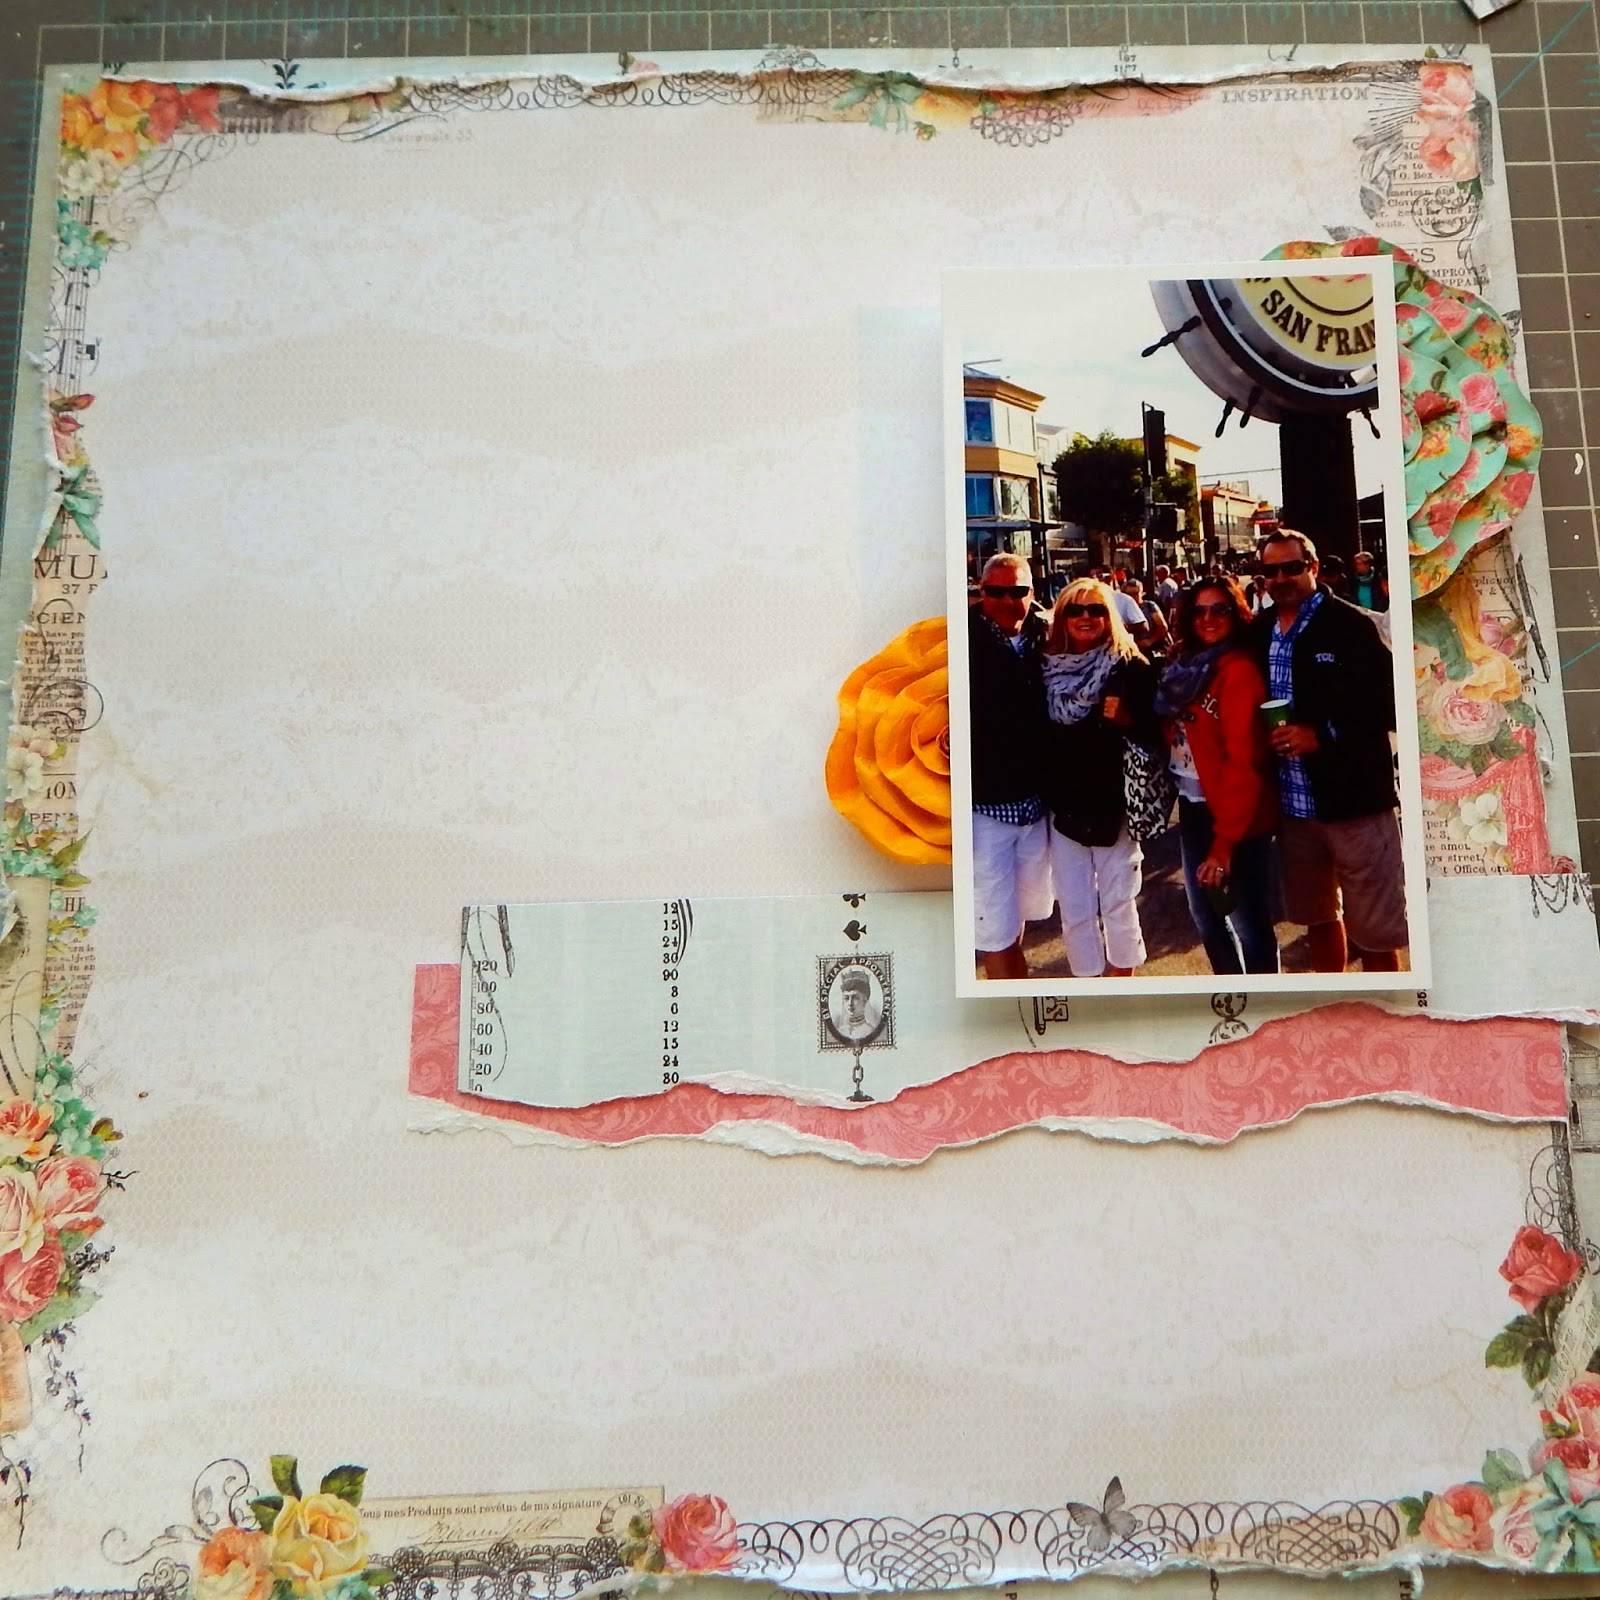
Happy May, everyone! Sandi here with you today to share my Build-a-page on my "Joy" layout created with the May Limited Edition Kit. This is a photo of my daughter, her hubby and their friends when they took a West Coast trip last year. The photo quality isn't all that good but I wanted to scrap it for her anyway as a memento!
First, I cut a square out of the center of the undermost paper to save it for later use.
Then I trimmed about a 1/4 of an inch all the way around the actual base paper. I distressed the edges heavily with my Distrezz-it-all.
After adhering it to the undermost paper, I tore a few strips from that square I cut earlier. I had already decided to place my photo in the upper right to cover the image of the lady that is printed on the Blue Fern Studios Montage paper. While she is lovely, it didn't work for my photo. At this point, I stopped to apply clear Gesso where I knew I would be adding wet medium.
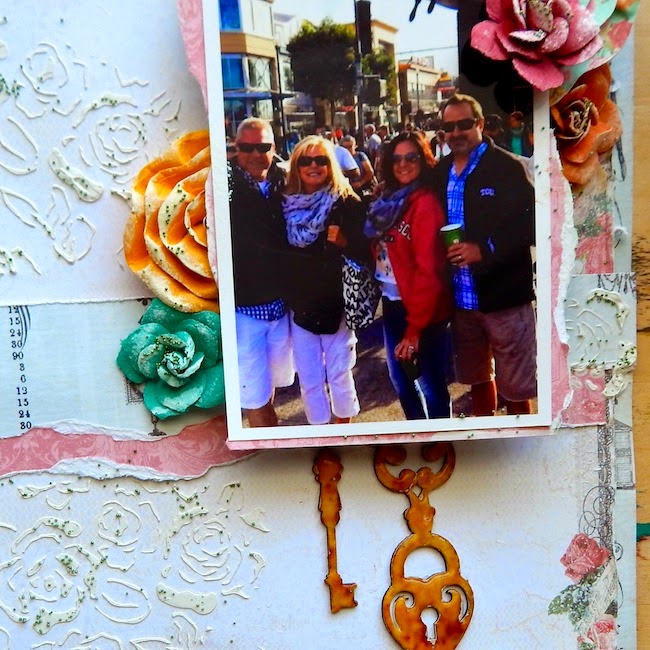
Then I adhered the two large flowers and laid my photo on top, making sure that it was going to look okay and to see if my two chipboard dangles from Blue Fern Studios were going to fit in as I envisioned them.
I coated my chipboard with white Gesso and then added color with Tim Holtz Rusty Hinge and accented with Tim's Vintage Photo. Later I applied Ranger's Crackle medium and let it air dry overnight. After that I applied some ink and worked that into the crevices. Looks divine IRL.
Oh, then the fun begins! There is a fabulous Prima stencil in the Kit called Fading Florals. I mixed some white paint into my molding paste and applied it to my background through the stencil. While it was still wet, I scattered on some microbeads from my stash.
I adhered the remainder of my flowers and coated them with more of those same microbeads.
I used watercolors and then ink to colorize some of the leaves, fussy cut them and tucked them into my florals on the right side of the page.
I fussy cut the wee basket of flowers from one of the papers and used it to balance the page. (Had to add microbeads here, too!) Then I added color around my photo with some Lindy's Stamp Gang mist and using a watercolor brush. I tucked in some gauze here and there, added a title and a few finishing touches. To wrap things up, I dabbed white Gesso on everything to blend!
Thanks for coming by and letting me share! I hope you were able to scoop up this amazing Kit. If not, be sure to subscribe and never miss another Kit! Tell them Sandi sent you! :)
Please visit our Design Team Gallery to view more of Sandi’s beautiful work.
Here's the May Limited Edition Kit:
For full descriptions of our kits, subscription information, and more, visit our website at MyCreativeScrapbook.com


1 comment:
Excellent work !!
Post a Comment