
Nicole Doiron is featuring our February Main Kit today with tips for turning stickers into layered embellishments!
--------------------


--------------------
Please visit our Design Team Gallery to view more of Nicole’s beautiful work.
Here's the February Main Kit:

For full descriptions of our kits, subscription information, and more, visit our website at MyCreativeScrapbook.com
--------------------
For my tutorial this month, I will show you how I make the most of the stickers which often come bountiful with My Creative Scrapbook kits!
Because I like the layered look, I very rarely stick a sticker directly on my page. I normally like to pop them up, to give them dimension, almost as if they were chipboard pieces.
And to do so, here is what I do!
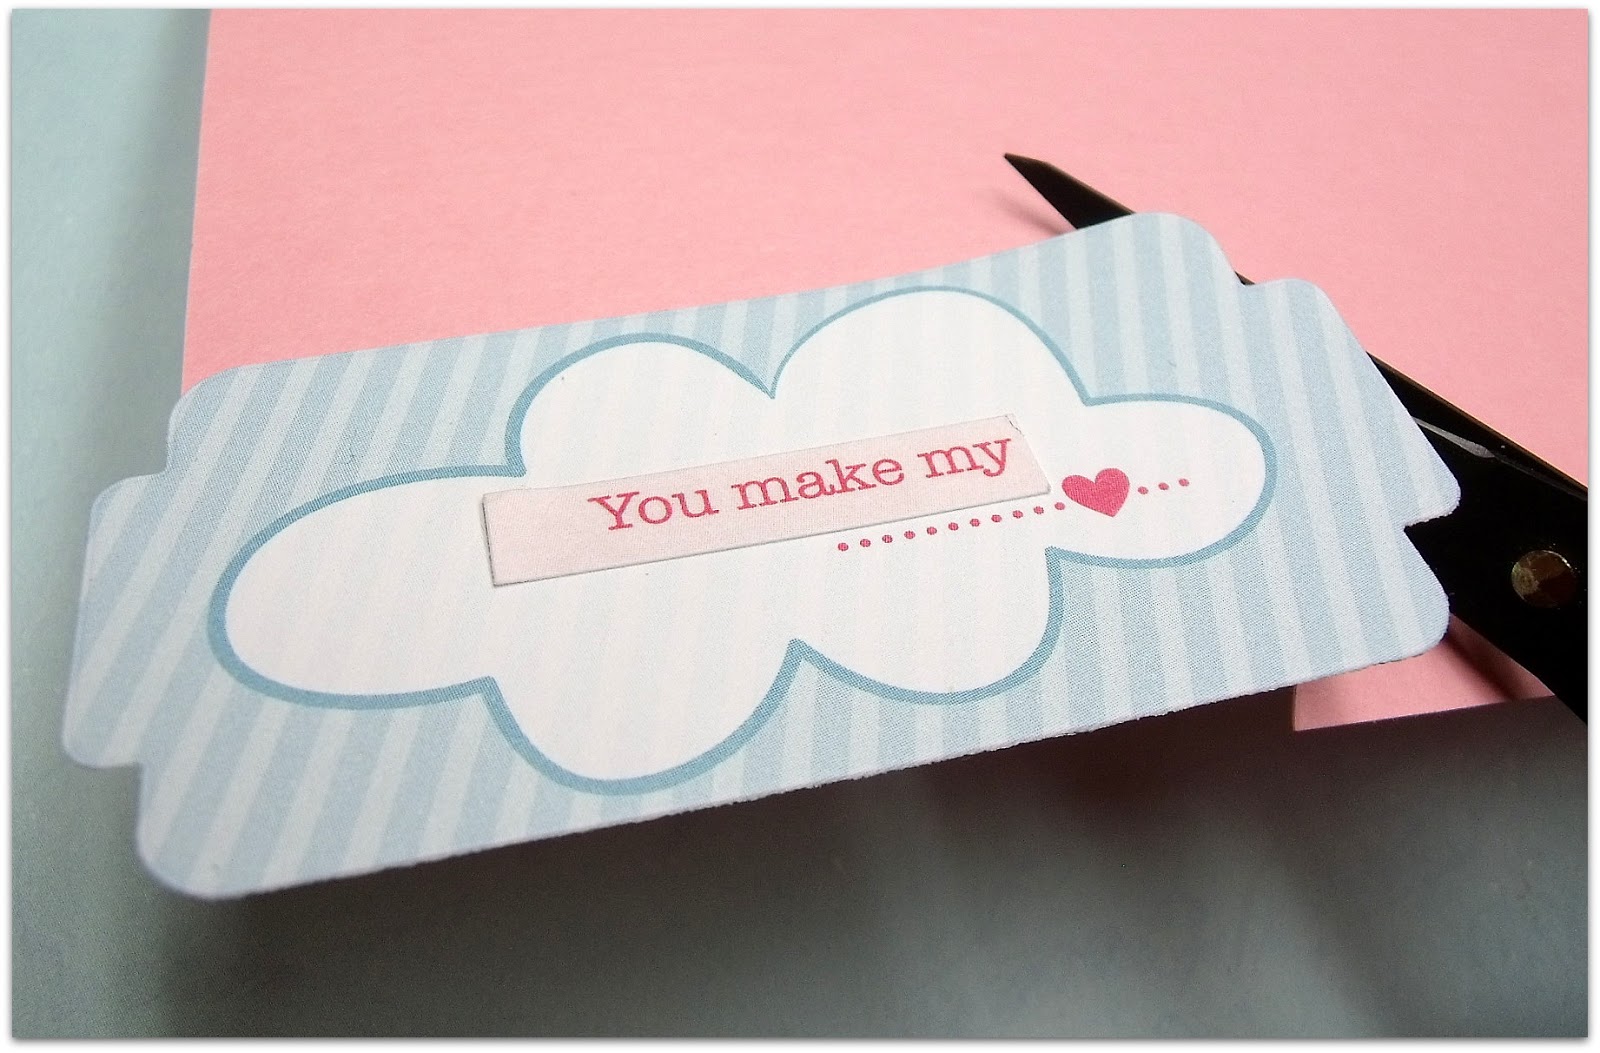
I stick the sticker on a piece of paper scrap.
I then cut around it using scissors. The cut doesn't have to be perfect underneath the sticker, just as long as the scrap paper edges do not show.
To make this title piece, I cut a heart out of pink cardstock and added some 3D foam squares on the back to stick it to my altered sticker.
You can see how I cut the 'You make my heart skip a beat' to align the pieces so that the cardstock heart takes place of the word 'heart'.
I also added 3D foam squares on the back of my original piece so that when I put the whole thing on my page, it created 3 layer depths: the background, the blue sticker and the heart.
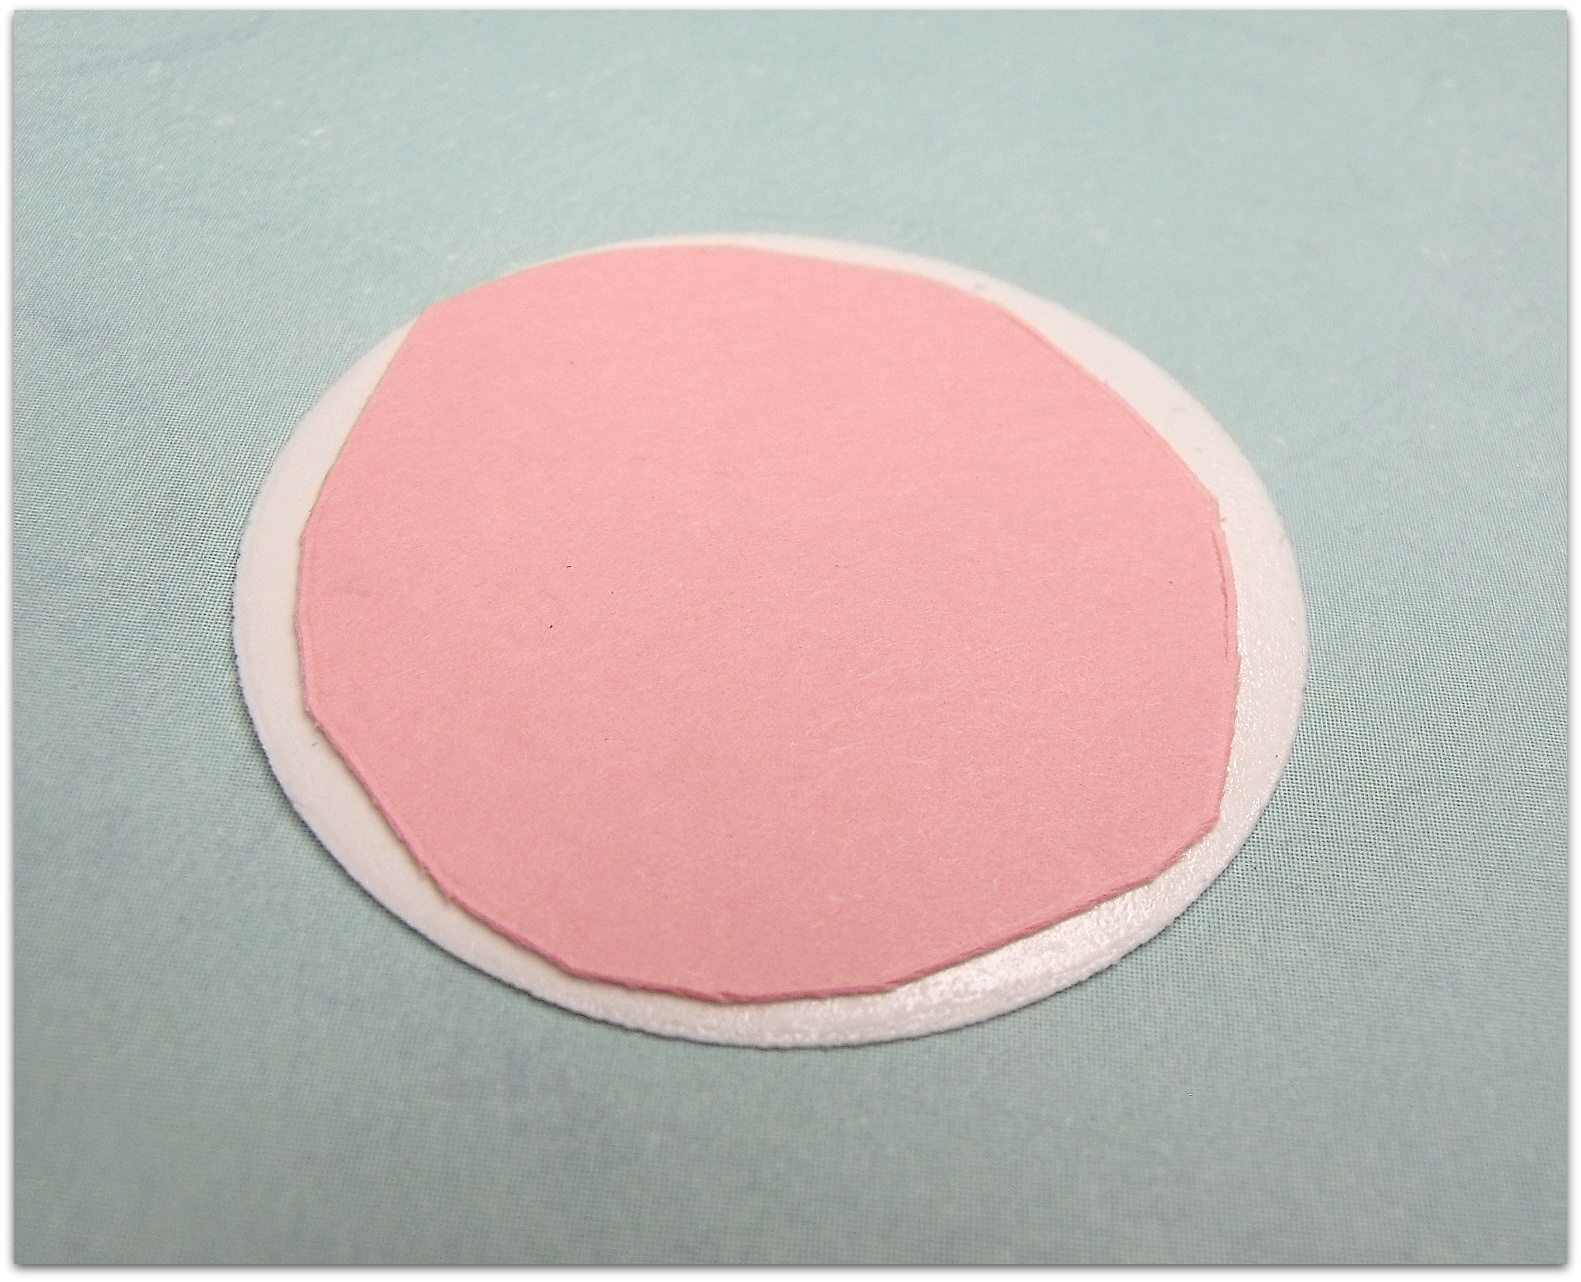
I then repeated step 1 with this cute ice cream sticker.
As you can see, when I cut around the sticker, I normally don't bother being precise (as I often don't have the patience - hehe). The important thing is that the scrap paper does not overlay the edges of the sticker!
Here you can see the top left corner of the picture of my beautiful niece Ella that I used on my page. My brother, Ella's father, sneaked in the background and even though I love my brother dearly, I don't think he fits exactly on my page!
So I used the ice cream sticker to hide him!
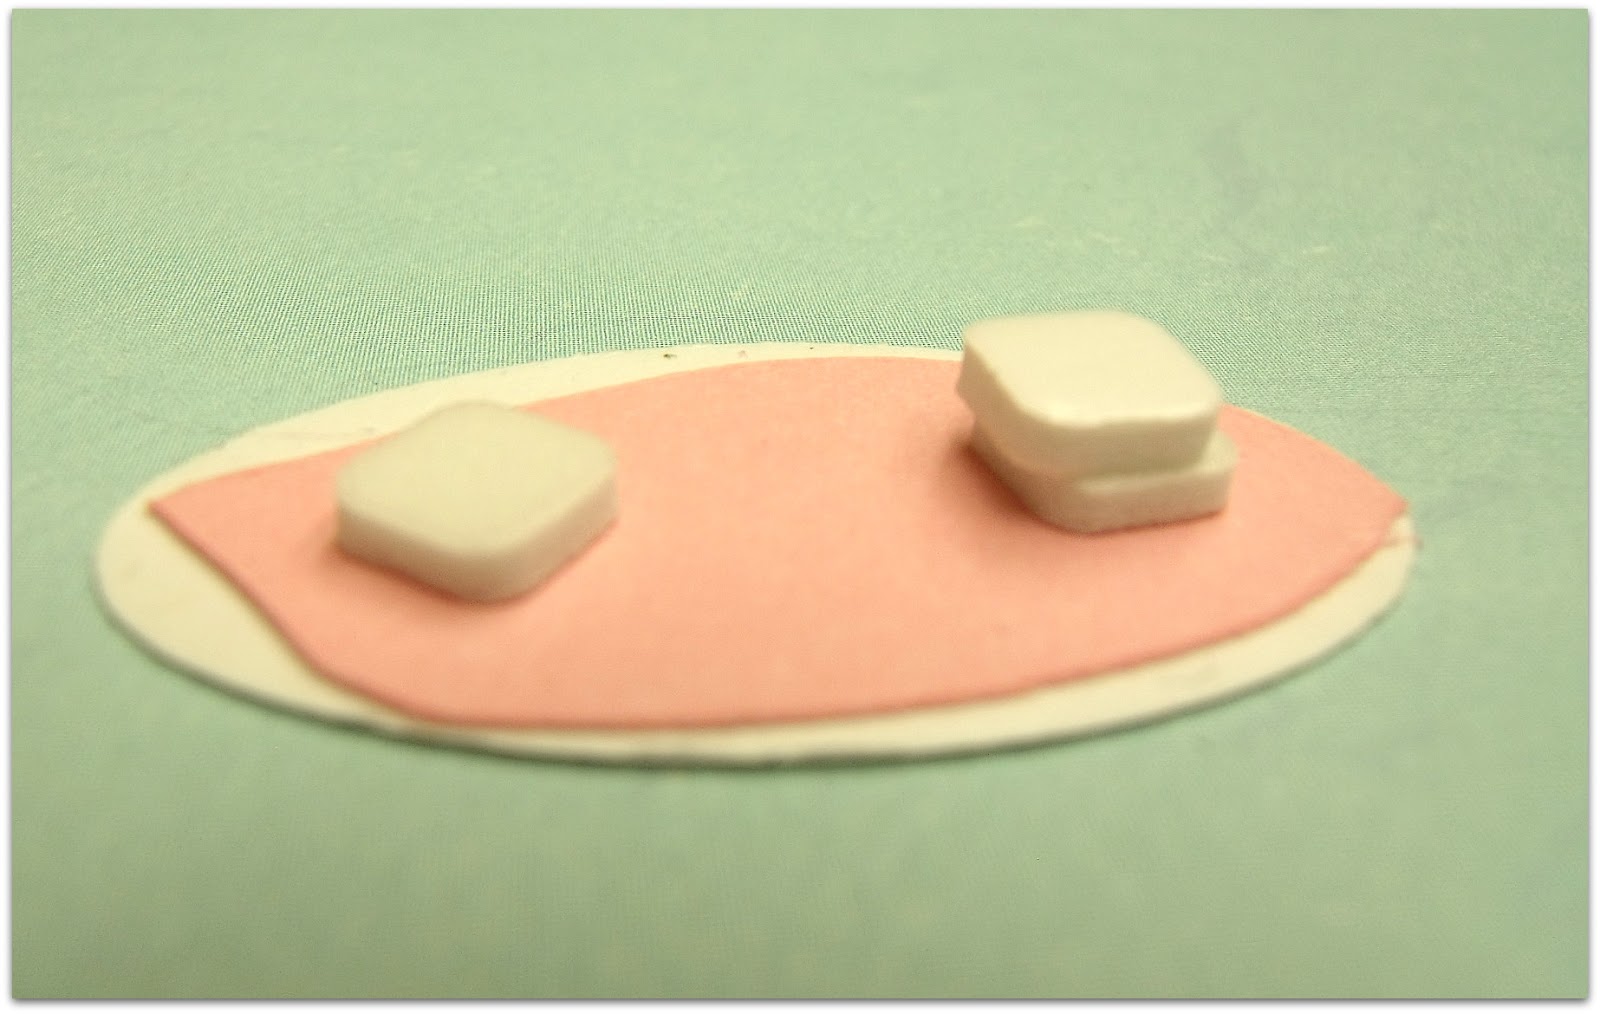
Again, I used 3D foam squares to adhere the sticker and also the die-cut.
Now, for my last example...
And there you go!
I added a few layers to my background with the journaling tag, followed by the rainbow sticker and topped by the heart.
Let's take a look at this finished layout!
And here are close-ups of the layered effect done using different stickers and 3D foam!
Hope you learned a little something creative today! ;)
--------------------
Please visit our Design Team Gallery to view more of Nicole’s beautiful work.
Here's the February Main Kit:
For full descriptions of our kits, subscription information, and more, visit our website at MyCreativeScrapbook.com
1 comment:
Love your page, thank you
Post a Comment