Have you ever wanted to create a grid layout? Brenda Cazes is showing us step by step how she created hers with our January Main Kit!
--------------------
Hi everyone! I want to share with you how I created this layout using the Main Kit.
I love grid layouts – they are a great way to use up scraps and they always look great!
I started by creating my grid on my background paper using light pencil strokes. Starting from the left, the first vertical line is 3¾” from the edge of the paper and 1¼” from the top and bottom. The next vertical line is 2¼” from the first line and 1¼” from the top and bottom. The last vertical line is 3¾” from the right edge and 1¼” from the top and bottom.
The horizontal lines are the same as the vertical – 3¾” from the top and bottom and 2¼” apart.
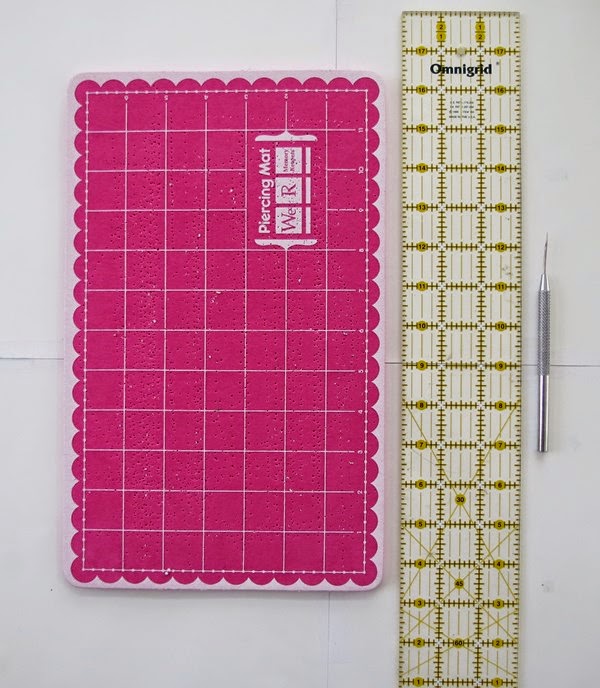
Then, I placed my paper over my piercing mat and using a ruler and a piercing tool, I poked holes on my grid lines every quarter inch apart.
Using a yellow embroidery floss, I stitched all the lines in my grid.
Next, I cut eight 2x2” squares and two, 2x4¼“ out of different patterned paper and adhered them to the grid.
Next, using a dark brown and a pink spray mist, I spattered them in a diagonal pattern starting from the top right corner moving to the bottom left.
I then matted my photo using the green patterned paper and adhered it to the background using pop dots to make it stand out a bit. Then, I added my title to the top left corner.
I finished off the layout by adding a few of the many embellishments included in the kit.
--------------------
Please visit our Design Team Gallery to view more of Brenda’s beautiful work.
Here's the January Main Kit:
For full descriptions of our kits, subscription information, and more, visit our website at MyCreativeScrapbook.com
--------------------
Hi everyone! I want to share with you how I created this layout using the Main Kit.
I love grid layouts – they are a great way to use up scraps and they always look great!
I started by creating my grid on my background paper using light pencil strokes. Starting from the left, the first vertical line is 3¾” from the edge of the paper and 1¼” from the top and bottom. The next vertical line is 2¼” from the first line and 1¼” from the top and bottom. The last vertical line is 3¾” from the right edge and 1¼” from the top and bottom.
The horizontal lines are the same as the vertical – 3¾” from the top and bottom and 2¼” apart.
Then, I placed my paper over my piercing mat and using a ruler and a piercing tool, I poked holes on my grid lines every quarter inch apart.
Using a yellow embroidery floss, I stitched all the lines in my grid.
Next, I cut eight 2x2” squares and two, 2x4¼“ out of different patterned paper and adhered them to the grid.
Next, using a dark brown and a pink spray mist, I spattered them in a diagonal pattern starting from the top right corner moving to the bottom left.
I then matted my photo using the green patterned paper and adhered it to the background using pop dots to make it stand out a bit. Then, I added my title to the top left corner.
I finished off the layout by adding a few of the many embellishments included in the kit.
--------------------
Please visit our Design Team Gallery to view more of Brenda’s beautiful work.
Here's the January Main Kit:
For full descriptions of our kits, subscription information, and more, visit our website at MyCreativeScrapbook.com


2 comments:
Love everything about your layout! The stitching is such a nice touch! :)
Awesome tutorial, Thank you!!
Post a Comment