
Hello, My Creative Scrapbook friends!
Angel Rodrigue is starting off our June tutorials today with a step by step featuring our June Main Kit.
Angel Rodrigue is starting off our June tutorials today with a step by step featuring our June Main Kit.
Here's Angel:
>>><<<
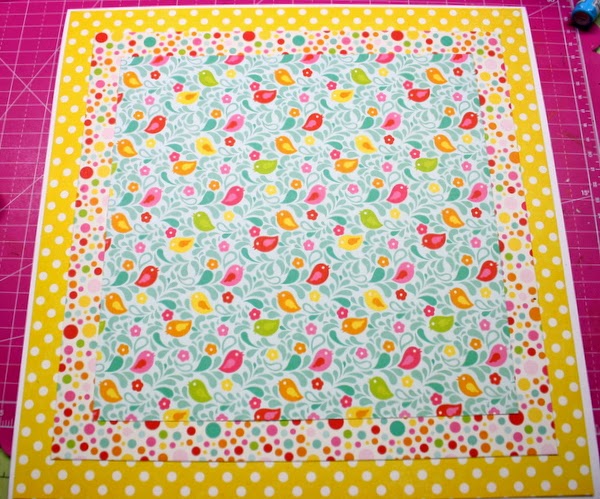
 First I choose two papers. I trimmed the inside of the bottom paper and used the back side of it on the top.
For each layer to show up I just trimmed it to the width that I wanted each paper to be seen.
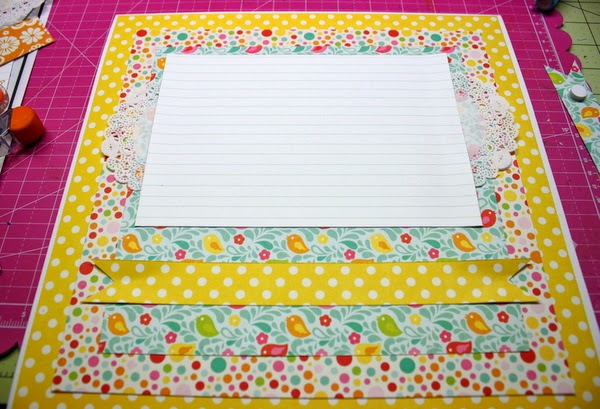 Third I glued down the first banner right below the photo matt as shown above then I added pop dots to the shorter banner as seen Below.The next photo shows how I added the second banner on top the first.


>>><<<
>>><<<
Here is a Step By Step on how I created this layout using the June Main Kit!
For each layer to show up I just trimmed it to the width that I wanted each paper to be seen.
Second I made two banners (One a little shorter that the other )and added another piece of pattern paper as a photo matt on top of all the layers .
I also used from my stash some paper doilies and cut them in half and added them on on each side of the photo matt..
Fourth I staggered three doilies on top the photo matt to add my pictures too. I also added a sticker that was in the kit .I first added a piece of cardstock to the backing before I glued to the center of the banners.
Below is what you should have after you have added your photos..
Last I layered some of the flowers and added brads in the centers as shown and staggered them across the photos..At the top of the sticker near the flowers and the banner A bow was added. You can see this in the finished Layout.
This was easy peasy to do.. I hope this helps you to create a simple layout using the June Main Kit!.

We invite you to join us and experience the possibilities that our coordinated monthly kits offer. To purchase a kit, please visit our website, here.
1 comment:
Awesome step by step
thank you
Post a Comment