
We're back to bring you even more Limited Edition kit inspiration with a flower tutorial from My Creative Scrapbook design team member Carla Marchee.
Here's Carla:
It has been awhile since you have seen one of my flower tutorials.
Today I will show how to make the Clematis flower that I created for this page featuring the Limited Edition kit.
It has been awhile since you have seen one of my flower tutorials.
Today I will show how to make the Clematis flower that I created for this page featuring the Limited Edition kit.

Some close up pictures:


See the next pictures please for the steps to make this flower.

Step 1: First I punched out six petals, inked the edges, and lightly inked the middles with an ink pad.

Step 2

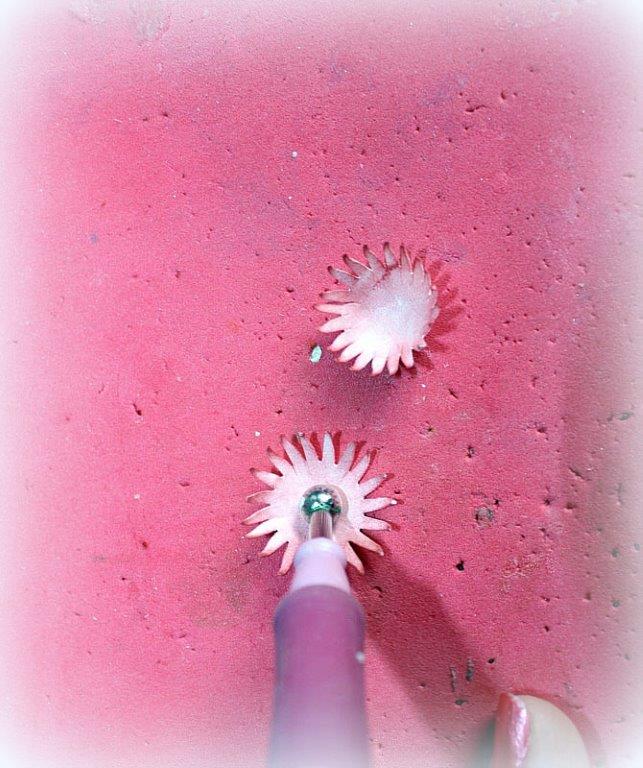
Step 3: I used a sun punch to make stamens for the flower centers. I also inked two of the suns.

Step 4: I used a large embossing stylus tool to soften and shape the petals.

Step 5: So it looks dimensional like a petal.

Step 6: I also used the tool to press down in the middle of the punched suns so that they look like stamens.
Step 7: To assemble the flower, I first used the large white flower for the base.
Now start stacking
See picture please :)

Step 8

Step 9

Step 10: After you have all your stamens ready, press in the center with the stylus.

Step 11: Here is my completed Clematis flower.
I hope you enjoyed this tutorial!


My Creative Scrapbook Design Team Member
------------------------------
Here's our July Limited Edition kit:

Carla also designed with our July Main kit:

and here are Carla's beautiful designs using this kit:


Be sure to visit Carla's blog for even more inspiration!

and here are Carla's beautiful designs using this kit:
Be sure to visit Carla's blog for even more inspiration!
We
invite you to join us and experience the possibilities that our coordinated monthly kits offer. Click here for information about purchasing our kits.
1 comment:
Carla these are amazing! You are so clever!!
Post a Comment