
We have a wonderful tutorial to share today featuring the February Creative kit by My Creative Scrapbook Design Team member Izzy Anderson!
Here's Izzy...

Start with a small metal mailbox. You can find these at the dollar spot at Target or in your local craft stores.

To begin decorating, a chose a piece of patterned paper and trimmed it 9 inches long by 3 inches wide to fit around the mailbox. I used my double sided tape to attach it (from my ATG gun) but you could use a quick drying glue or modge podge as well.


Before adhering the paper to the mailbox, I removed the flag.

I used a decorate brad from the kit to re-attach the flag.

Add a ribbon and sticker to the flag and add flowers and a sentiment sticker to the patterned paper. Add a border sticker to complete the main body of the mailbox.

Trace the mailbox door or lid on patterned paper.

Glue the patterned paper you traced to the mailbox door.

Embellish mailbox door.

Add treats inside if you wish!

------------------------------

My Creative Scrapbook Design Team member
------------------------------
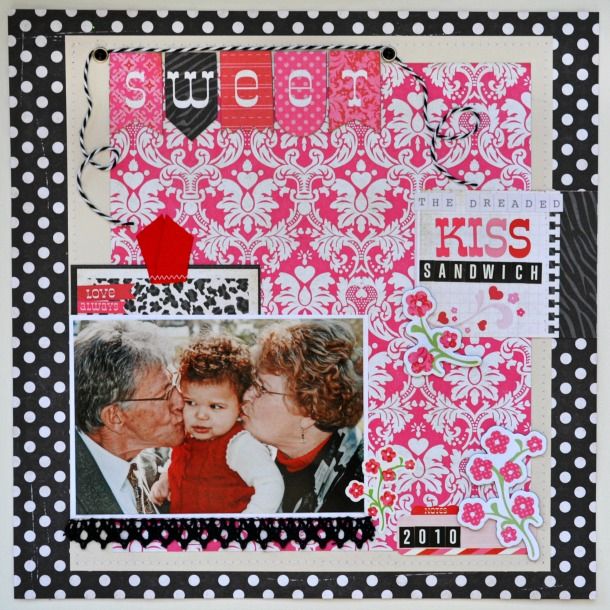
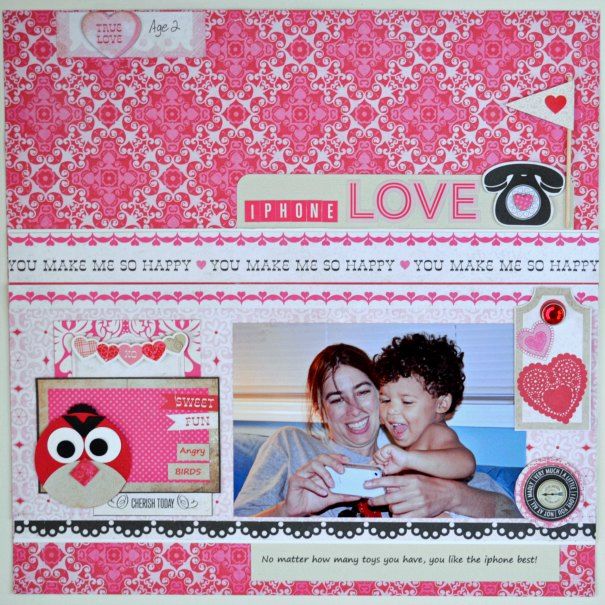
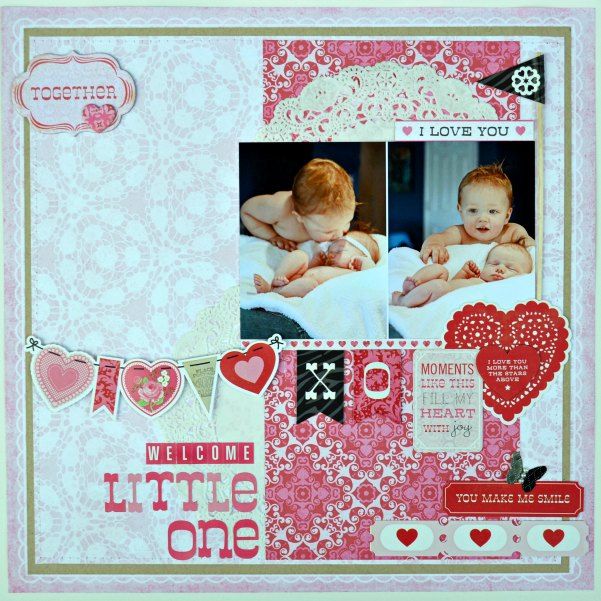
Check out Izzy's beautiful layouts using our February Creative kit:
We invite you to join us and experience all of the fun and excitement that we have coming for 2013. Click here to find the My Creative Scrapbook kits.
No comments:
Post a Comment