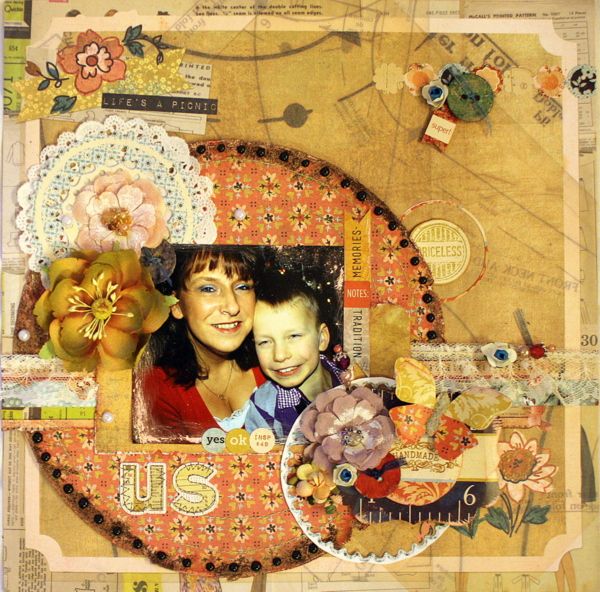
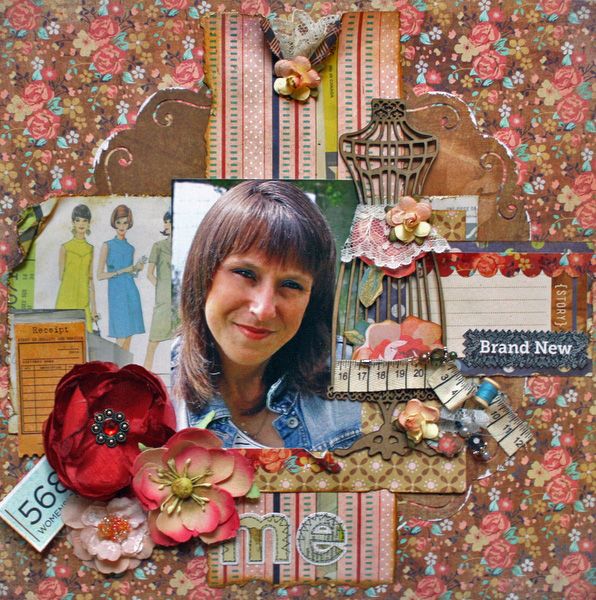
Here's Carla...
I like to share how to make custom chipboard buttons like I have done with this design.
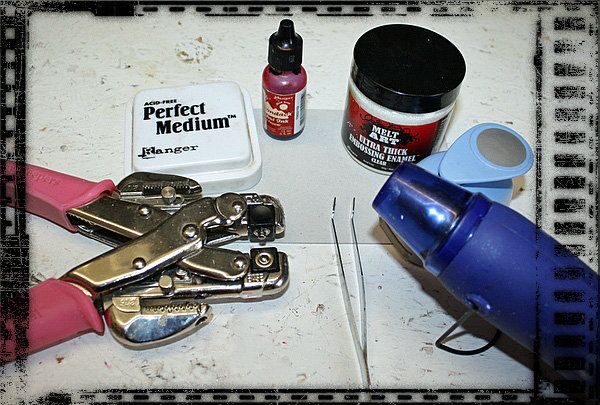
you will need the following items:
* cardstock
* Embossing Ink
* Heat Tool
* Circle punch
* Crop-a-Dile
* Melt Embossing
* Tweezers
* Alcohol Ink
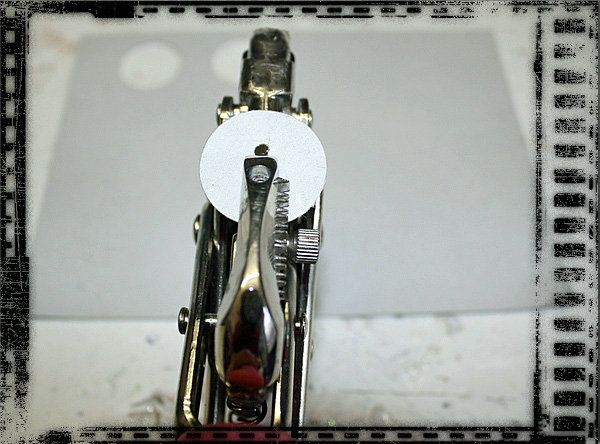
STEP 1: Punch a circle out of cardstock paper.
Punch holes into the center of the circle to make it look like a button
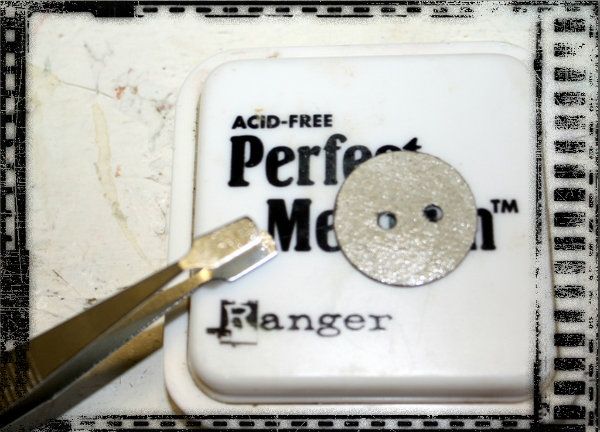
STEP 2 : Just embossing ink ,so that powder stuck on the button.
STEP 3 : Now, apply glossy embossing emamel clear finish onto the button
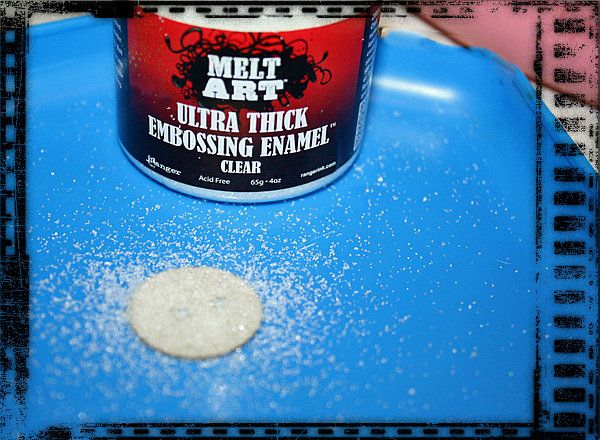
STEP 4: Heat it up so it get melting.
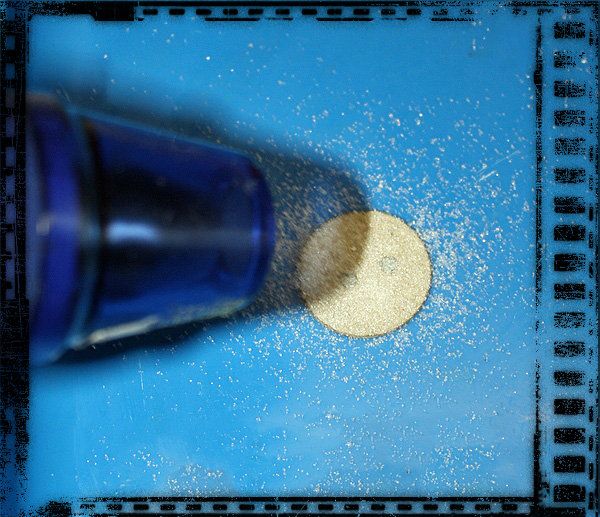
STEP 5: This how it look like
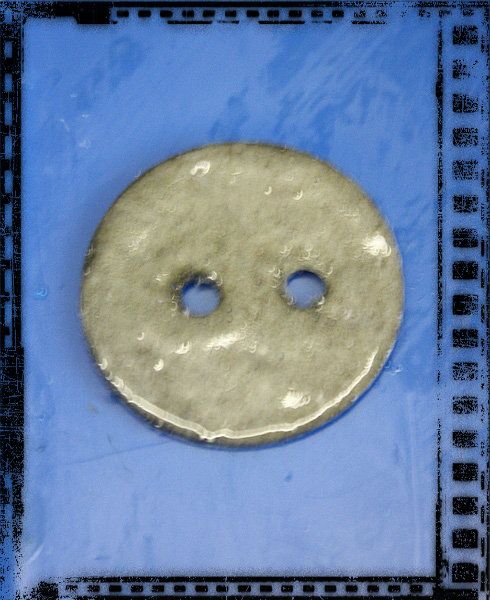
STEP 6: few drops squeeze of Alcohol Ink on your buttons so it get blending.
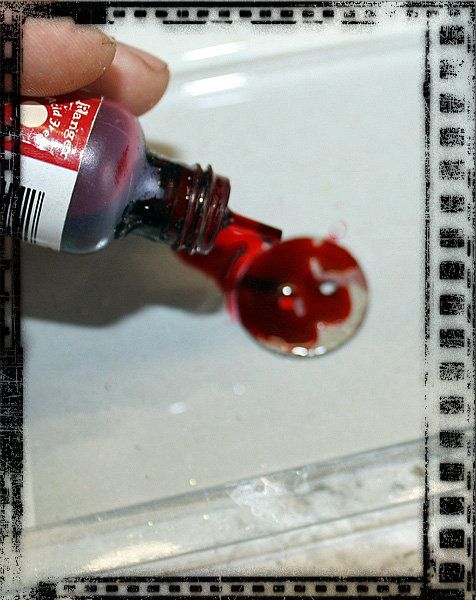
Step 7: so it look like buttons in different colors and sizes
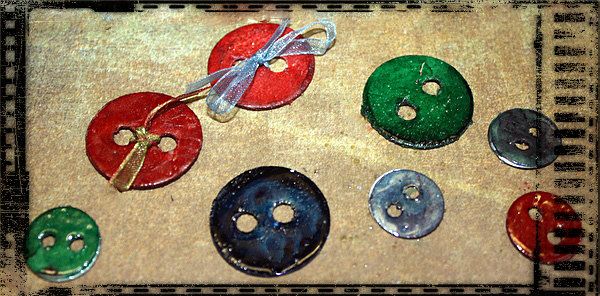
I hope you give this a try it's so cool to do.
------------------------------
I thought I would share a distressing technique.
Here is my step-by-step and explaining how I distress my paper circles

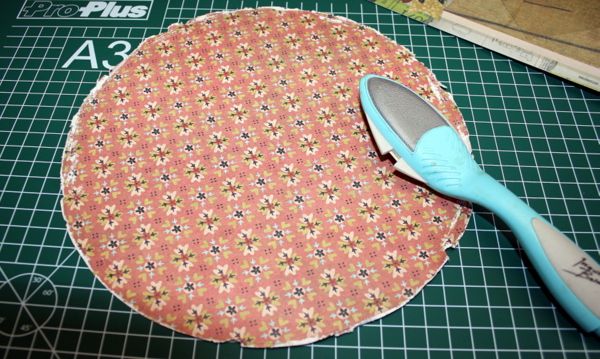
Step 1: Cut out a circle , Next take a distress tool and distress the edges
Step 2: then Ink the edges.
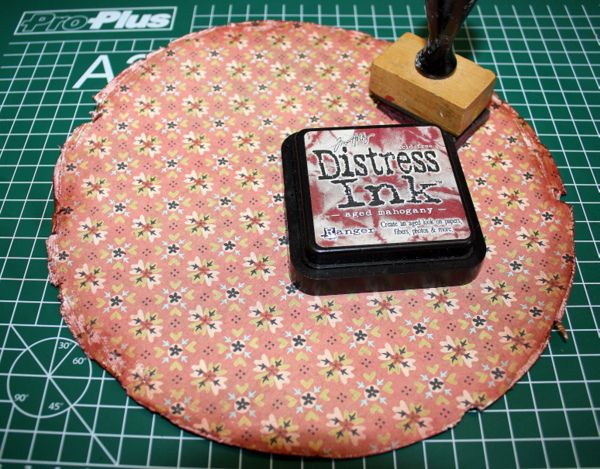
Step 3: do the embossing ink pad randomly the circle edges
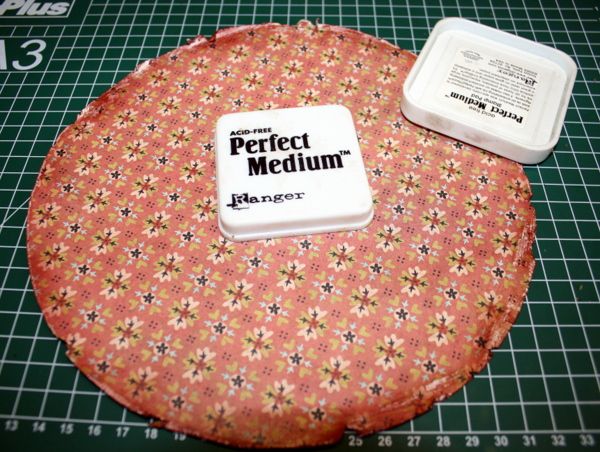
Step 4 : Embossing powder to emboss on the edges
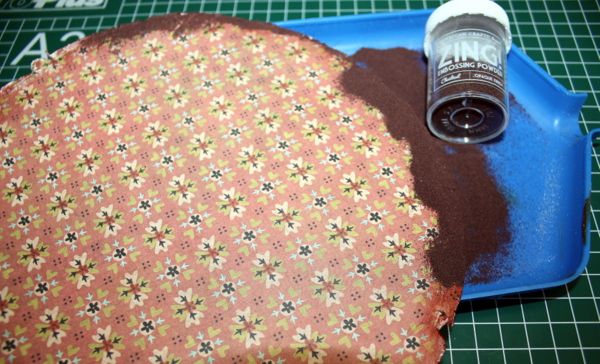
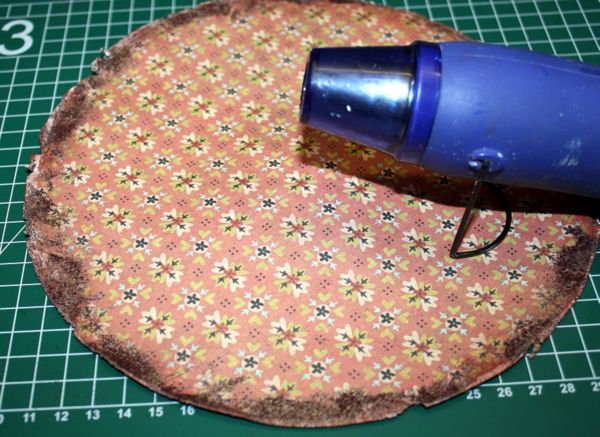
Step 5: than heat it up with the heatgun
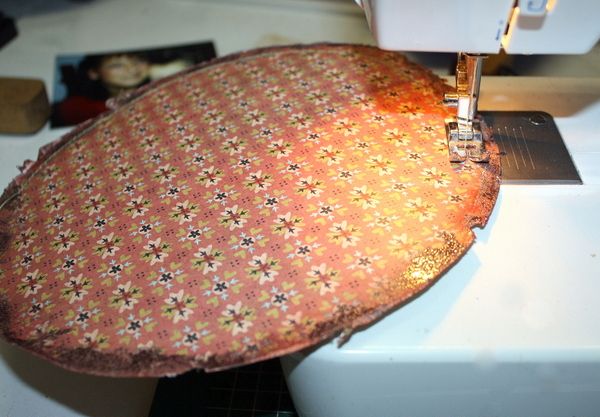
Step 6: than stitching around the edges
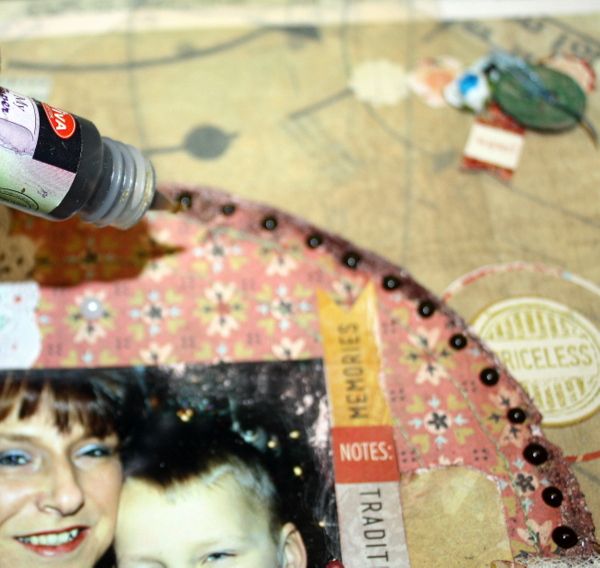
Step 7 : Making pearls around the edges
Thank you for watching see you next time
Carla
------------------------------
Carla Marchee
My Creative Scrapbook Design Team member
------------------------------
Check out more of Carla's beautiful creations using our January LE kit:
Have a look at our Design Team Gallery for even more layouts, cards, and projects from our designers!
We invite you to join us and experience all of the fun and excitement that we have planned for 2013. Click here to find the My Creative Scrapbook kits.




No comments:
Post a Comment