Hello everyone! Today Design Team member Izzy Anderson is showing how she made her cute tag embellishments.
Here's Izzy...
This is how I made the patterned paper tags that are tucked under my photo:
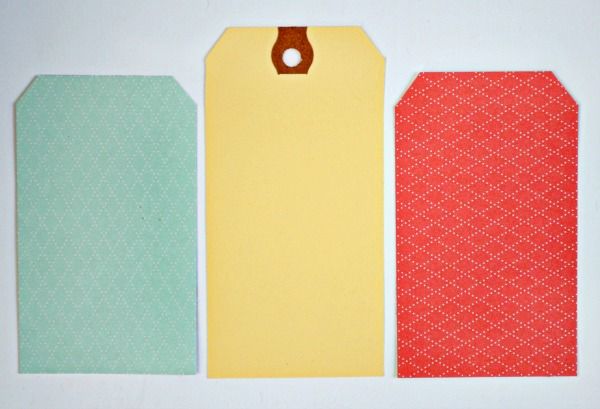
I started by using a standard manilla shipping tag as a pattern. The patterned paper tags don't need to be too long because I will be tucking them into my layout and the bottom won't show.
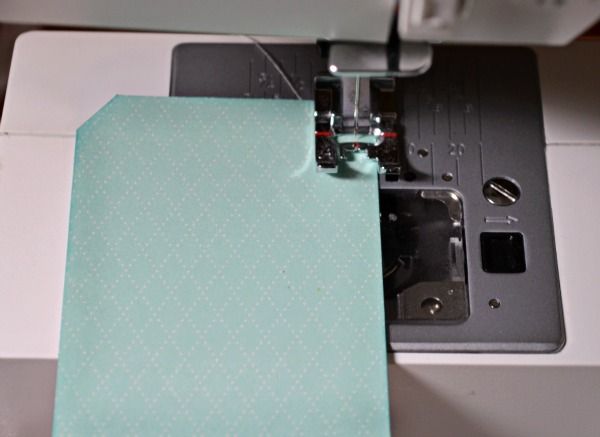
After cutting the patterned paper tags, I like to define the edges by either inking them or stitching them or both.
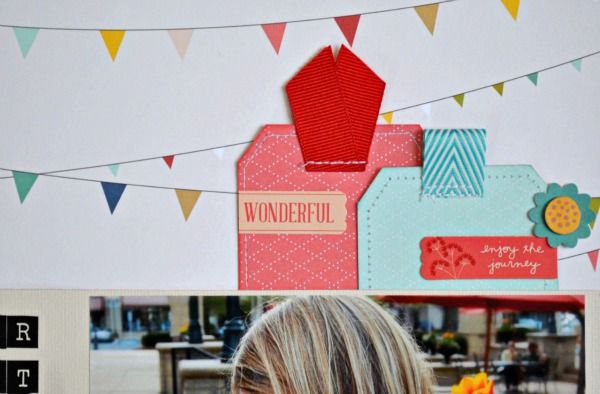
After lightly inking, I stitched around each tag and added a ribbon at the top.
Now, I have my tag base and am ready to tuck them under my photo to decide how I like them and how much to embellish them. I slighly overlapped the blue tag onto the red tag then added a word sticker from the kit on each tag. On the blue tag, I also added a small flower on the far right.
This was an easy way to add a pop of color to my page and to draw attention to the focal photo.


1 comment:
Beautiful Izzy - lovely idea...
Post a Comment