
Here's Carla...
Hi i want to share with you a beautiful fall flower that i have made on this page, and I will tell how I did this.
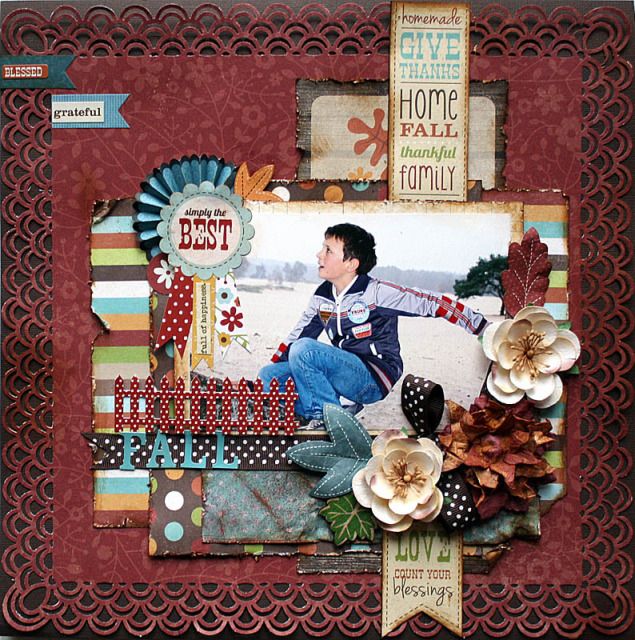
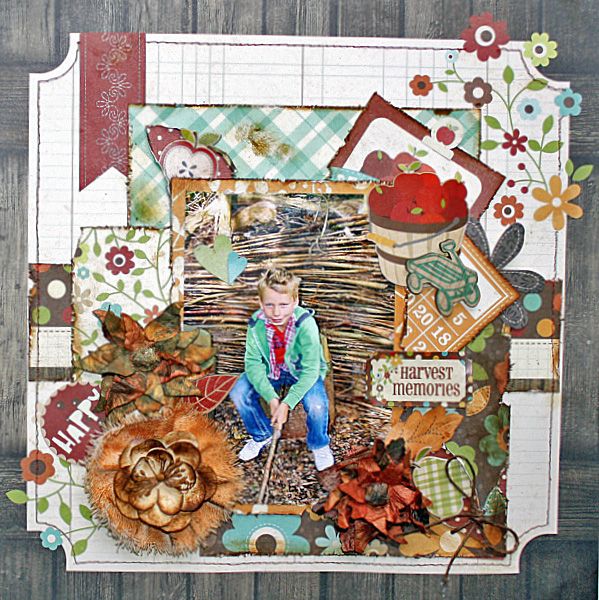
And this page
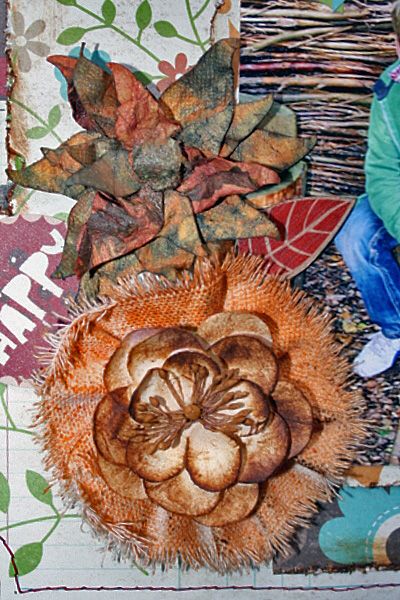
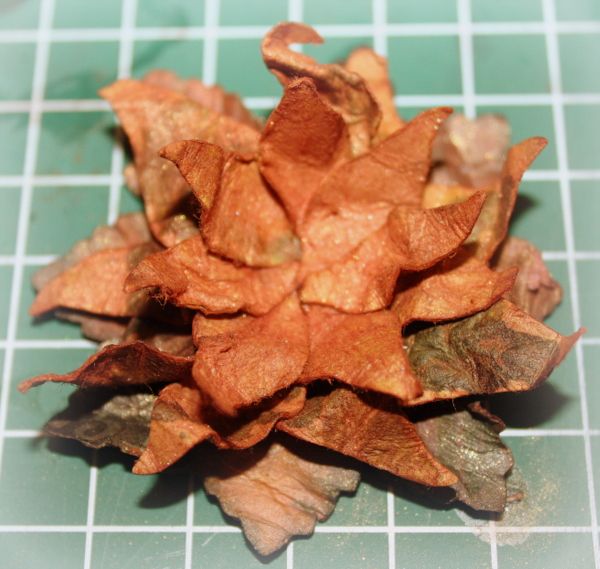
Here are close ups

Now here is the Fun tutorial
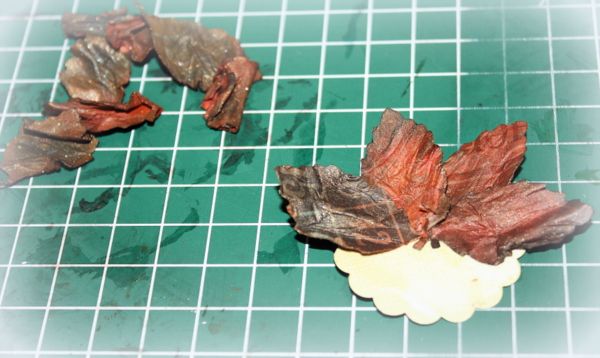
STEP 1 Punch 8 petals for one layer and the rest next layer will have remaining 7 petals and for the next layers also 7 petals. So all together punch out 22 petals for one flower!

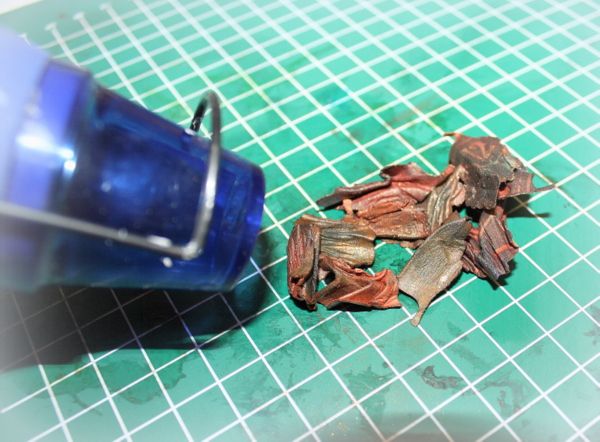
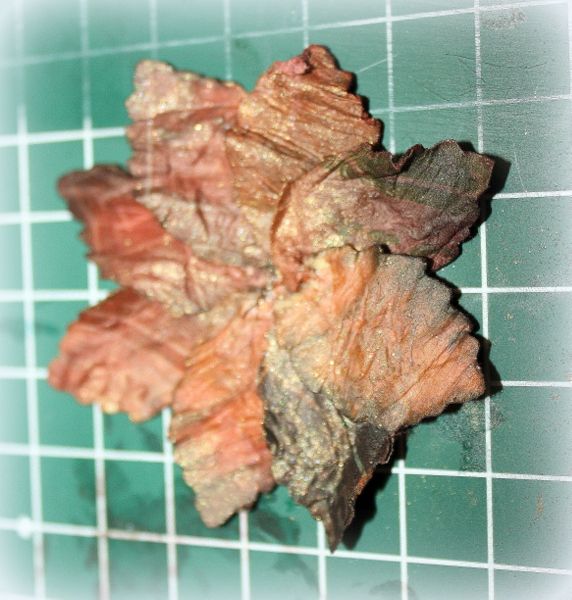
STEP 2 Spread the flower petals apart and spray with glimmermist.
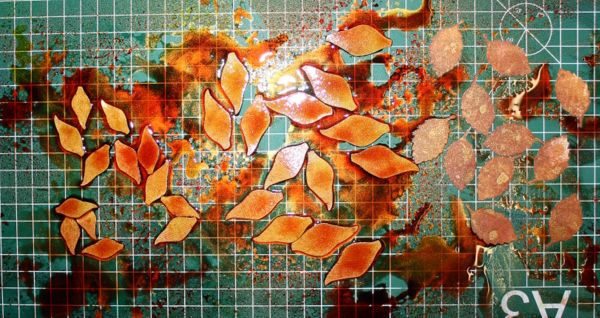
STEP 3 While the petals are still very slightly damp, twist the petals, then slightly unravel. You should have ripples in the petals. Then dry it further with the heatgun.
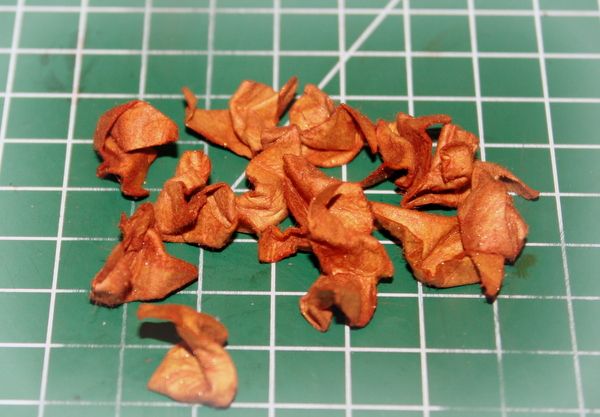
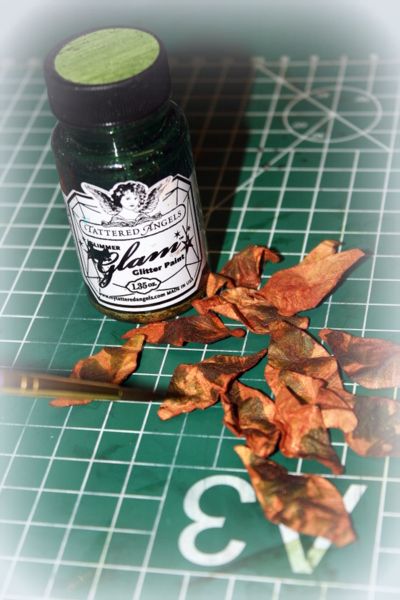
STEP 3 When it's dry tip with glimmer glam on the petals
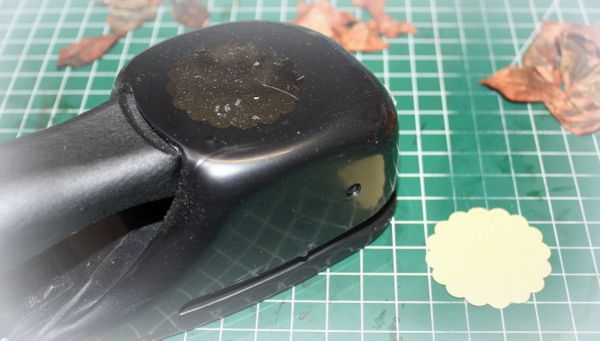
STEP 4 Punch a circle
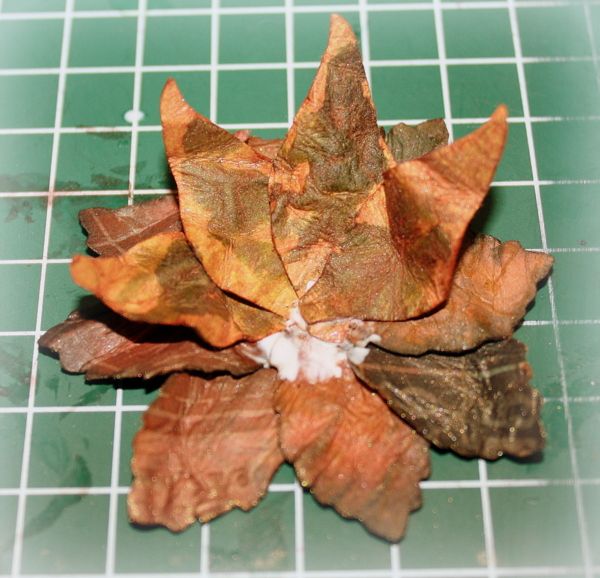
STEP 5 For the bottom layer, glue 8 petals together as shown with the folded tip on the outside of the flower.
STEP 6 The next layer will have the remaining 7 petals just the smaller
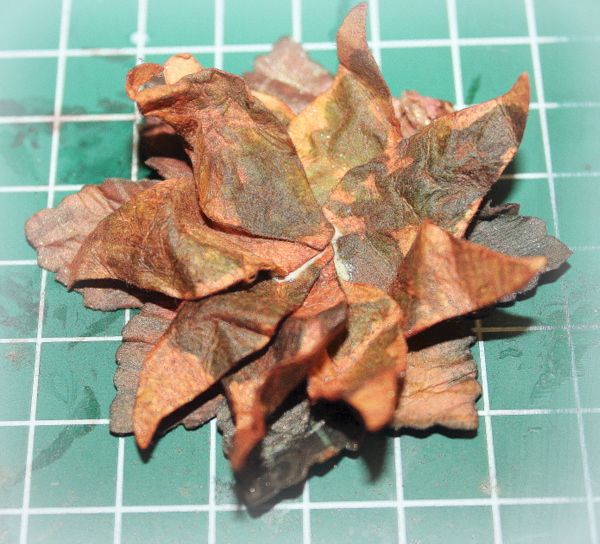
STEP 7 I used 7 smaller flowers for the middle.

STEP 8 The last step is create a wad for in the center of the flower

This was my fun flower I hope you give this a try.
2 comments:
this is an amazing tutorial and an unusual flower, thanks you for sharing.
Love it Carla! I will try it for sure!!
Post a Comment