Here's Carla...
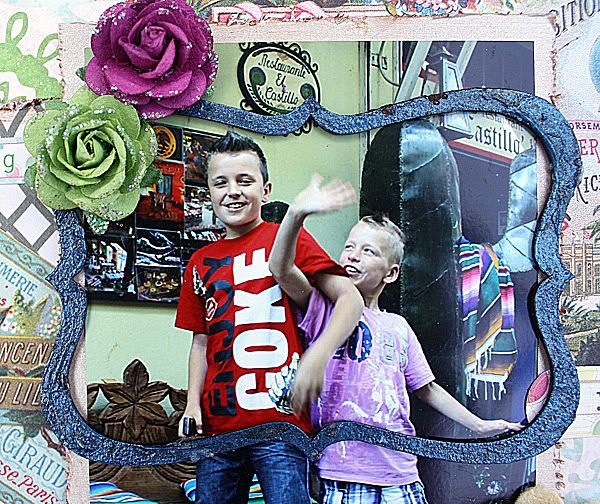
what I have done with this great frame chippie
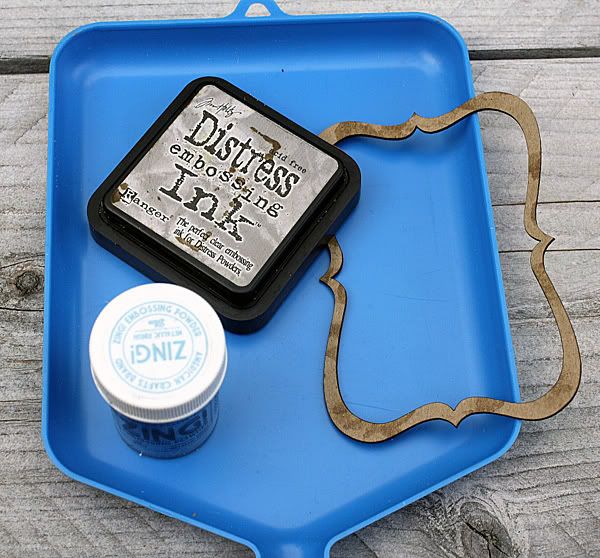
Step 1* Apply clear embossing ink to stamp on the chippie
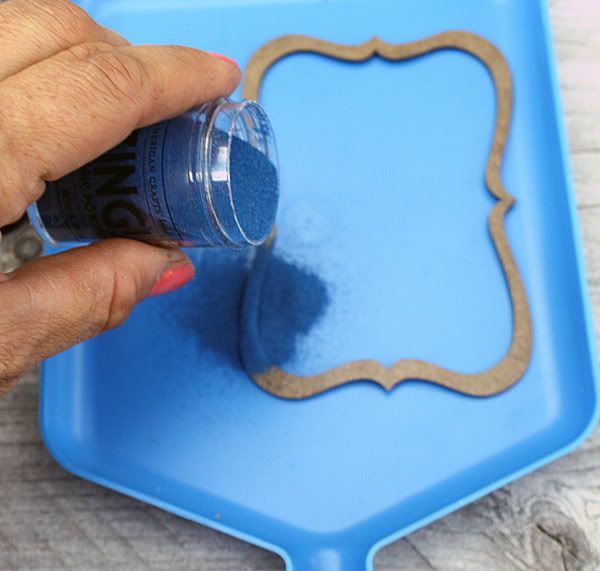
Step 2 * Apply embossing powder over chippie. Shake off excess embossing powder
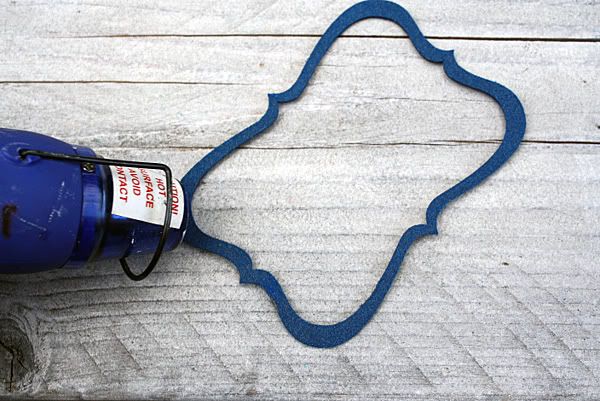
Step 3 *Heat the chippie with a heat tool until the embossing powder melts.
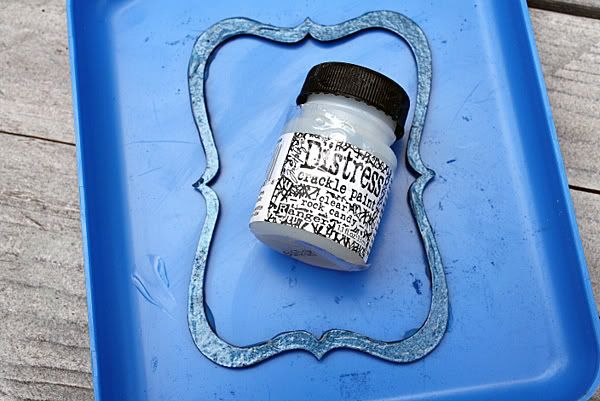
Step 4 *I put a layer of Distress Crackle Paint on top off the embossing chippie so that it go crackle and dry this also with the heatgun
-----------------------------------
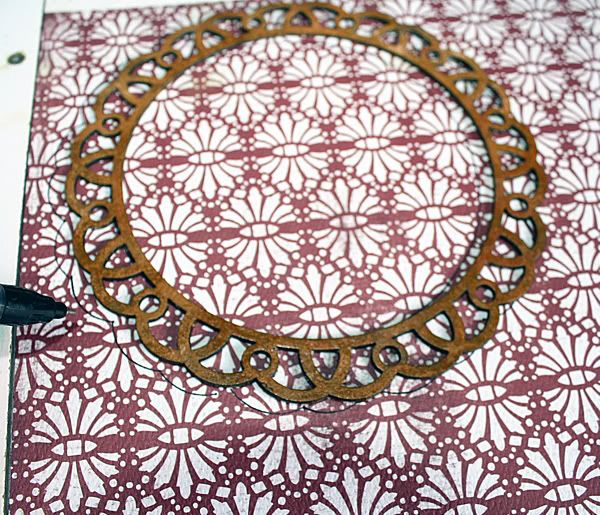
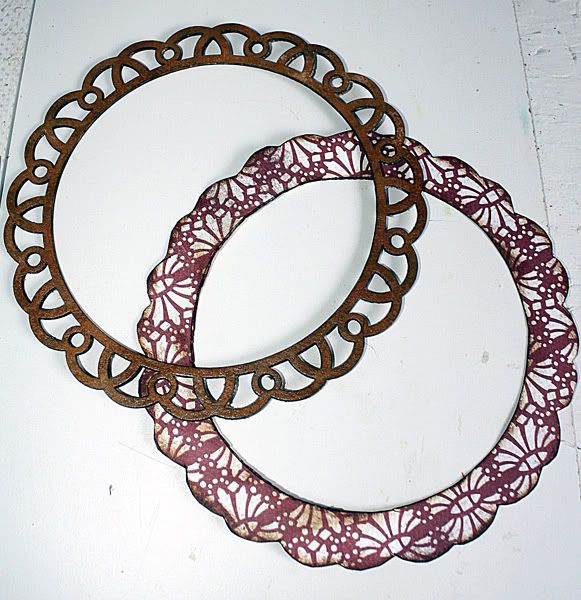
I have just used this chippie to create a circle, It's also simple to follow the lines with pencil and you have some wonderful creative circle so fun!!
See the step by step:

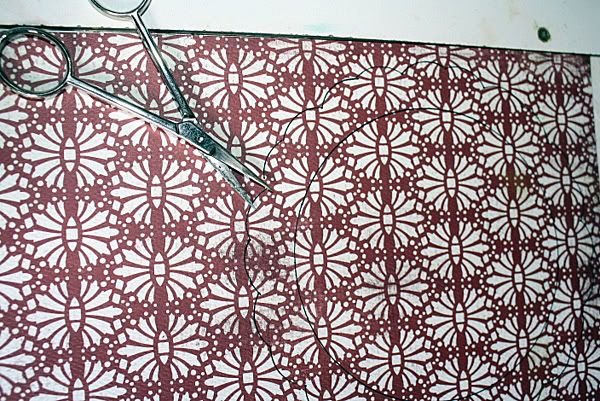
then cut this out
-----------------------------------
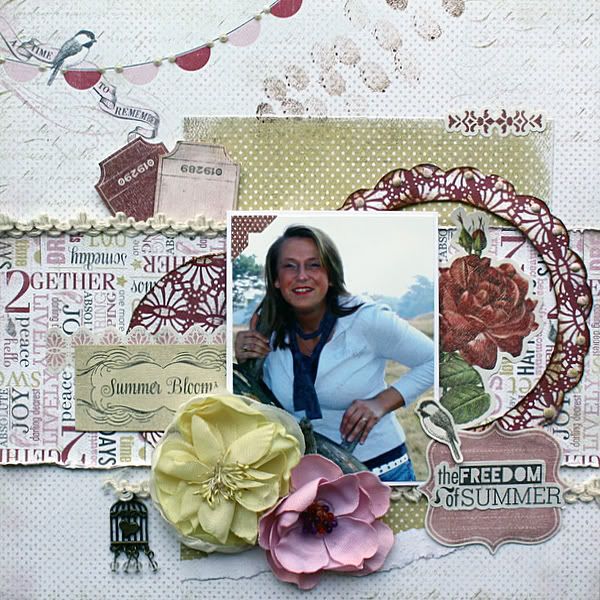
I like to tell you how I hid these tags that are from the sticker sheet that is delivered by the Main Kit. Behind the sticker have I done with a cardboard and so that it highed-up and not keep paste on the design paper
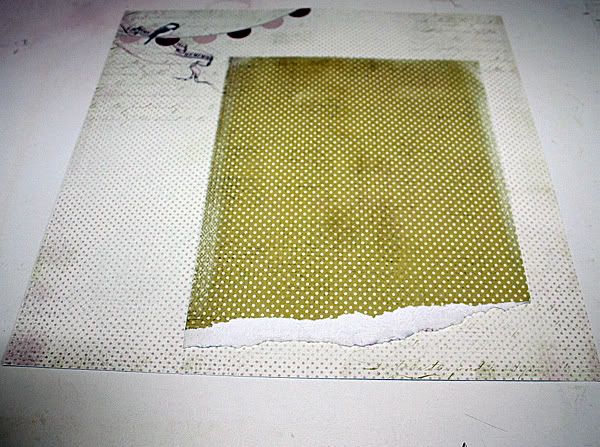
first i have done, on bottom of the paper have I get ripped off for nice effect
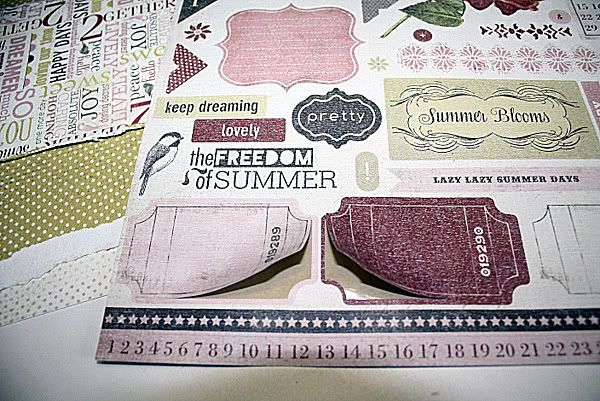
These are the tags
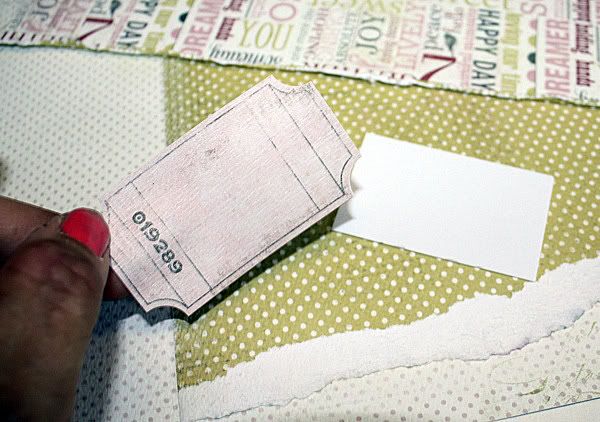
Tags I have done ..cardboard place behind
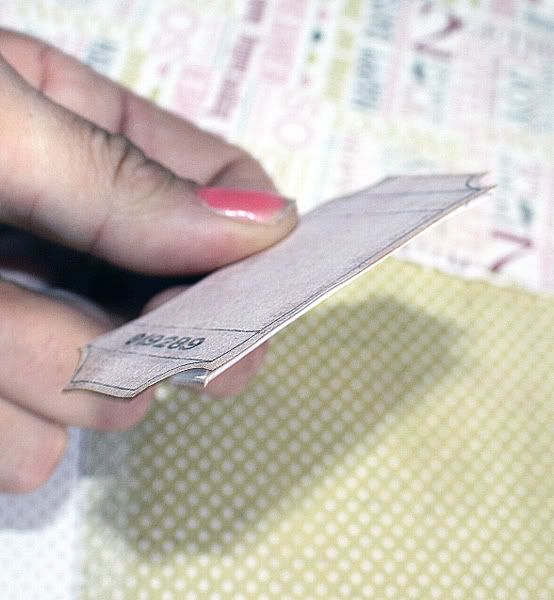
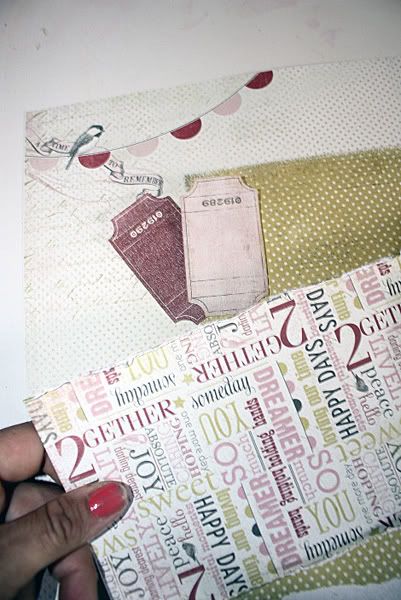
Than put the tags on the place you want it.

and then layer the next paper on the top off the tags.

1 comment:
Thanks for sharing - lovely work!
Post a Comment