
Here's Georgia Heald with her stitching technique!
I thought I would show you how I did the blanket stitching on my circle element. This is a great way to add interest to a layout and create contrast between two different patterned papers.
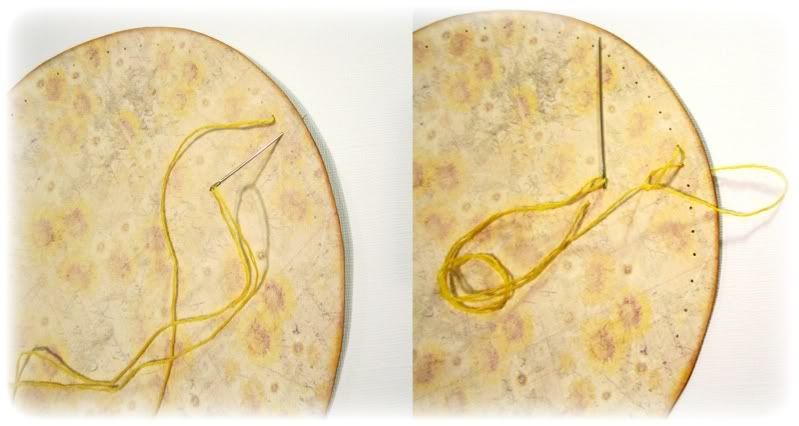
First I have used a paper Piercer to put holes at approximately 1/2 cm intervals around the edge of my circle. Then I have threaded some sewing floss on a needle, tied a knot in the end and threaded from the bottom to the top and then over to the next hole and back through. Leave the thread loose and bring the needle from the back to the front, thread through the loose stitch and pull tightly.
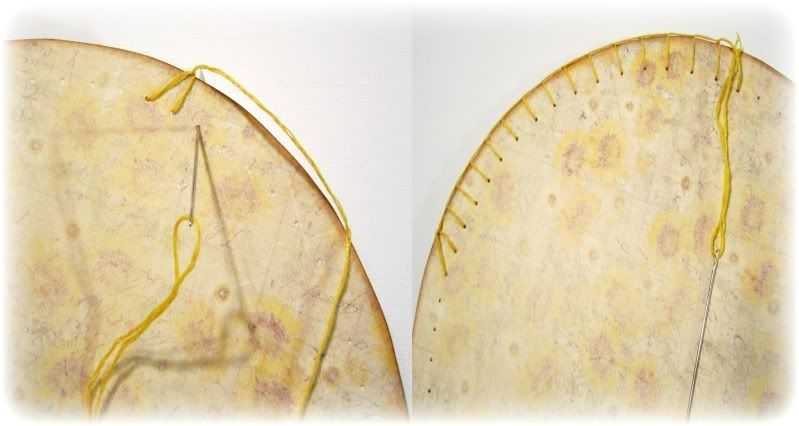
Going from the back to the front, repeat this process picking up the stitch with the needle as you go.

------------------------------
I love working with chipboard Thickers, they are so versatile to use. Today I am sharing a way to alter the chipboard Thickers. Using plyers or any sharp object, remove the top portion of the Thicker, this would be the glossy colored part. You simply have to lift off a corner and peel it.

Once the colored portion is removed what remains is the natural color chipboard.

At this point you can either leave the Thickers as is, like I've done in some of my projects or you can color them using mist, ink or embossing powder.

Happy altering.
------------------------------
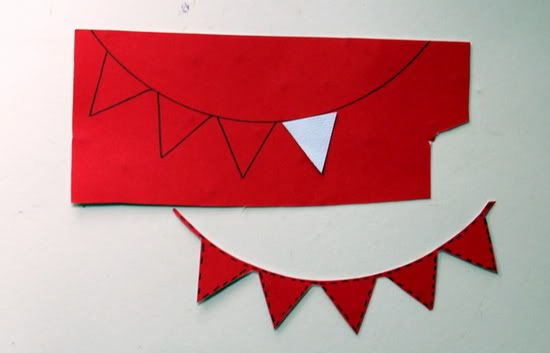
Here's Trudi Harrison with her instructions for recreating her banners/buntings!
Banners or Buntings are not only super cute but are also super fun to make. They can be made from your scraps of patterned papers and are a quick and easy way of adding a customized accent to your paper crafting project.
To recreate a banner/bunting as seen on the layout
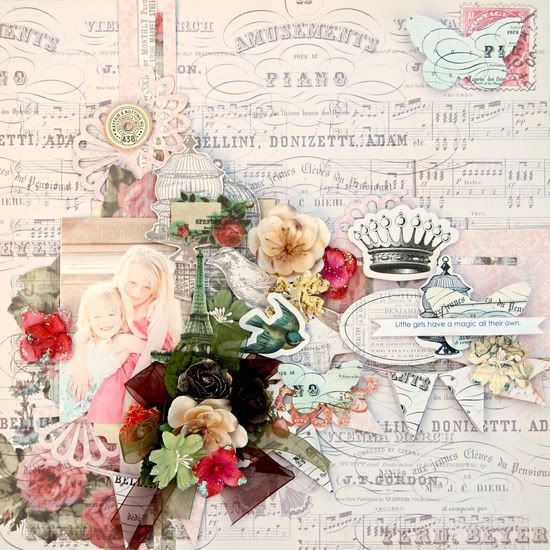
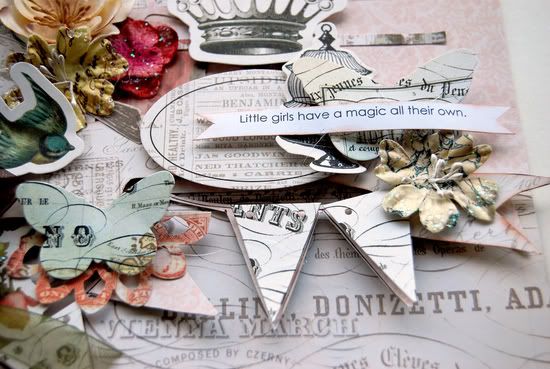
'Little Girls have magic all of their own'
Create a curved line – I traced around part of a dessert bowl to create the curve and then draw the triangles along the curved line.
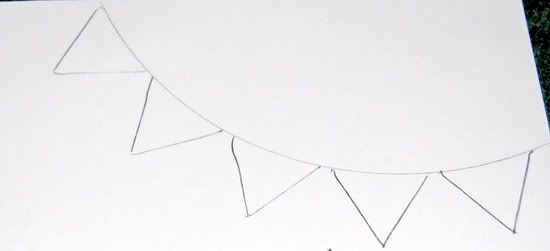
Then simply cut out around the lines which you have drawn
The banner was attached with foam dots to add some dimension. Die Cut elements from the June Limited Edition Kit were then attached over the top.
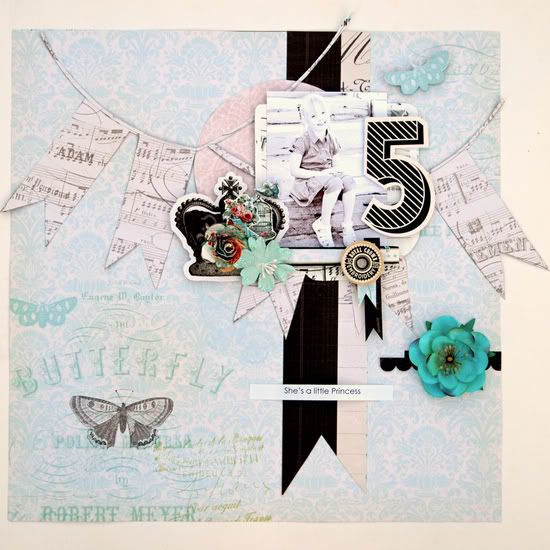
Try altering the size of the banner by adjusting the length and curvature of the line. The size and shape of the 'flag' can also be adjusted. Insteadof a triangle why not try a different shape as I have done in the followinglayout.
'She's a little Princess'

Great big thanks to Georgia, Mel, and Trudi for their fantastic kit work, tips, and techniques as guest designers this month!
No comments:
Post a Comment