
Hi ladies I wanted to show you how I did the cut out technique on this page.

First of all you need a template. I have made my own over the years if I receive a die cut piece of paper I will just trace the edges onto a piece of Bazzill cardstock or cardboard. This is a bracket shape from my stash!

Trace around the outline of the shape you are using.
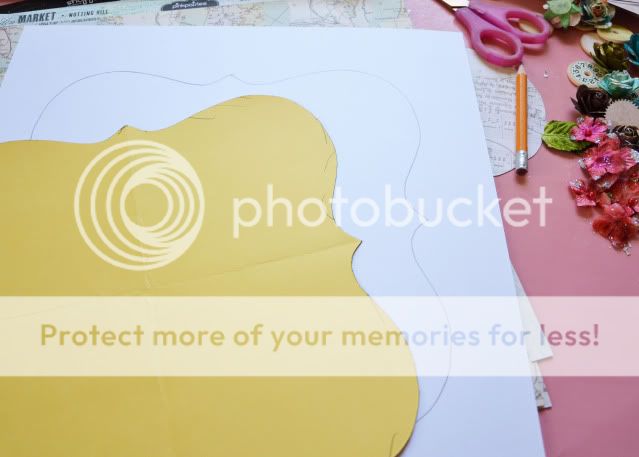
Next cut it out.

I made a couple of arrows so I would know which way the original shape fit into the outer shape.

Next trim off more from the inside and outside shapes. This will allow the background paper to show through some more.
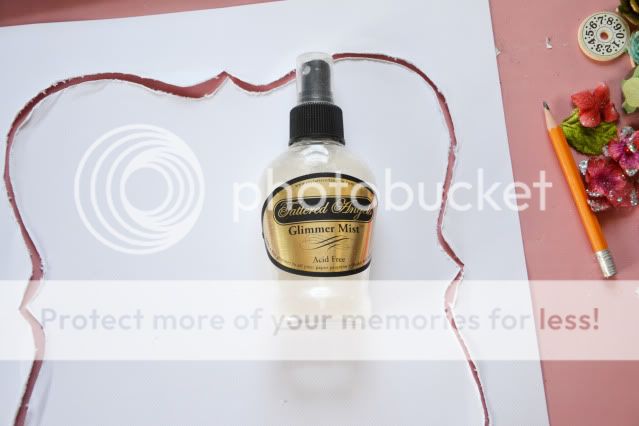
Next we are going to make the edges wet so we can manipulate them easily. I use Pearl Glimmer Mist (I'm a sucker for shine!) you can use water if you don't have a top coat mist.

Here is a close up of how much I sprayed on... the more pliable the better. Don't worry about warping we will stitch it all into place. Curl the edges and scrunch them between your fingers the more you play the more creases you will get. :)

Once your edges have dried a little glue them with a little glue into place on your background sheet. I decided I wanted to show more of the background layer so I trimmed off about 1/4 inch on each edge and used the same technique on the outside edge.

Lastly I sewed all edges into place it was a tricky shape to sew actually but because of the shabby chic nature to this technique I didn't think it mattered :)
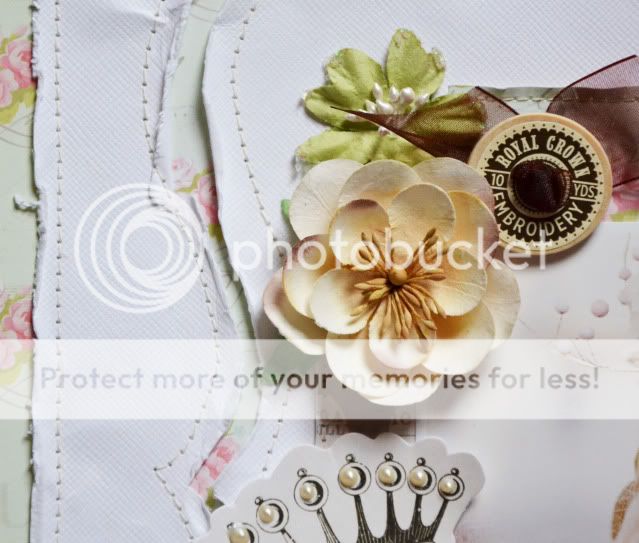
Hope you enjoy making some fun backgrounds.
No comments:
Post a Comment