Woohoo it's FRIDAY!!! Do you have any scrapbooking plans this weekend?
Today design team member Rachael is sharing her technique for using packaging as a mask... you've GOT to see this!
Here's Rachael...
When I open up my kits I always check out the packaging as well as all the gorgeous goodies inside them, the packaging for the Pink Paislee rub ons had a lovely scalloped top which I knew had to be used somewhere on my pages. I decided to create a mask...
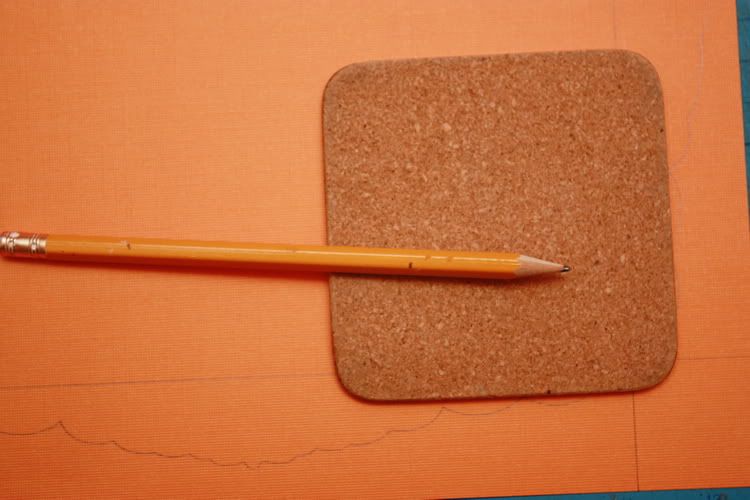
1. Mark out a 9x9 square in the centre of a spare/scrap piece of 12x12 cardstock, place the scalloped packaging in the centre of each side and draw around it. You will have a gap left in each corner.
2. Join up each scalloped line using a curved object, I simply drew around a small matt.
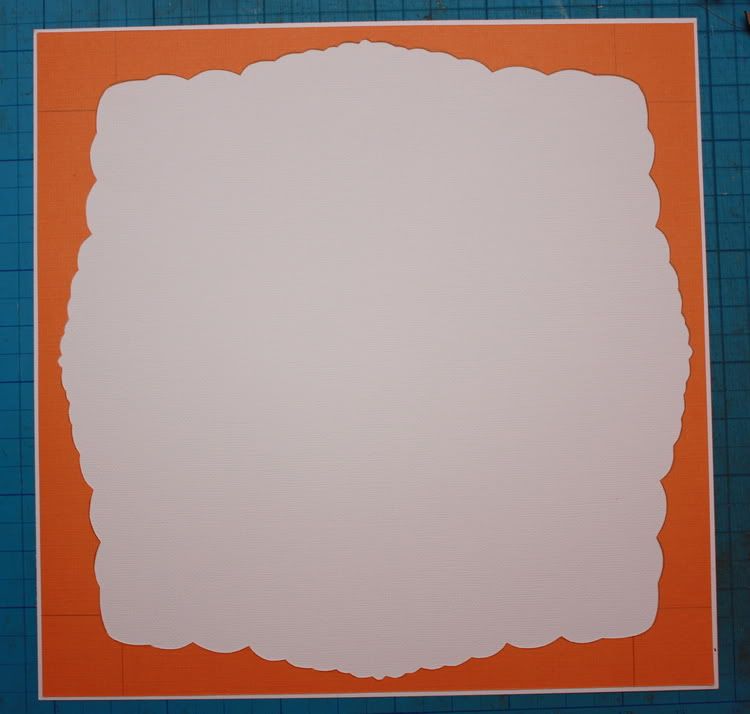
3. This is what you should have drawn on your paper.
4. My initial idea was to just use the mask to create a background on the white cardstock and I wanted to edge the page so I trimmed a tiny slither off each side of the 12x12 paper. I then carefully cut out the center of the paper and stuck the left over frame onto the centre of my cardstock.
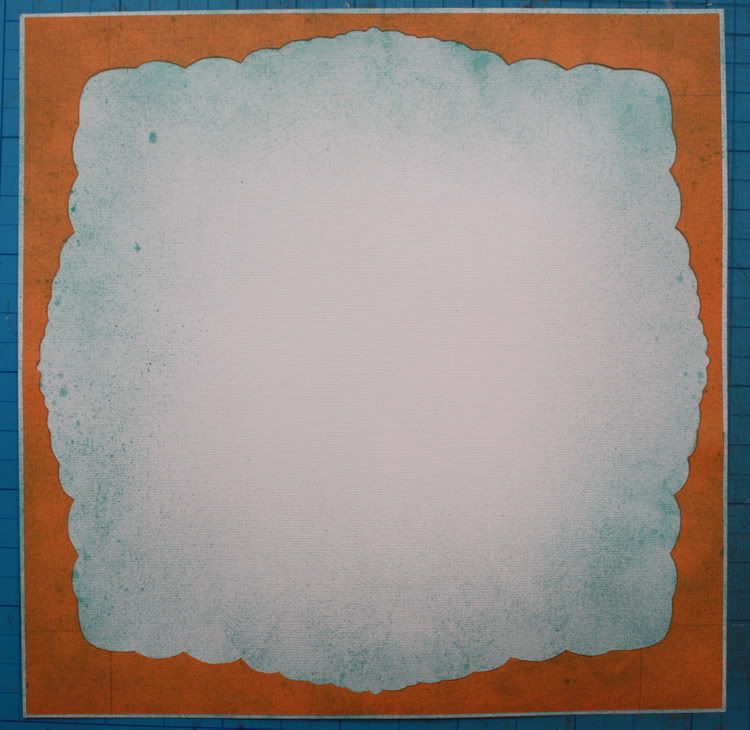
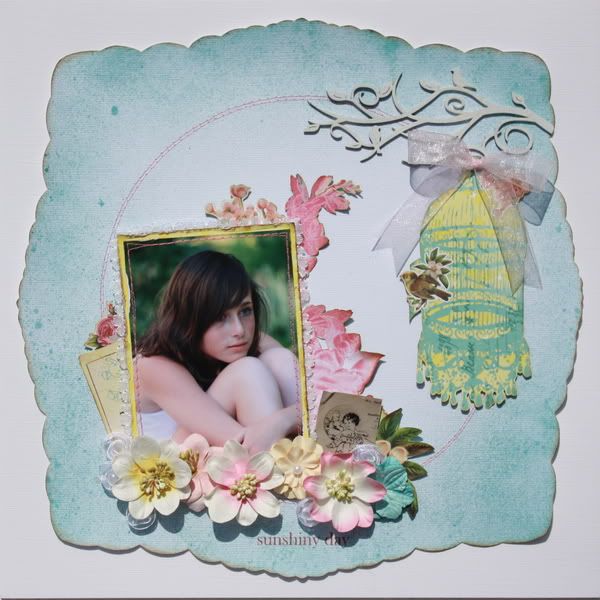
5. Mist over the paper, concentrate on the area right next to the mask so that the middle only gets a tiny bit of misting.
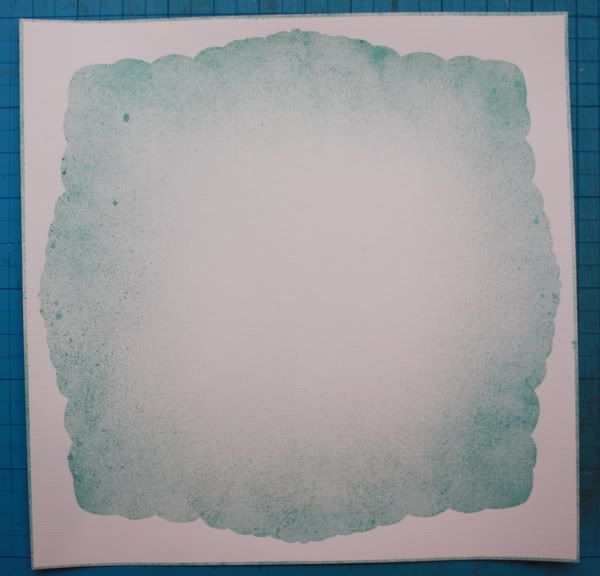
6. Remove the mask and this is what you should be left with.
7. I decided to cut out the misted shape in the end and matt it onto a separate piece of white cardstock.
We hope you'll give this technique a try :)


No comments:
Post a Comment