
Gather up your scraps from your kit...believe me there is plenty I created 4 layouts 2 cards a canvas AND a wreath!!! and I still had a little left over. Great value for money

You will also need a score board I use a martha stewart one
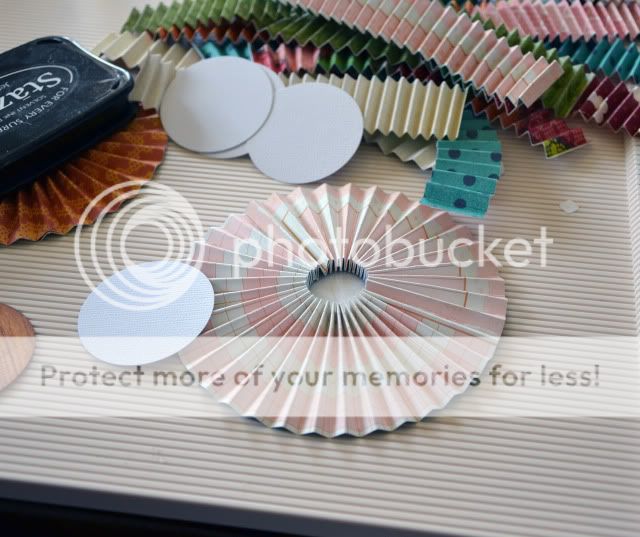
Strong glue like Fabri-tac or a Hot glue gun
Buttons left over from your kit
some cardstock
circle punch or you can hand cut them
and a little bit of patience!!

For the big flowers I cut 2 12 inch strips I needed about an extra 3 inches to make the full flower but mostly I used 1 inch strips anything 8 inches and longer will work.
Score the strip every 1/4"

Fold back and forth all the way to end, then add some glue to hold it all in place.

This picture gives a good idea, I glued an overlap so that it will have a stronger hold over time.

Now here's the fun part, I hadn't actually ever made these before I made this wreath... so lots of trial and error. I found as I would flatten them down they would just pop right back up again... so I decided to cut some reinforcement! I punched out some circle and glued one to the back AND to the front of each flower.
if you have a few bottles of "anything" sitting around just place them on top while waiting for the glue to dry!!

next I punched out some circles from the patterned paper and used some natural twine to thread the buttons with.

Once everything is dry you can layer the 1inch flowers on top of the 2inch flowers and then add the patterned paper circles and buttons.

Adhering to the wreath would be easier with a hot glue gun... however if your like me and would burn yourself if you owned one fabri-tac or a similar strong glue will have to do instead! lol I found adding the glue to the backs of the flowers placing them where I wanted on the wreath and then setting the wreath backside up worked best, as otherwise your liquid glue would just slide through the holes! so place them where you want them then lay face down on the table and let dry. it was really sturdy when I picked it up an hour later!!
Last just add a sentiment and a few last flowers and you are done!! I actually had an extra left over so I made an extra card!!

Enjoy making this fall wreath
Zoe
3 comments:
Wonderful project and instructions, Zoe! You are still as funny as ever, too :D
oh ... it is soooo beautiful!!!!!!!!
thanks for sharing the tutorial!!!!
I have a niece that has moved to her first apartment..House warming party in a week....this would be perfect to do for her!! Thanks Zoe!!
Post a Comment