

You will need:
- Pages from an old book (dictinary paper or pages from a newspaper will also work!)
- Scalloped circle punches in three different sizes or die cutting machine
- Glimmer Mist in your choice of color
- Distress Ink in your choice of color
- Brads or flower centers
- Liquid adhesive

2. Moisten your circles with Glimmer Mist.

3. While the scallop circles are still moist, scrunch them up to make them distressed. Use your heat tool to dry them.

4. Carefully unfold the scrunched up balls and stack the circles.

5. Secure with a brad, or add liquid adhesive and a flower center to secure the scallop circles together.
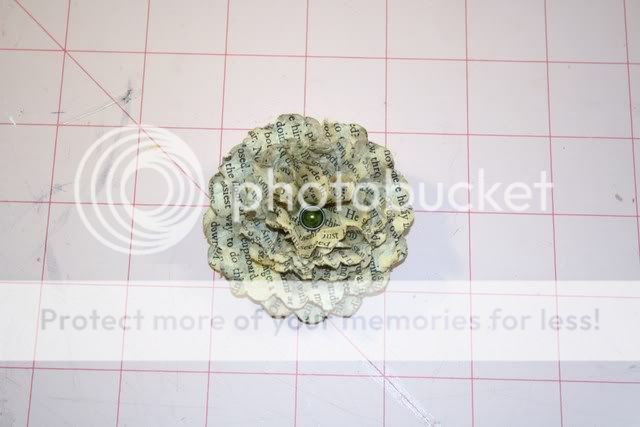
6. To add some dimension, ink the edges with Distress Ink in your favorite color.

7. Voila! Customized flowers for your project!

Thanks for taking the time! These are fun and easy to make, hope you give them a try!
~Jolaine
1 comment:
These are one of my favorite go-to flowers for my pages...but have not made in a while...thanks Jolaine for bringing it back girlie!
Post a Comment