
Have you seen the fabulous Fall wreath that Design Team member Christine Meyer created with leftovers from our October Main Kit?! Today she's sharing how she made it!
--------------------

 '
'


--------------------
Please visit our Design Team Gallery to view more of Christine's beautiful work.
Here's the the October Main kit:

For full descriptions of our kits, subscription information, and more, visit our website at MyCreativeScrapbook.com
--------------------
Sometimes you have just enough supplies left over from a kit to make something extra. I decided to use my patterned paper scraps from this month's Main Kit to create a fall wreath!

I've created a wreath like this before so I knew it wouldn't be too time consuming or eat up a ton of supplies! Here's how to do it:
 '
'
Cut 1 inch X 12 inch strips of your patterned paper. For a wreath with an interior circumference of 8 inches I needed 34 strips.
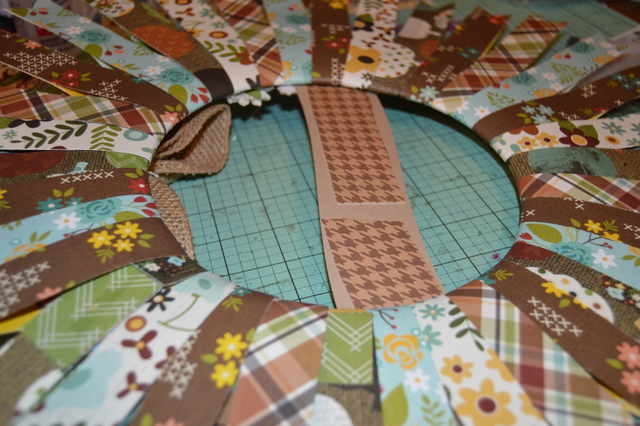
Wrap your strips around a wreath base. You can use a ring (that looks better for dimension) or if you don't have one you can just cut a ring out of chipboard or cardboard. The strips will overlap a bit on the wreath base. Connect the strips at the end with adhesive.

Cut a notch out of the end of each strip - don't worry about being perfectly exact.

Use burlap and ribbon to create a pretty fall bow. Attach this with hot glue or a strong liquid adhesive.

Add other leftover pieces like flowers and chipboard pieces to surround your bow and add some pretty accents. You can leave it like this or cut out a banner or some other sentiment to add to the center as well.
Please visit our Design Team Gallery to view more of Christine's beautiful work.
Here's the the October Main kit:

For full descriptions of our kits, subscription information, and more, visit our website at MyCreativeScrapbook.com
No comments:
Post a Comment