
Nicole Doiron is featuring our January Main Kit today with a terrific way for creating titles for your pages!
--------------------


--------------------
Please visit our Design Team Gallery to view more of Nicole’s beautiful work.
Here's the January Main Kit:

For full descriptions of our kits, subscription information, and more, visit our website at MyCreativeScrapbook.com
--------------------
Hello My Creative Scrapbook peeps!
It's my turn to share some quick tricks of the trade with you all!
Today I will show you a neat trick on how to make your titles pop even if you don't have a fancy cutting machine or every style of chipboard title out there.
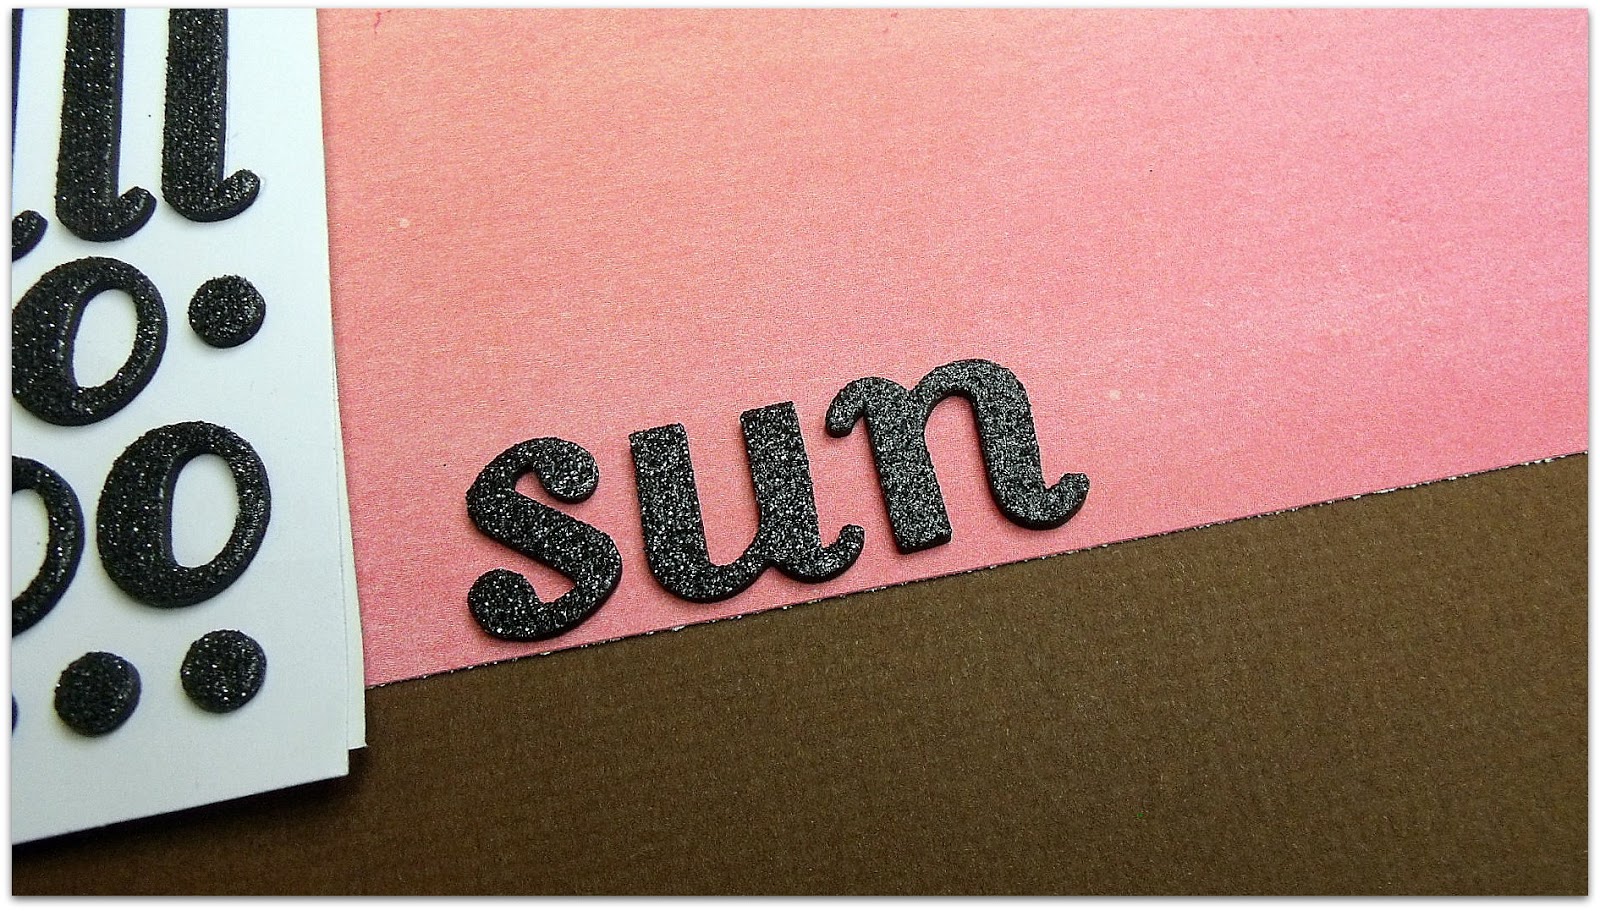
I really love using titles on my pages whose letters are welded together and I decided to make my own using the January main kit and some leftover American Craft Thickers from a previous kit.
It is very easy to do... all you need for starters are Thickers or any other alphabet chipboard or stickers you own, pattern paper, a pencil, an eraser and a good pair of precise scissors.
Once I decided upon the word I wanted to spell, I started lining up the Thickers along the bottom edge of my pattern paper (always much easier to keep them in a straight line that way) and not pressing too hard for them not to stick on the paper!
I used a more cursive style of font as I find that they are easier to weld together and look nicer in the end, but you can easily use any type of font that will look best upon your layout. :)
Once all my word or phrase is lined up, that's where I got a bit more creative. But really a 3 year old could do this! hehe
I started tracing around each letter. I told you it was easy!
I welded the letters together by drawing lines in between each, trying to elongate each letter so that it merges with the next.
Once I was satisfied with my tracing, I carefully removed each Thicker letter and returned them to their package. (YEAH! I can save my Thickers for another project!) I then fixed whatever needed fixing and erased any unnecessary pencil lines.
The next part required a bit more patience, but really it was all worth it in the end.
I just cut around my word with the best pair of pointy scissors that I own.
Here it is, all cut up and ready to use!
Because I like my titles to pop up, I used 3D foam dots on the back of my word, cutting the squares in half so that the smaller pieces would fit the size of my letters.
Then came the time to finally stick my title onto my page!
And to make it extra special and shiny, I added a thick coat of Glossy Accent.
Here is my finished layout using that title:
And here are some more titles, created exactly the same way, minus the Glossy Accent:
And there you go, titles made the old fashioned way... with a good ol' pair of scissors! :P
Thank you for joining me today on my tutorial day!
If you like what you see, visit me at http://scrap-utopia.blogspot.ca/ to see more.
--------------------
Please visit our Design Team Gallery to view more of Nicole’s beautiful work.
Here's the January Main Kit:
For full descriptions of our kits, subscription information, and more, visit our website at MyCreativeScrapbook.com
4 comments:
Thank you for this great tip! :)
Great tip! Thanks for sharing!!
Great tutorial Nicole, Love this idea
how clever idea ! thanks
Post a Comment