
My Creative Scrapbook design team member Nicole Doiron is up today with some tips featuring our October Creative Kit!
Here's Nicole:
.JPG)


Here's Nicole:
Did you notice the doily-like circle paper that I used as the background of my 'Us in Love' layout created with the beautiful Creative kit?
.JPG)
Are you like me... you love doilies and you love the way they look on layouts? But you don't always have actual paper doilies that match exactly the size and the look that you're looking for?
Well, I will share with you today a quick step-by-step on how to make your own doilies of any size with any corner punch.
Start with cutting a circle (any size) out of regular cardstock or patterned paper. For my layout, I used cardstock and knowing that I didn't need the complete circle, I cut off one of the edges, that way saving some leftover cardstock for later. You then choose a corner punch, most specifically with an intricate design.

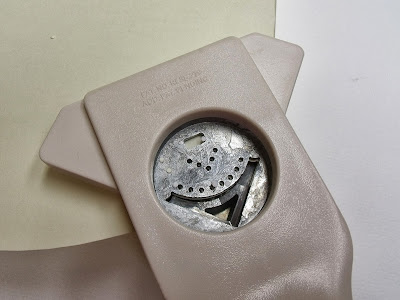
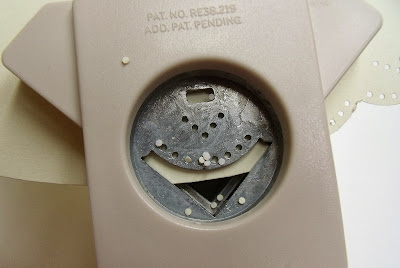
Now, lining your corner punch with the edge of your circle, you turn your punch around to see the back of it and see exactly where you will be punching.
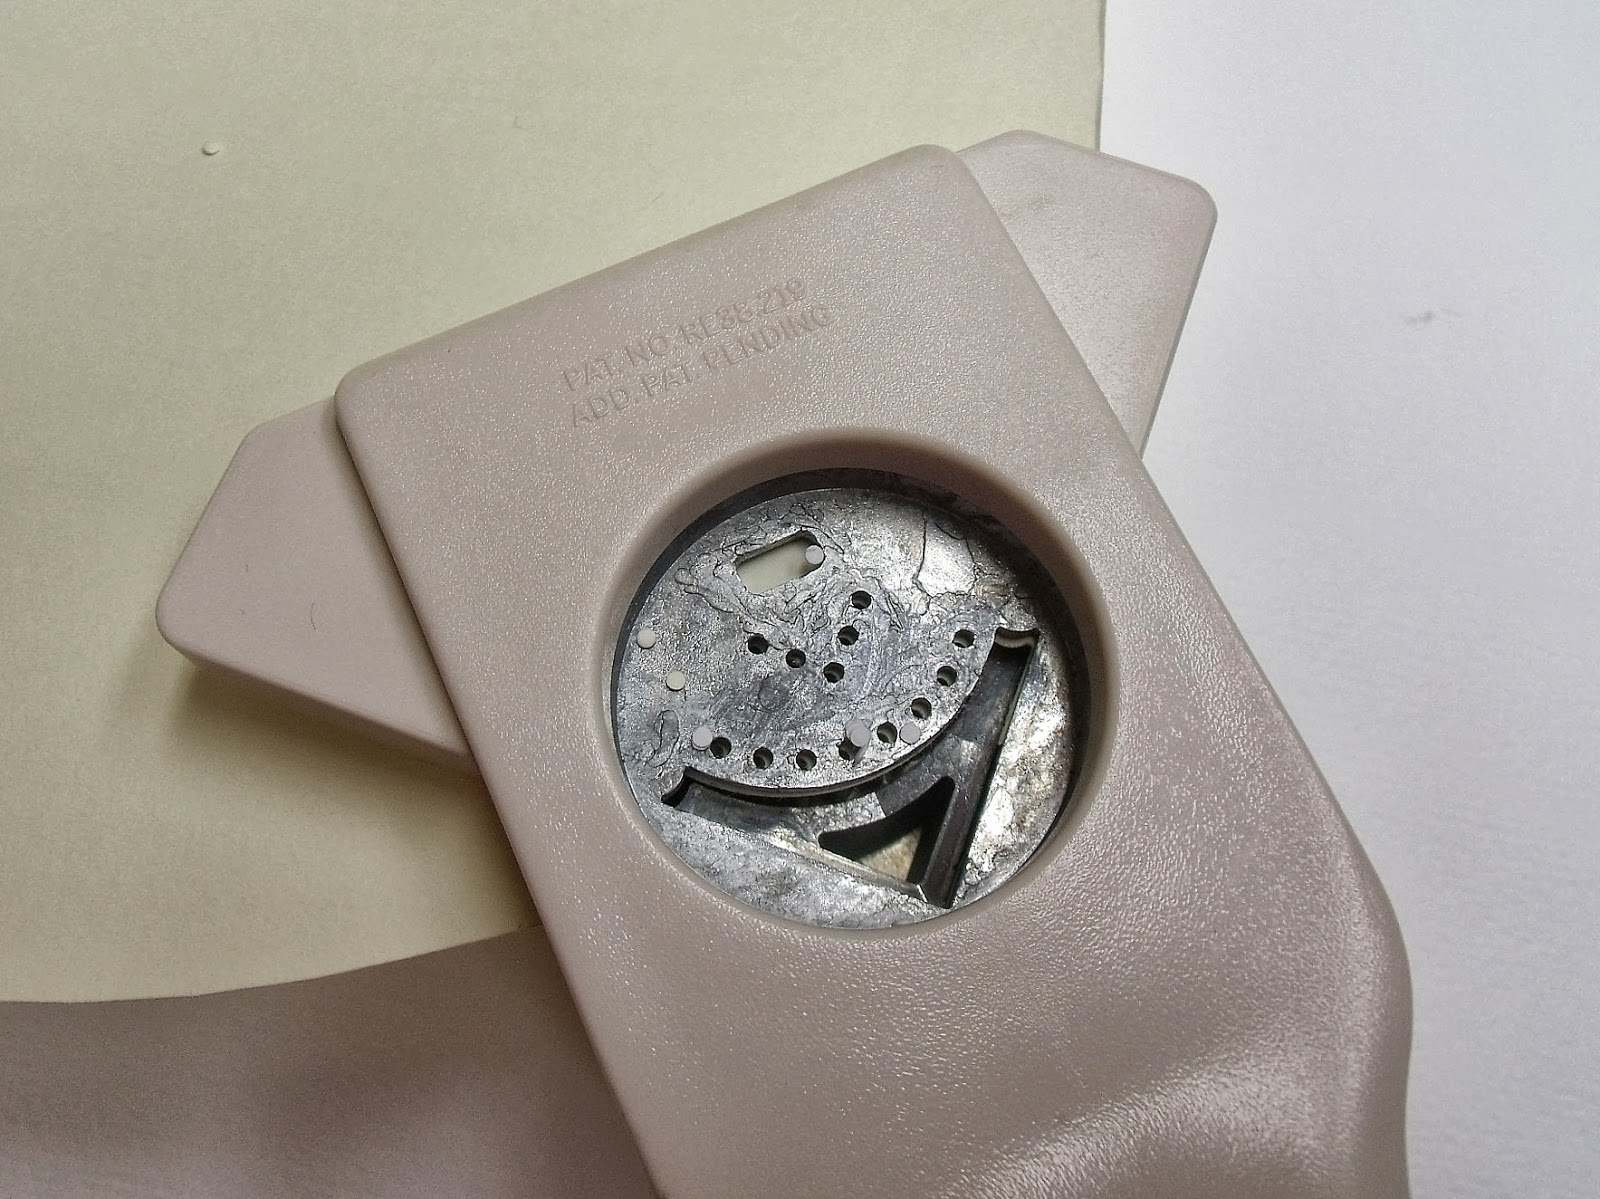
As seen below, it is better to line up the punch so that you can see the edge of the paper through the empty space. Take note of how long the space is from the edge of your paper to the punched design so that you can align your paper accordingly with every punch as you go around your circle. You have to be able to see the end of your last punch to be able to align the next.

When you're done punching around the circle, you will most likely end with an uneven part, but that's no problem. If you're working with part of a circle as I am, just cut out the excess paper. If you are going full circle, you can always hide the unevenly punched part with any embellishments you will later add on to your page.

Here is my finished doily.

Take a closer look at the punched edge. You see that by turning over the punch enables you to better see and control where you're punching, resulting in more even edge.

With my leftover cardstock, I was able to make another smaller doily for my layout.

I hope you find this short and sweet tutorial helpful in your future crafty projects!
To see more of my creations, visit my blog at http://scrap-utopia.blogspot.ca/.
--------------------------------------------------------------
Be sure to take a look at Nicole's beautiful work in our Design Team Gallery!
We
invite you to join us and experience the possibilities that our
coordinated monthly kits offer. To purchase a kit, please visit our
website, here.
1 comment:
Sweet tutorial Nicole :) I only discovered this idea fairly recently myself so it's a great idea to share!
Post a Comment