To view or purchase our kits, click here.
My Creative Scrapbook Design Team member Christin Gronnslett is sharing how she layered her page in less than 45 minutes using our June Limited Edition kit!
Here's Christin:
"Sometimes I am in a hurry but still like to be able to finish a page, then I give myself a time limit. This time I gave myself 45 minutes, but managed to finish it in 40 minutes including taking the pictures.
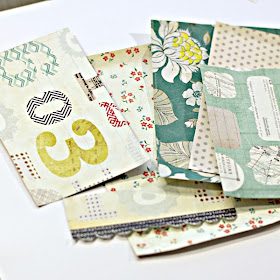
First start with paper, pick out 5-7 paper from your leftovers.
Try out your layering with a photo on top, move the layers in different order, add and remove things.
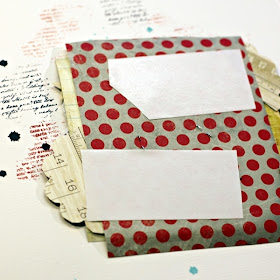
When you are happy with your layers use a stapler to staple only the layers together and bend the edges on the papers a little. Use other adhesive to get the smaller pieces to stick in between the layers – like the artisan ribbon.
Adhere the photo to the layering and try out where your flowers will be.
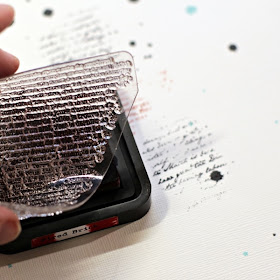
Start stamping and adding small mist droplets randomly. Don’t mind if your stamping doesn’t show too much.
To get more random stamping, do not use an acrylic block, just hold the stamp and push the inked stamp with your finger. It will not be as accurate as with an acrylic block, but you might not get as square feeling all the time and you can control the placement a little.
Tape the back
And voila a finished page in less than 45 minutes. The little trick with layers and with slightly bended corners and no completely straight lines is that with a few layers the layout come more to life.
Some closeups
 "
"
My Creative Scrapbook Design Team member
------------------------------


just the inspiration I needed for my page!! Thank you!!
ReplyDeleteI adore your tutorial, what a wonderful fast way to make a Fantastic page
ReplyDeleteFantastic pages ♥ You know I love your style
ReplyDelete