
Here's Shell...
Are you interested in having a play with
different mediums but unsure of where to start? This step by step
tutorial is a great way to try it out & give something different a
go! This is how I created the grungy/graffiti style background on this
page.

First of all you will need these supplies

This
is a 12x12 Crafters Workshop Chevron mask template. you don't need a
12x12 size though you can use smaller. Other patterns that would help
create the same effect are bricks, waves, swirls etc

-Gesso
-Texture Paste
-Dark Blue Mist (Tattered Angels Saphire)
-Light Blue Mist (Generic from my LSS)
-Black ink (Versa Magic Midnight Black)
-Dark Brown Ink (Versa Colour Pinecone)
-Bright/Dark Yellow (Prima Coltsfoot)
-Navy Blue Ink (Prima Farmer Jeans)
-Teal Ink (Prima Teal Damask)
-Stamp (Kaisercraft grid stamp)
I
have done this tutorial on come cardstock so you can see the texture
paste better. For my page I used the We R Memory Keepers paper from the
Main Kit.
First
up use your fingers or a popcycle stick & rub some texture paste in
2 areas. I have done the top right hand corner & bottom left hand
corner. Try not to be perfect when applying. It is better to get an
uneven look. Let the texture paste dry.

Get your Dark Blue mist & undo the nozzle. Flick the spray nozzle onto the page so that it leaves splat marks

Now take out your Light Blue Mist & spray randomly around the page

Use the Teal & Yellow inks. Roughly smudge some ink over the texture paste

Use the black ink & stamp the grid patterns on top of the texture paste


Use the Dark Brown ink & roughly ink around the edges of the cardstock/paper

To create the buton in the right top corner of my page

Take a Prima chipboard button from the Main Kit & paint it with gesso. Let it dry
Use the teal, yellow, & dark blue ink & smudge ink to one third of area for each colour
Use the black ink & stamp the grid pattern on top of the button
Decorate with thread
I hope you have enjoyed this tutorial.
I can't wait to see what you create!!!
------------------------------
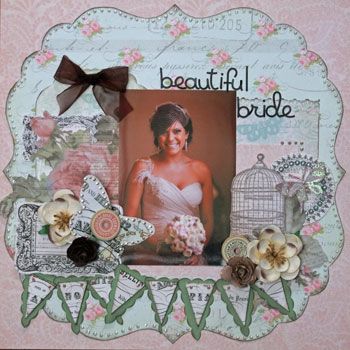
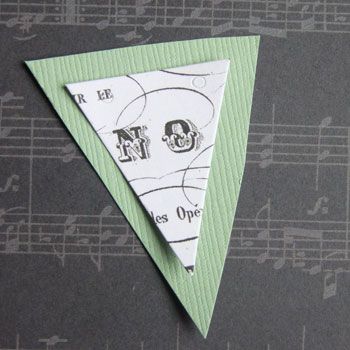
To add a bit more depth to the cute bunting in the LE kit Ephemera pack I have added a second layer.
I chose some plain cardstock in a coordinating colour (you could use pattern paper also). Cut a triangle slightly larger than the bunting like this.
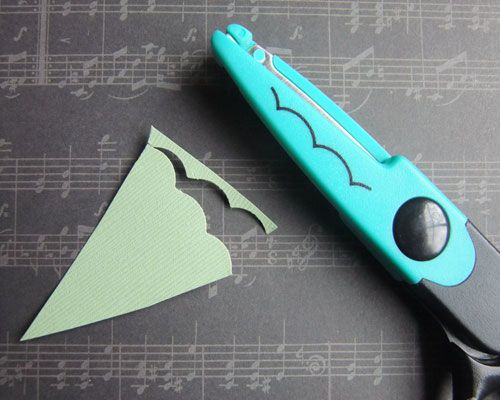
Use some scalloped scissors (mine are just from the $2 shop) I start with the top of the triangle. When you cut you should get 3 full scallops sitting along the top
Continue to cut around the triangle until you have scallops on all 3 sides
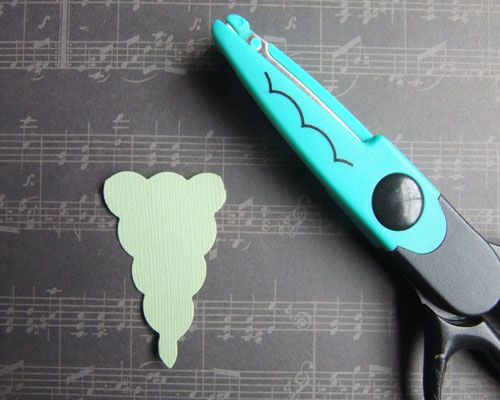
Use this first scallop triangle as a template & cut your remaining triangles with your first triangle on top using it as a guide. This way all your triangles will be the same.
Once you have cut all your triangles then use some foam tape to stick your bunting on top. For extra decoration pop some liquid pearls in the corners of each triangle.
------------------------------
I have a simple trick to help stretch your gorgeous Prima flowers even further like I did in this LO.
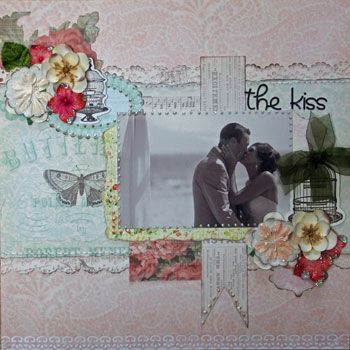
First take this flower

Separate the bottom layer of petals from the top 2 layers like this
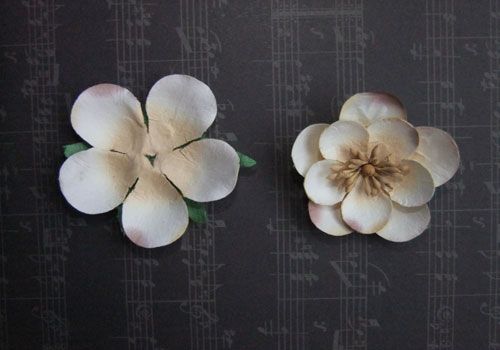
Take the bottom layer of petals to use as your new base
Punch or cut a scallop circle approx 2 inches wide.
Ink the edges as desired.
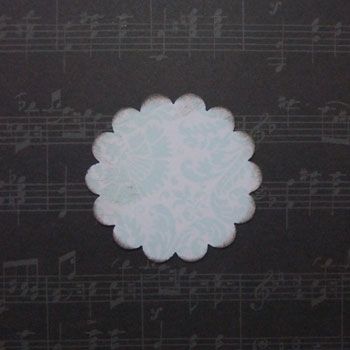
Stick the scallop circle on top of your bottom layer of petals
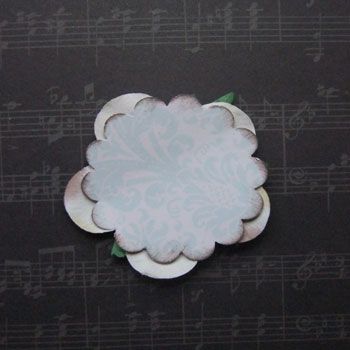
Now stick one of the Prima Lucerne Nature Garden flowers on top

Hope you've enjoyed today's tips and techniques. Come back tomorrow for more!
No comments:
Post a Comment